Monday, February 20, 2017

Hot Glue Shamrock Brooches


The following is a re-post of an earlier one from 2015.

Do you think you will be looking for something green to wear on St Paddy's Day to avoid getting pinched?  Say what now?  You know as the old saying goes .  .  .  people who wear green on that day are invisible to leprechauns and fairy creatures who would pinch anyone they could see, that is, anyone not wearing green.  

Why not pinch-proof yourself by making an adorable green brooch to wear made out of hot glue?  It's so quick and easy to do!

You will need:

Shamrock template
Hot glue gun/glue
Craft foam sheets
Scissors
Rhinestones/crystals
Pin back/E6000 glue


Instructions:

  • Trace shamrock onto a craft foam sheet. I used two different kinds, plain green and glitter green.

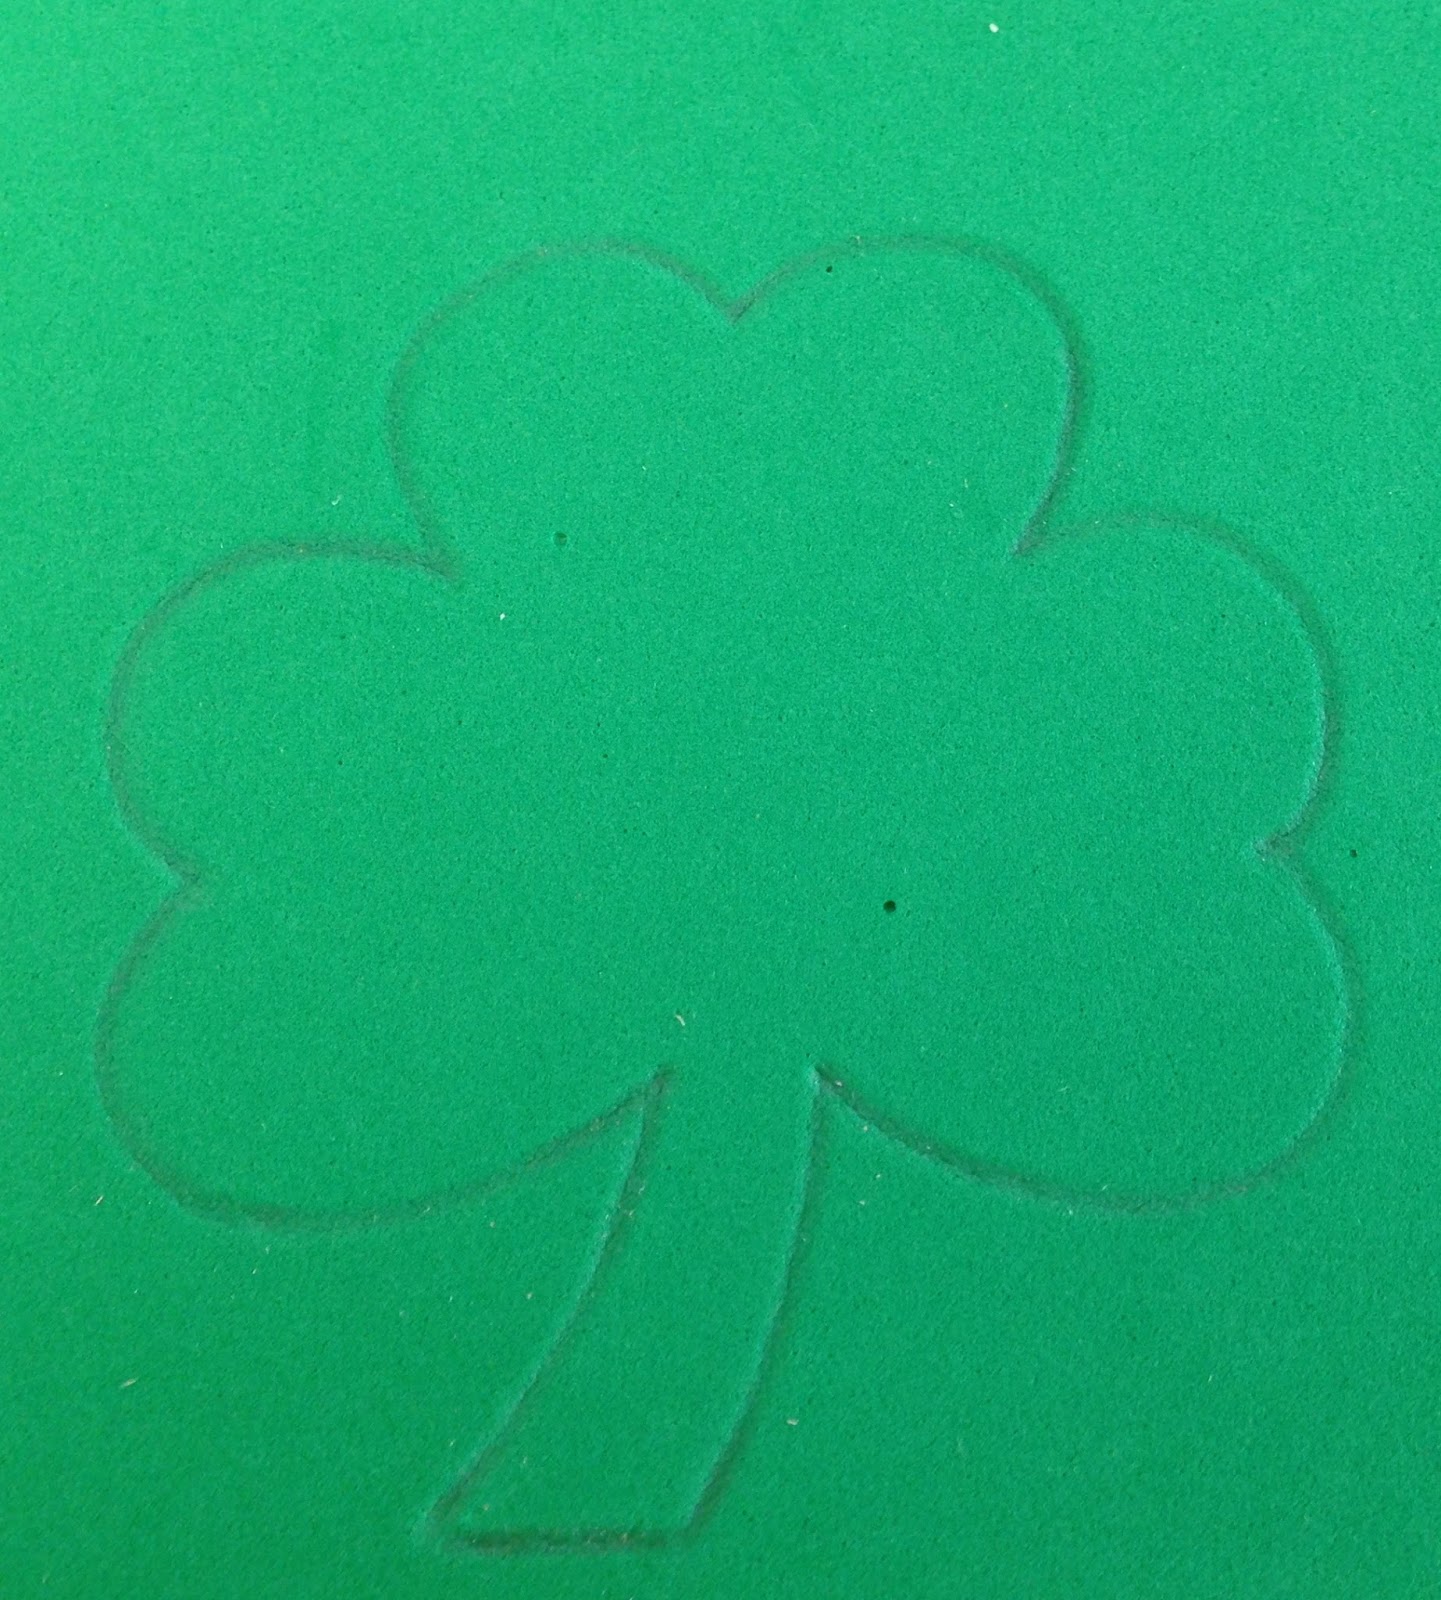
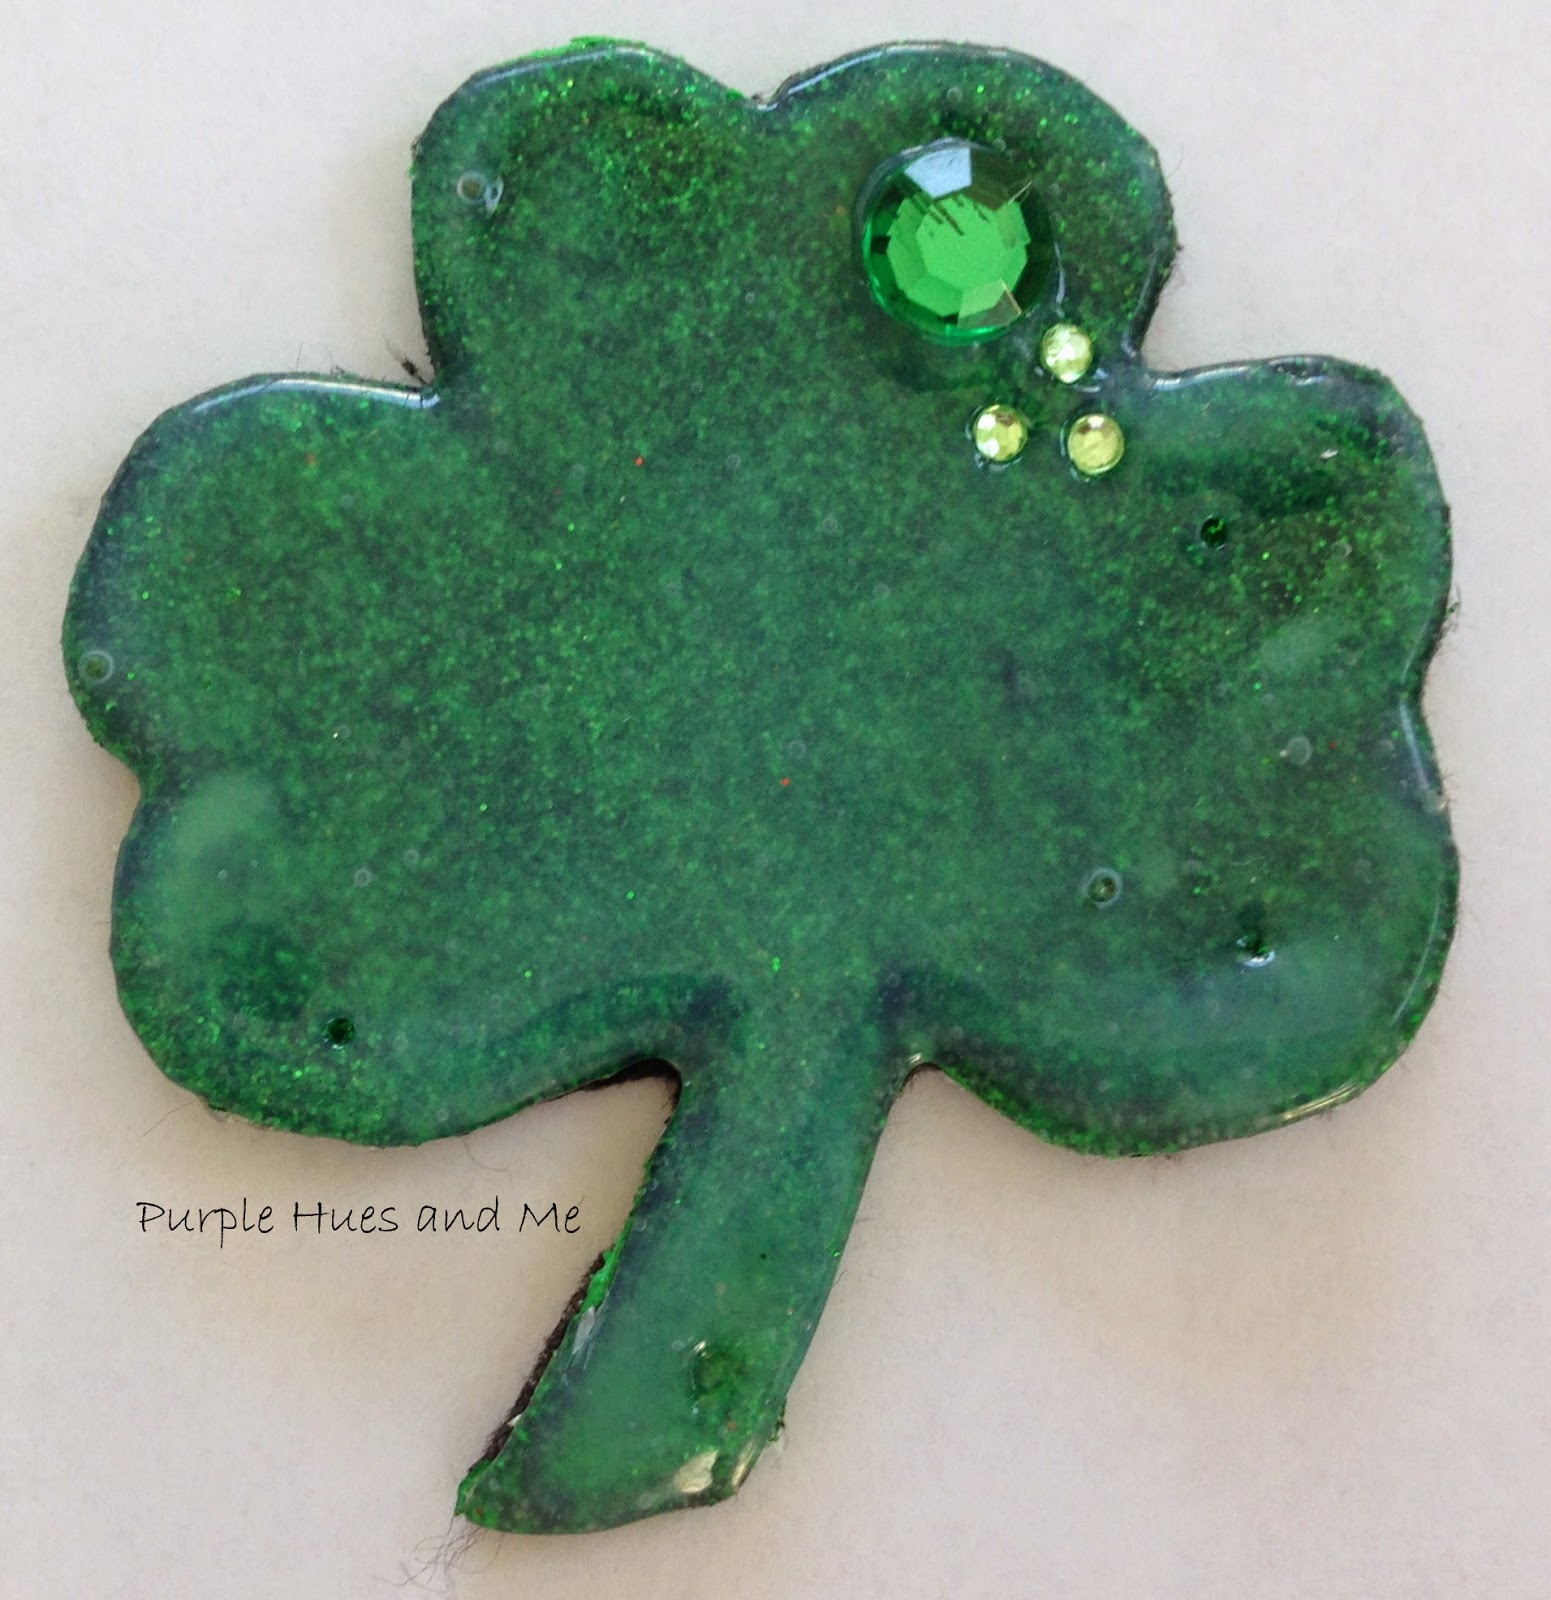
Using Plain Green Foam Sheet

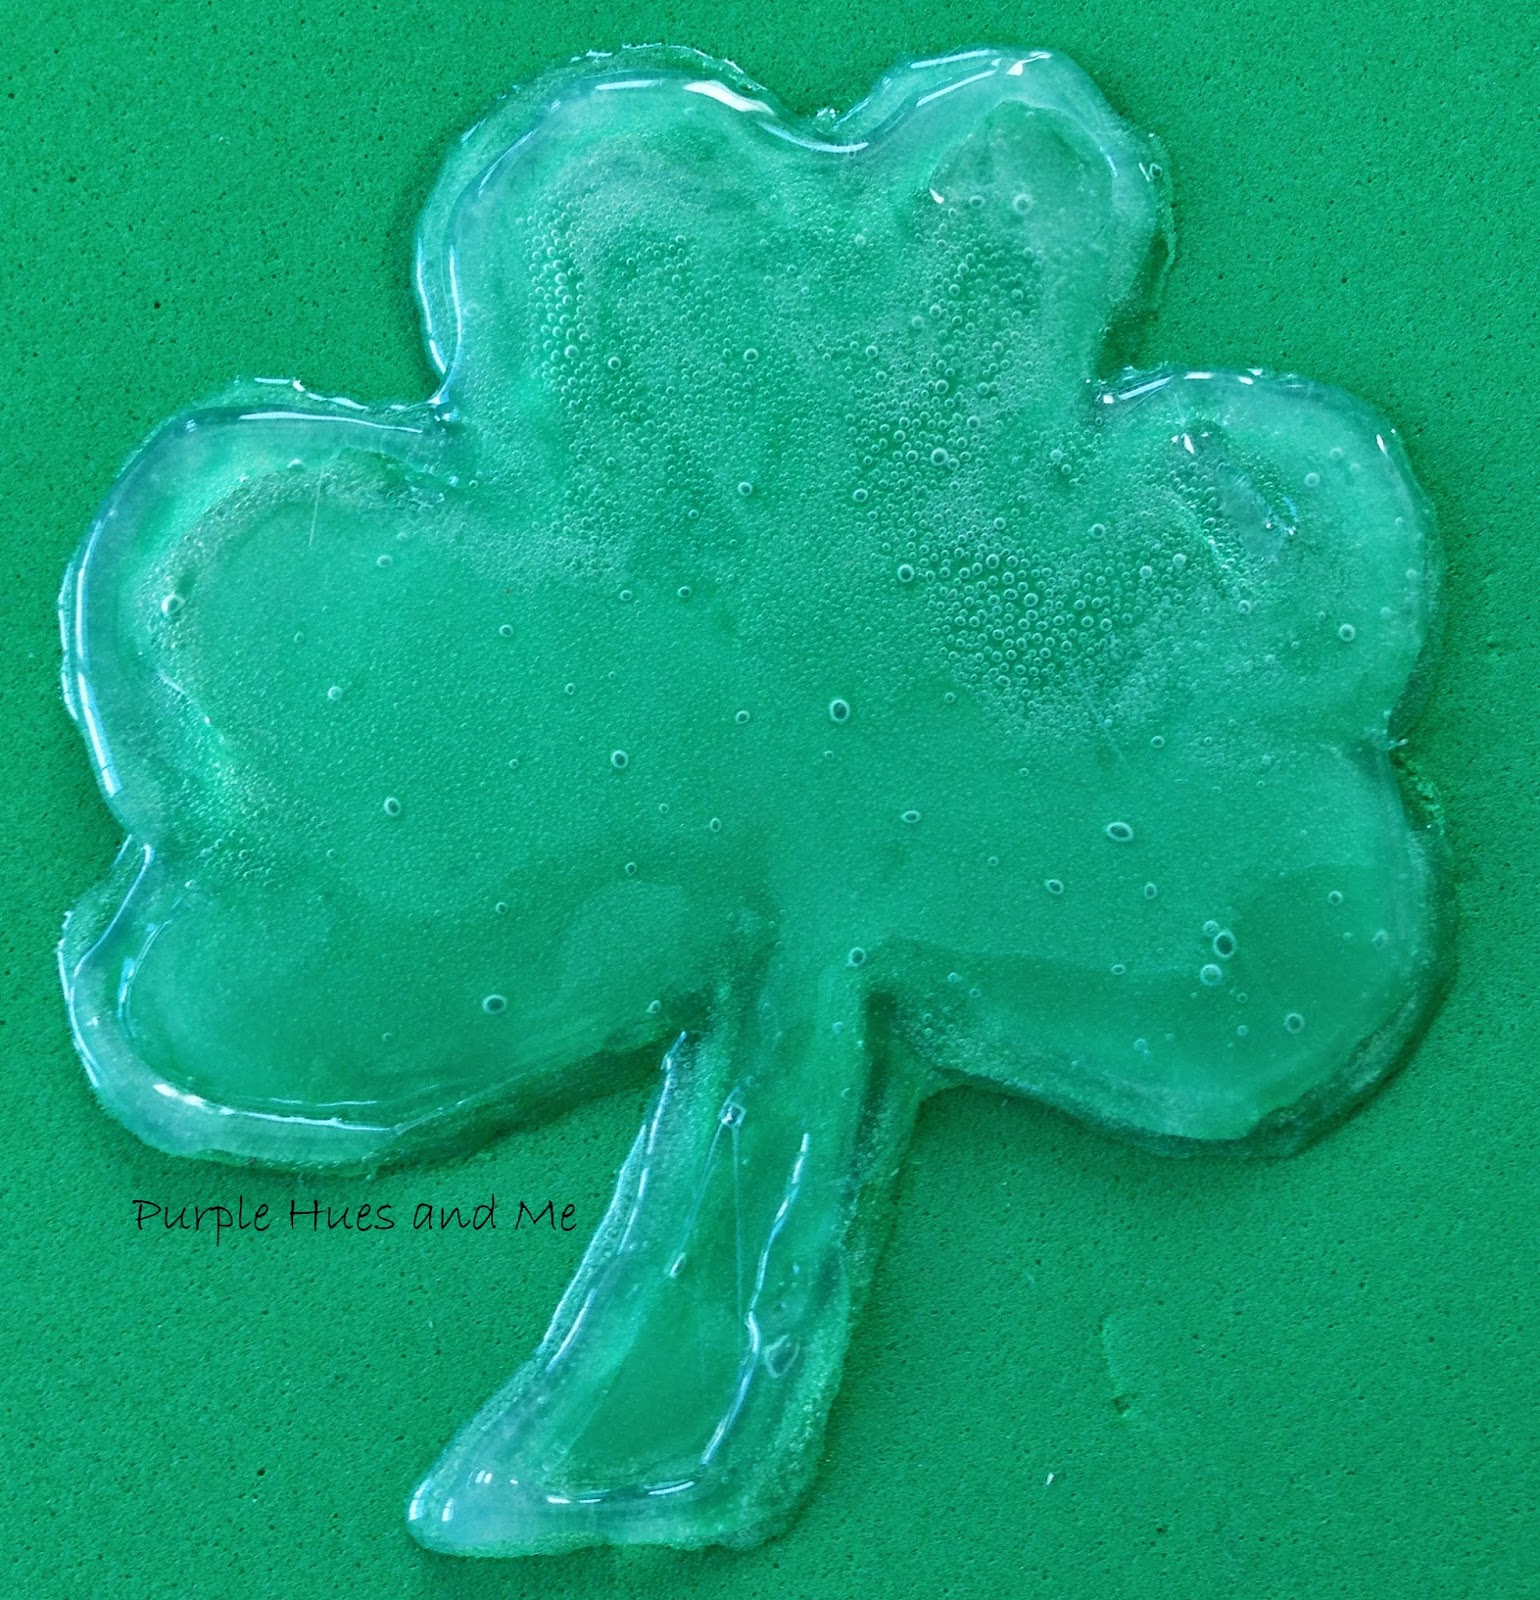
  • Outline the pattern with hot glue - I found it's best to start with a well heated hot glue gun so that the glue flows easily.  Also, I had to "help" the glue stick by pushing down on it to try to keep the flow even.  I used a cheap glue gun and I could have had a steadier hand but it takes practice for me to keep the lines even.


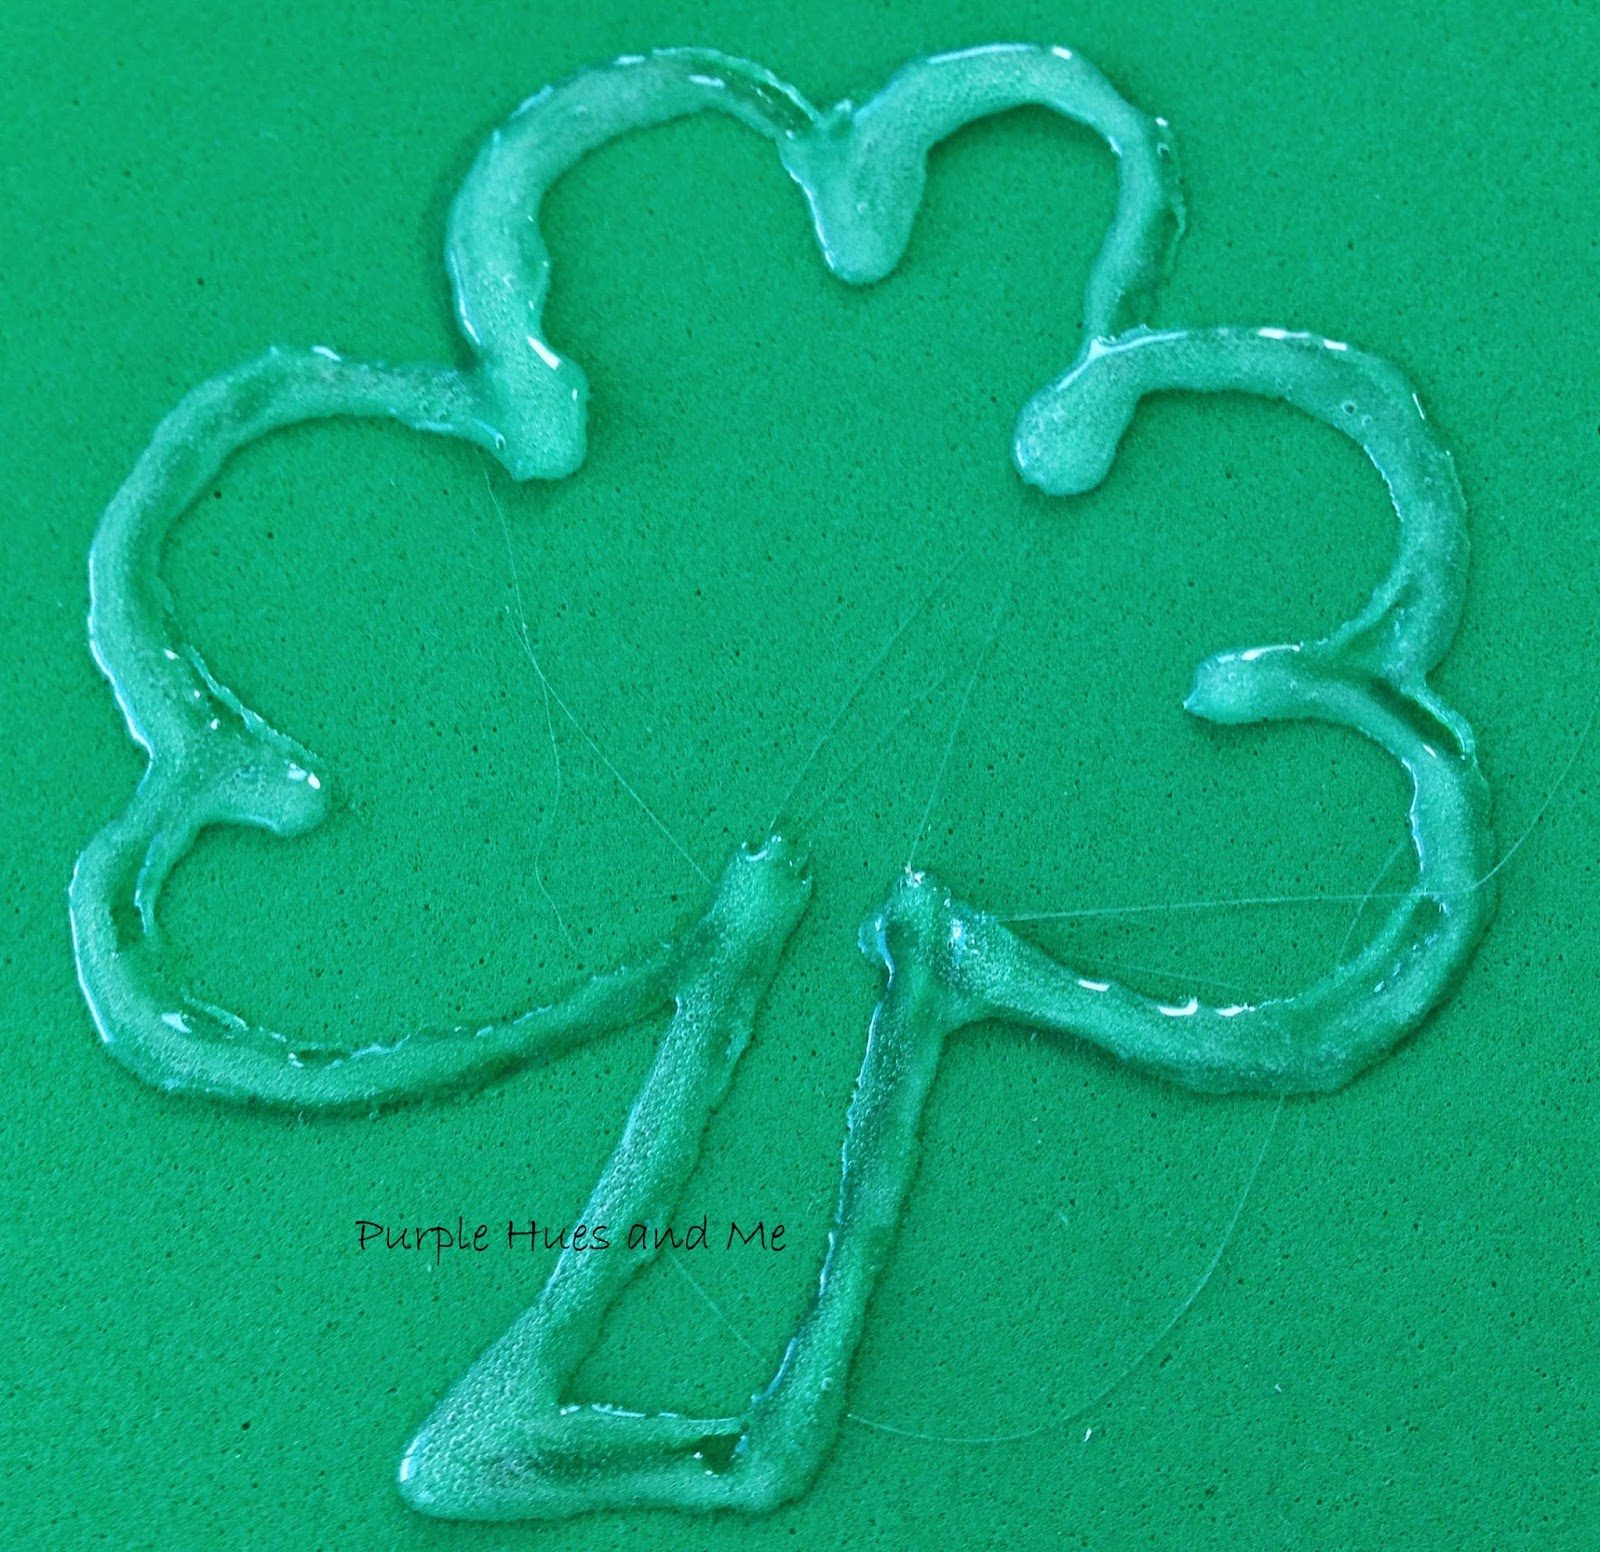
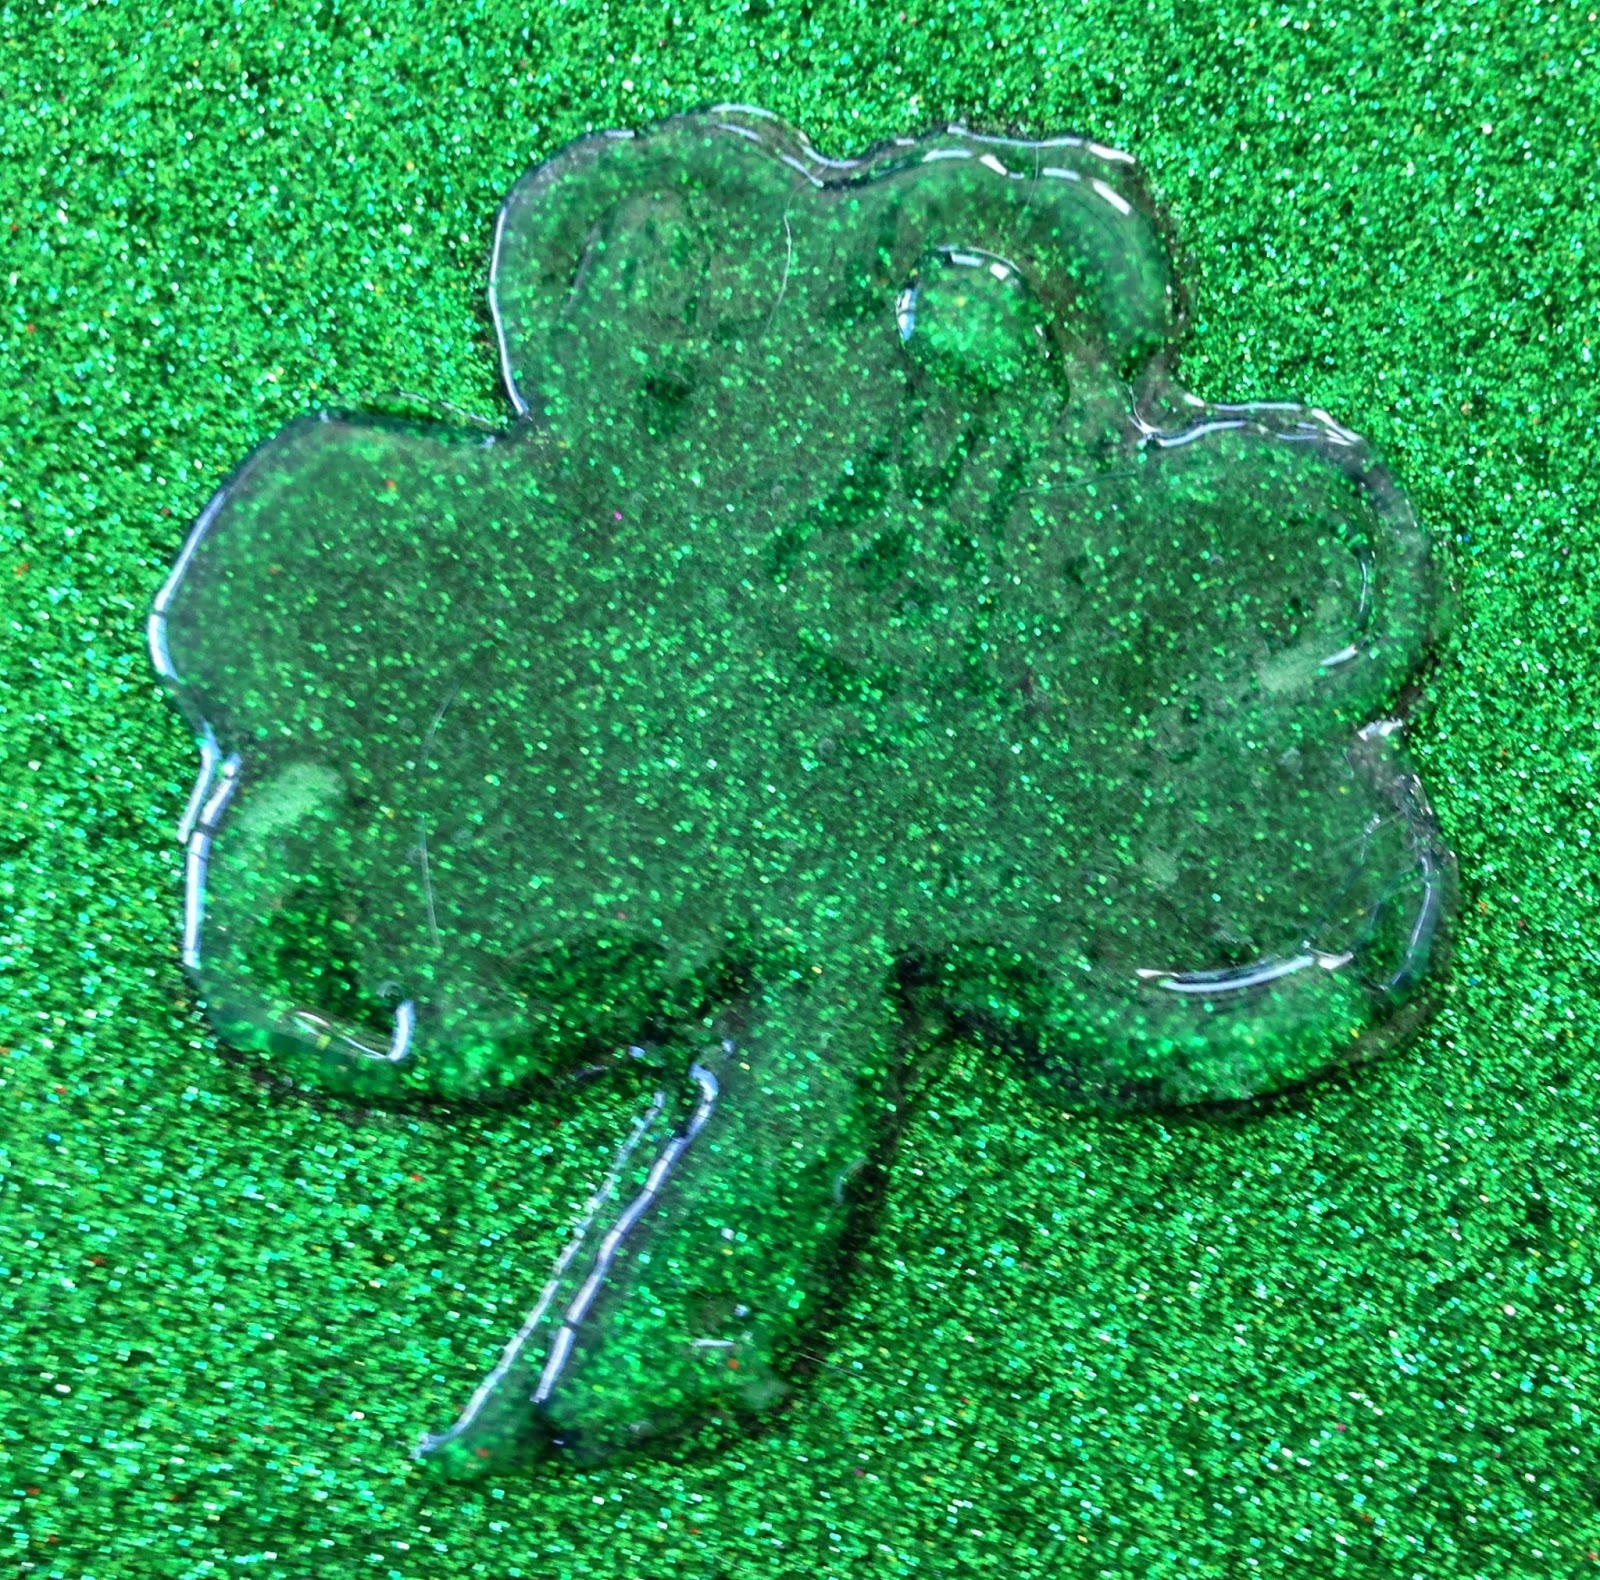
  • Fill in the rest of the shamrock with hot glue.


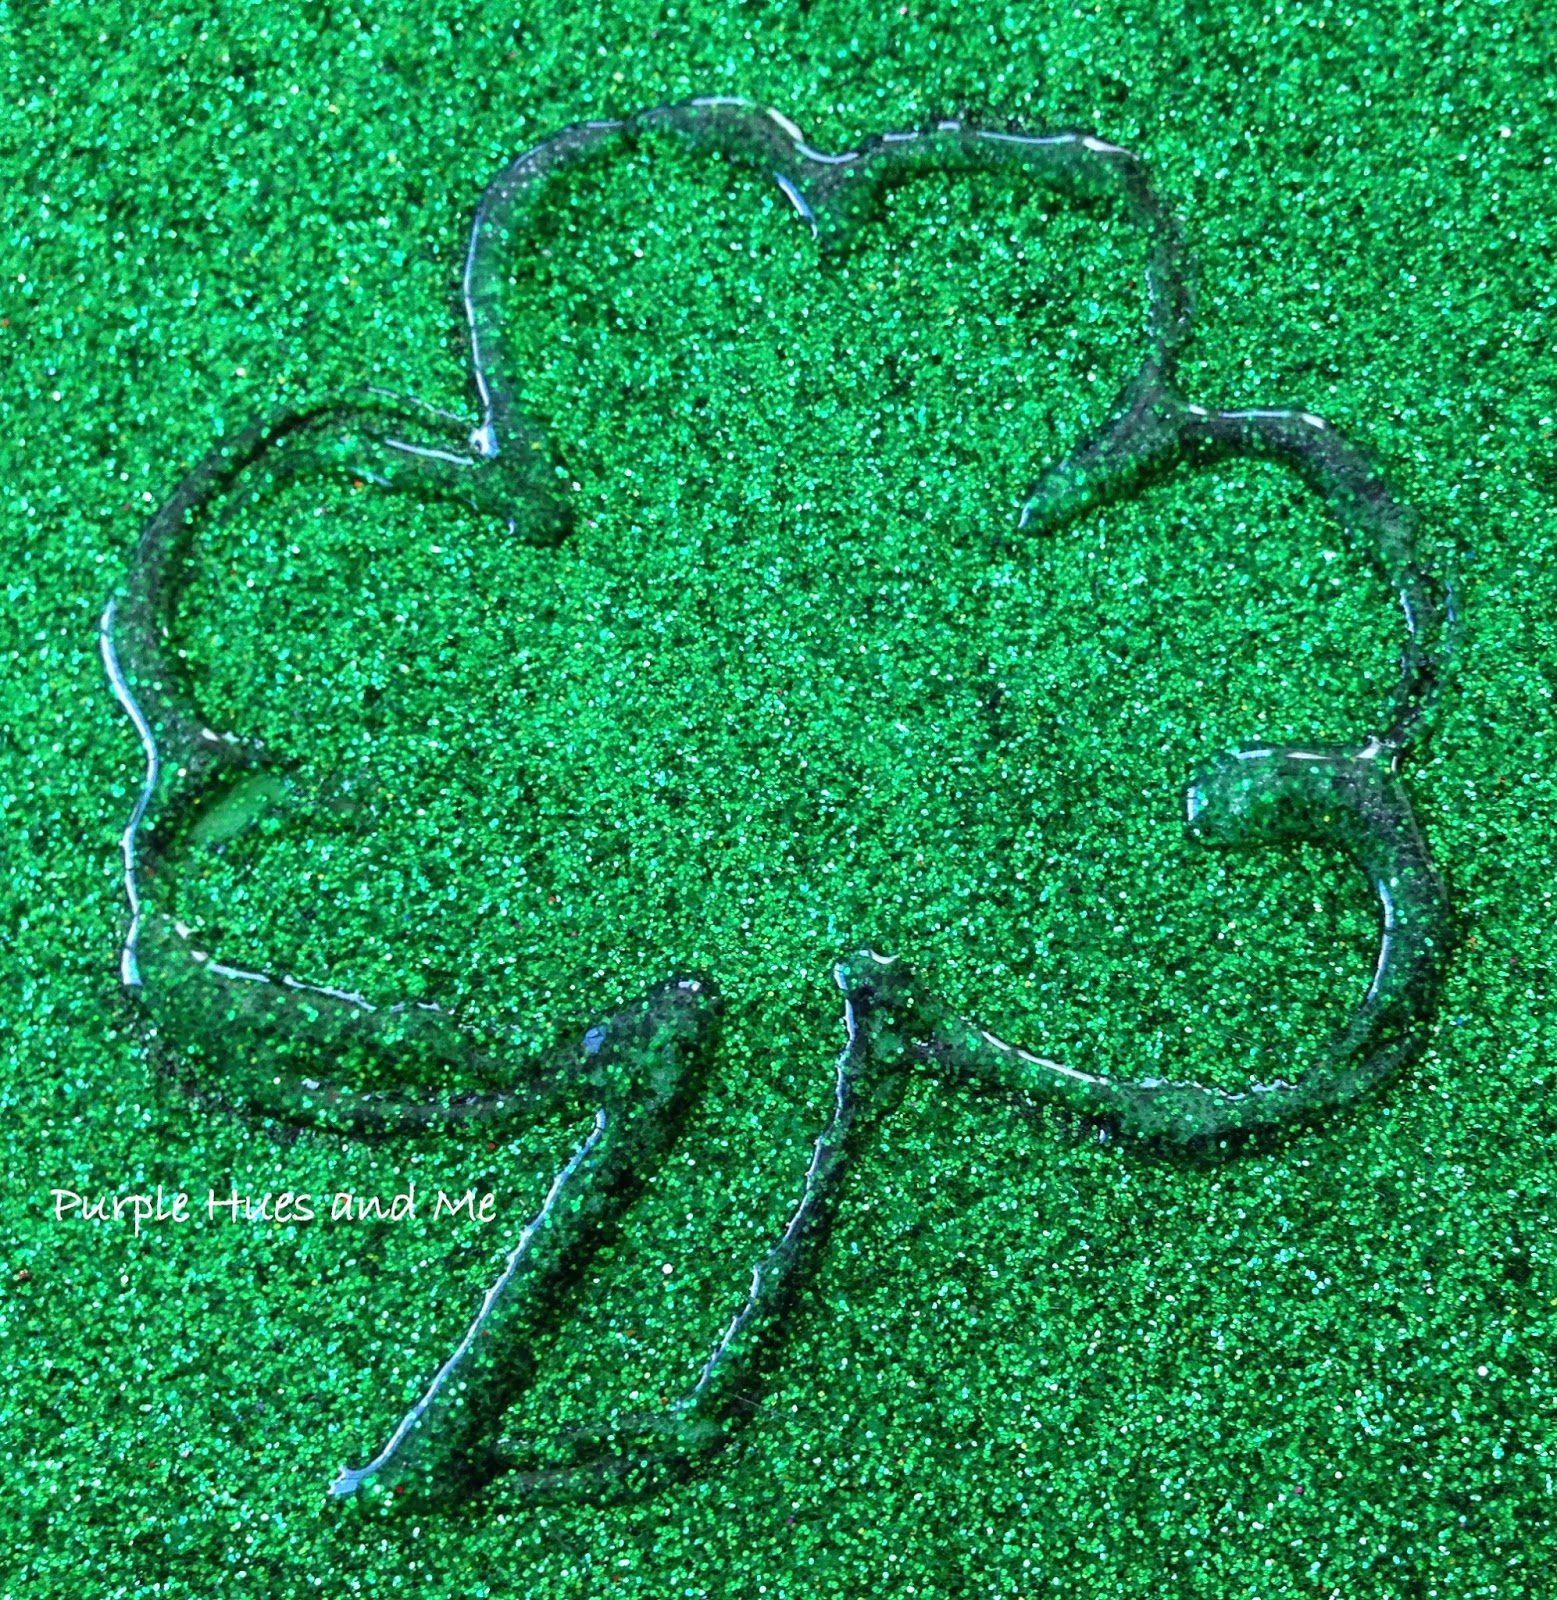
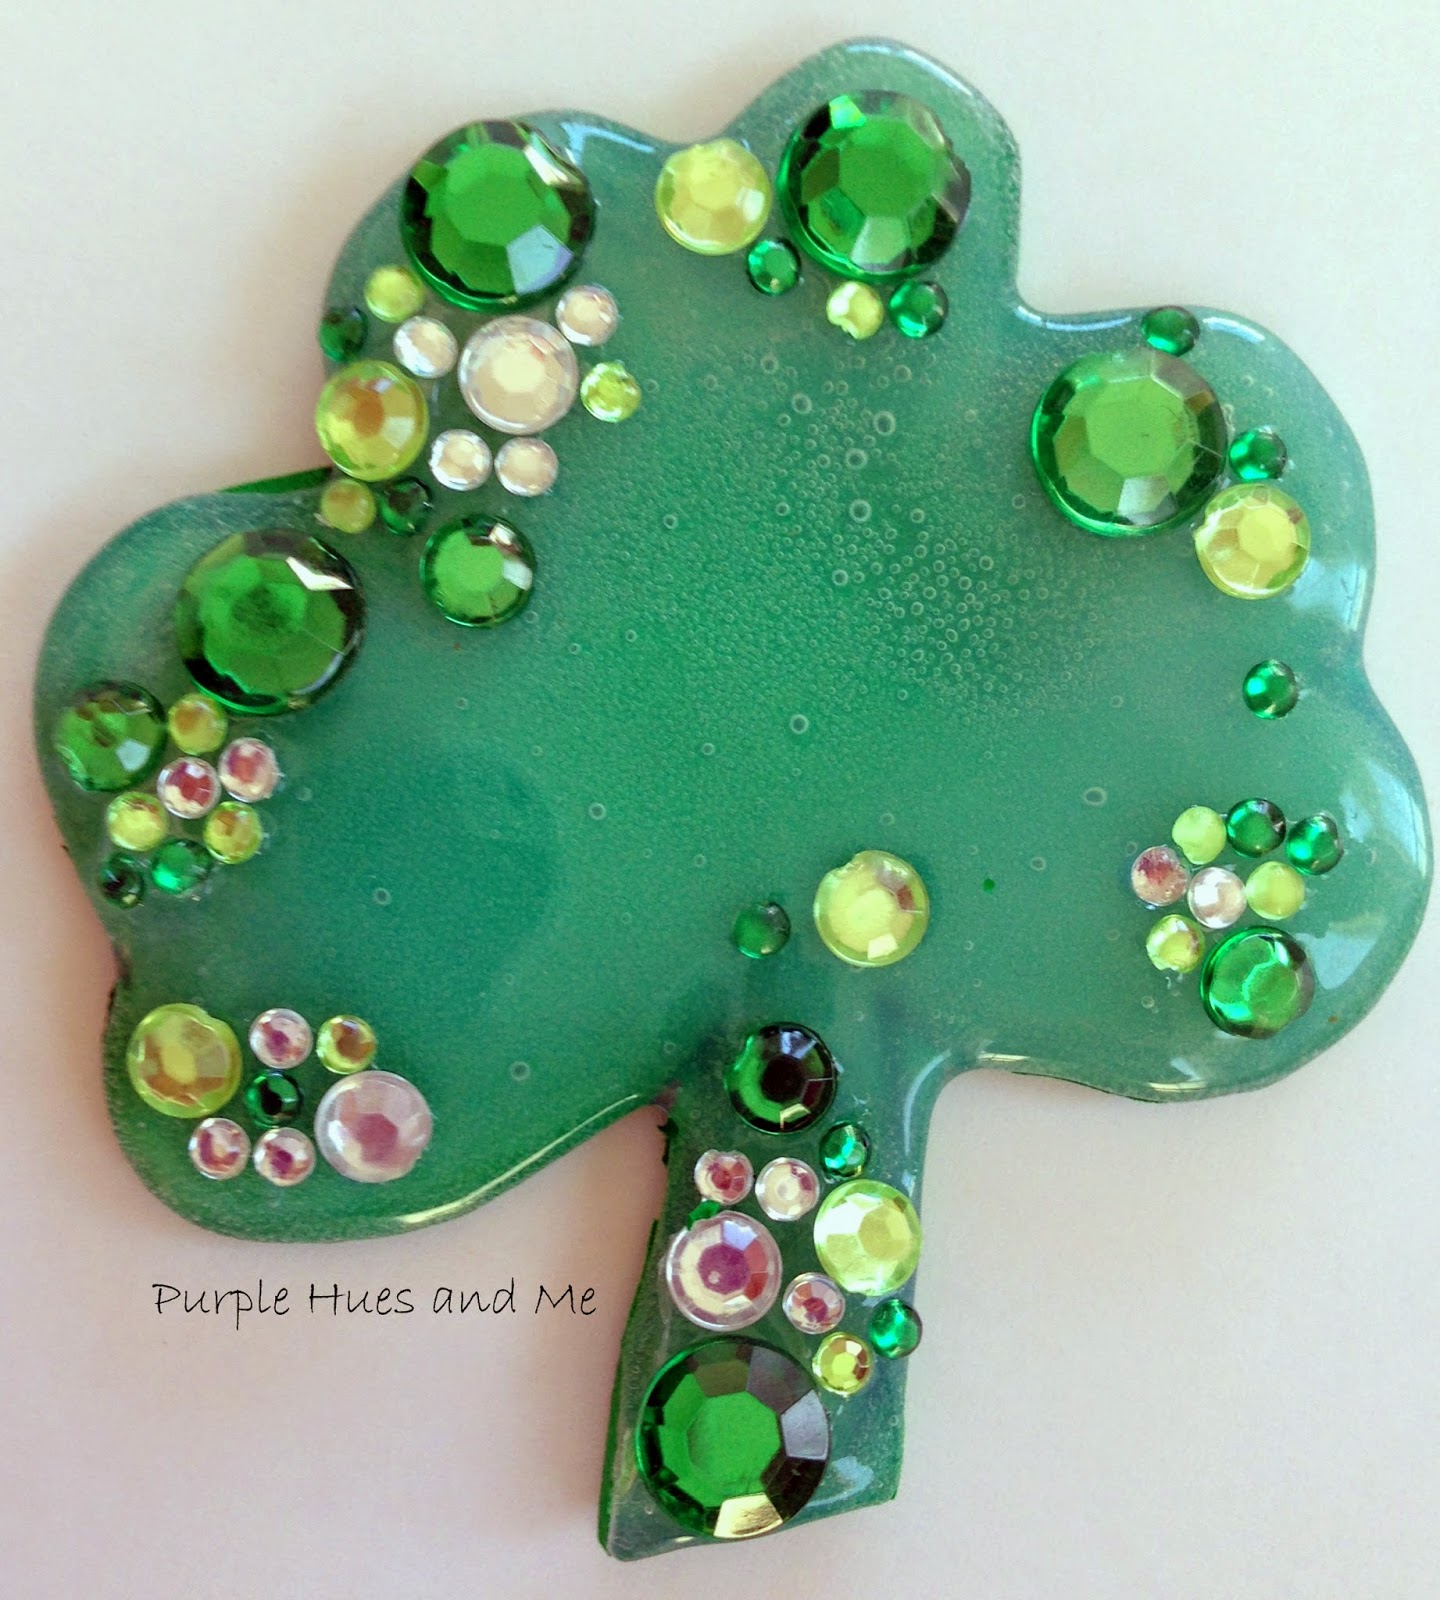
Using Green Glitter Foam Sheet

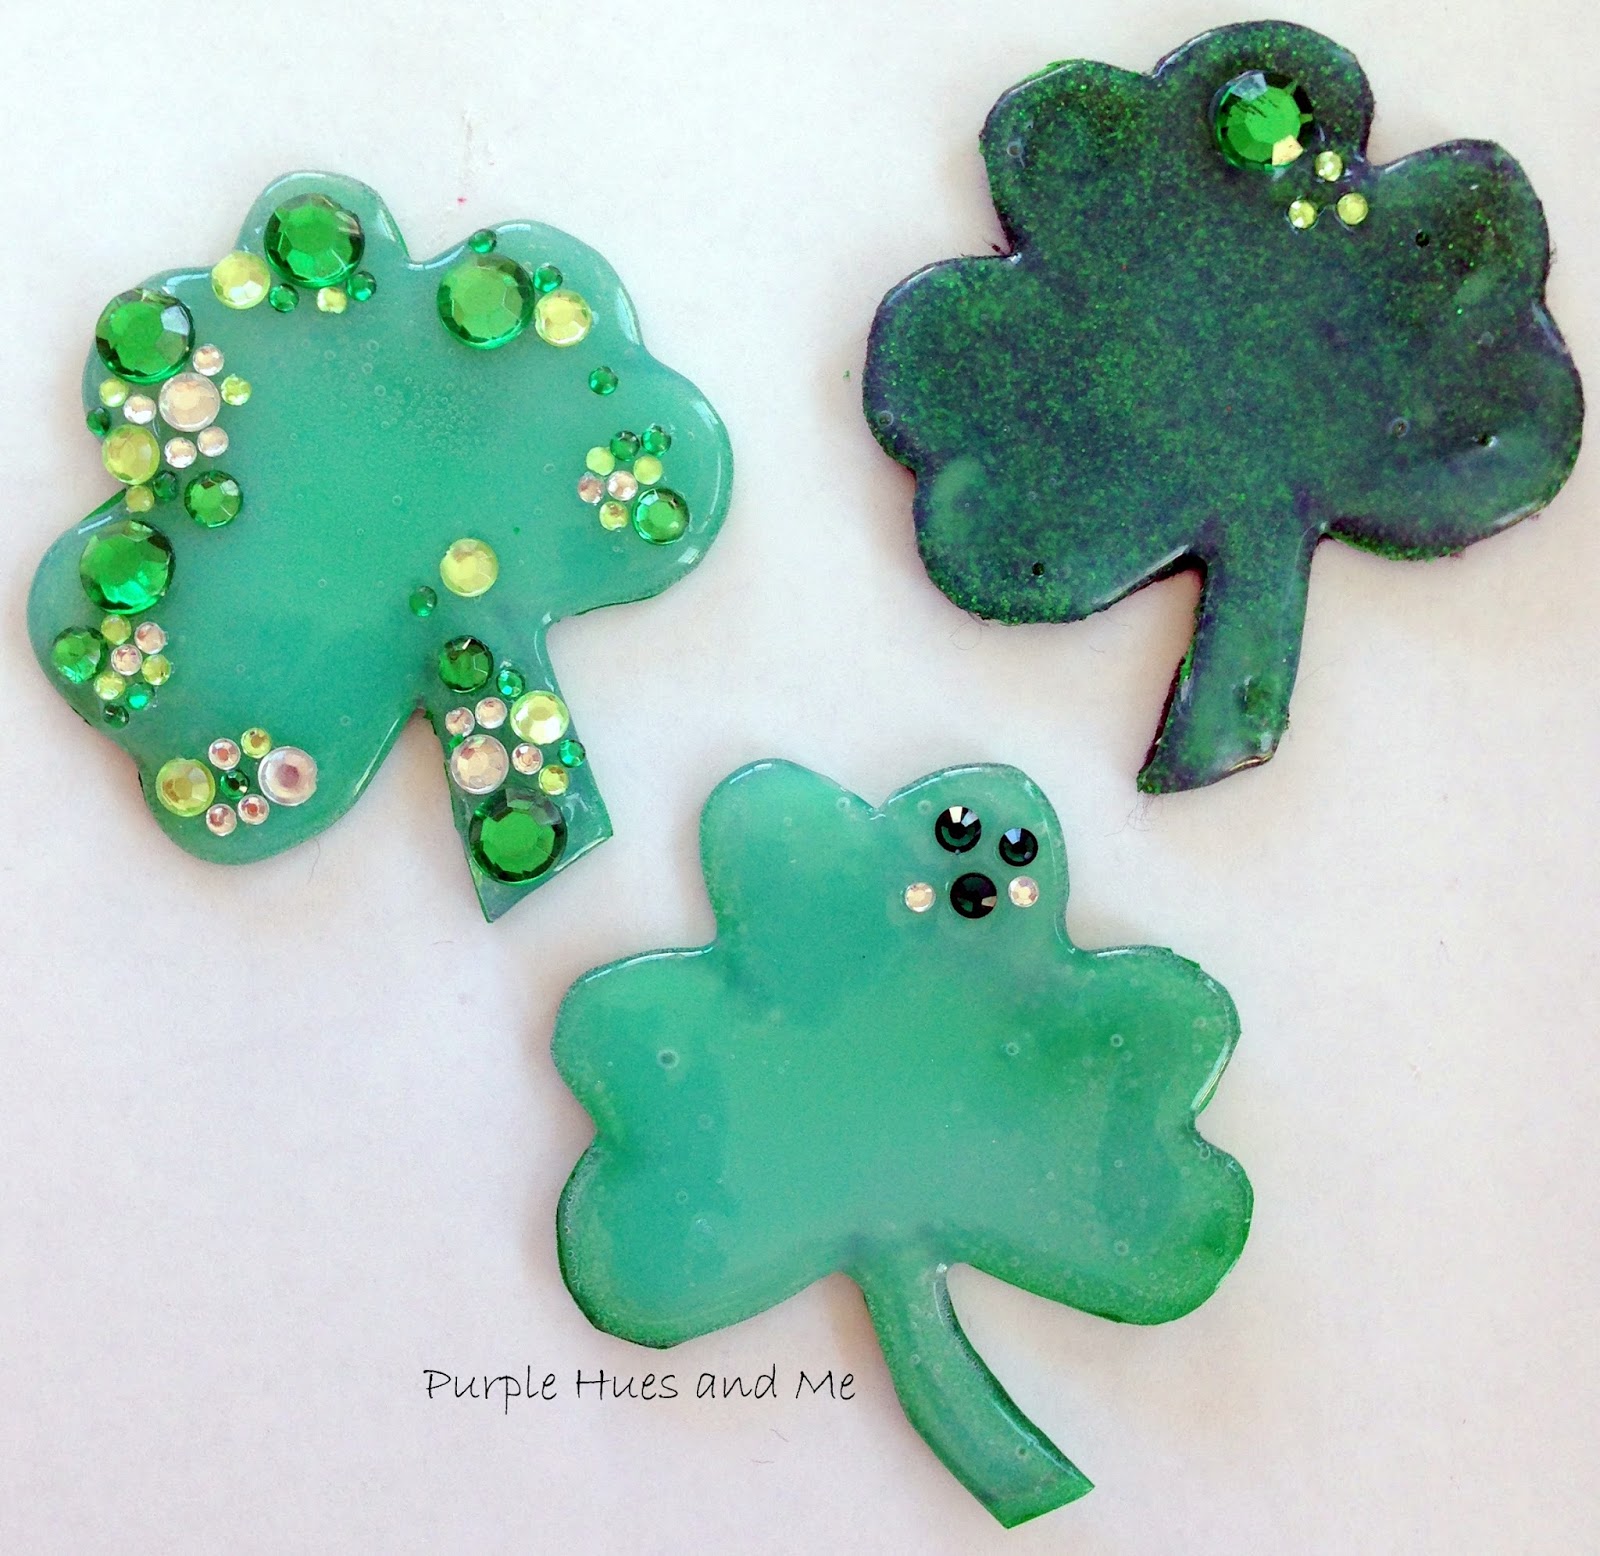
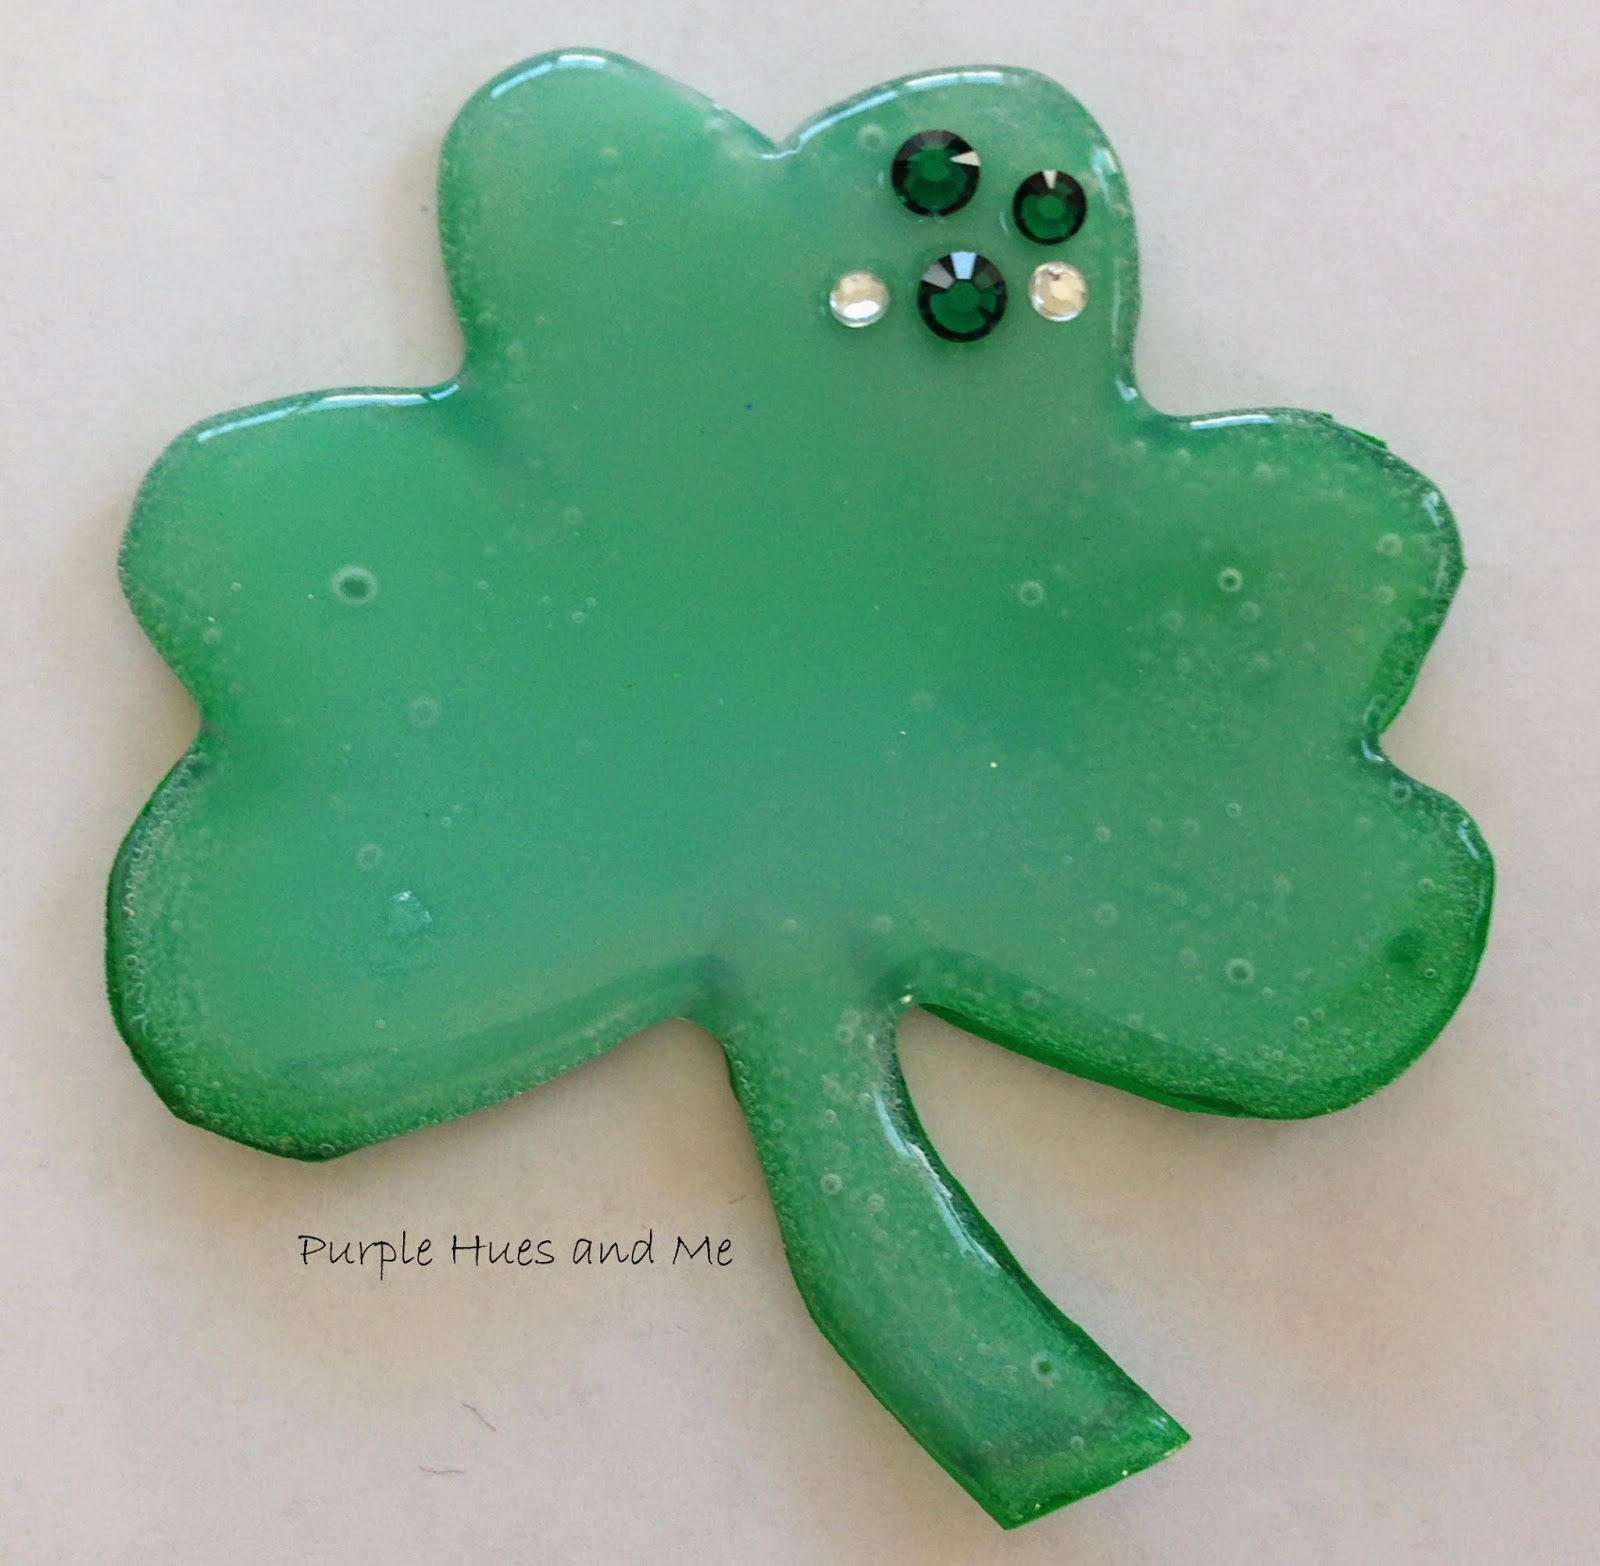
  • While glue is still hot, add rhinestones/crystals and allow to cool.


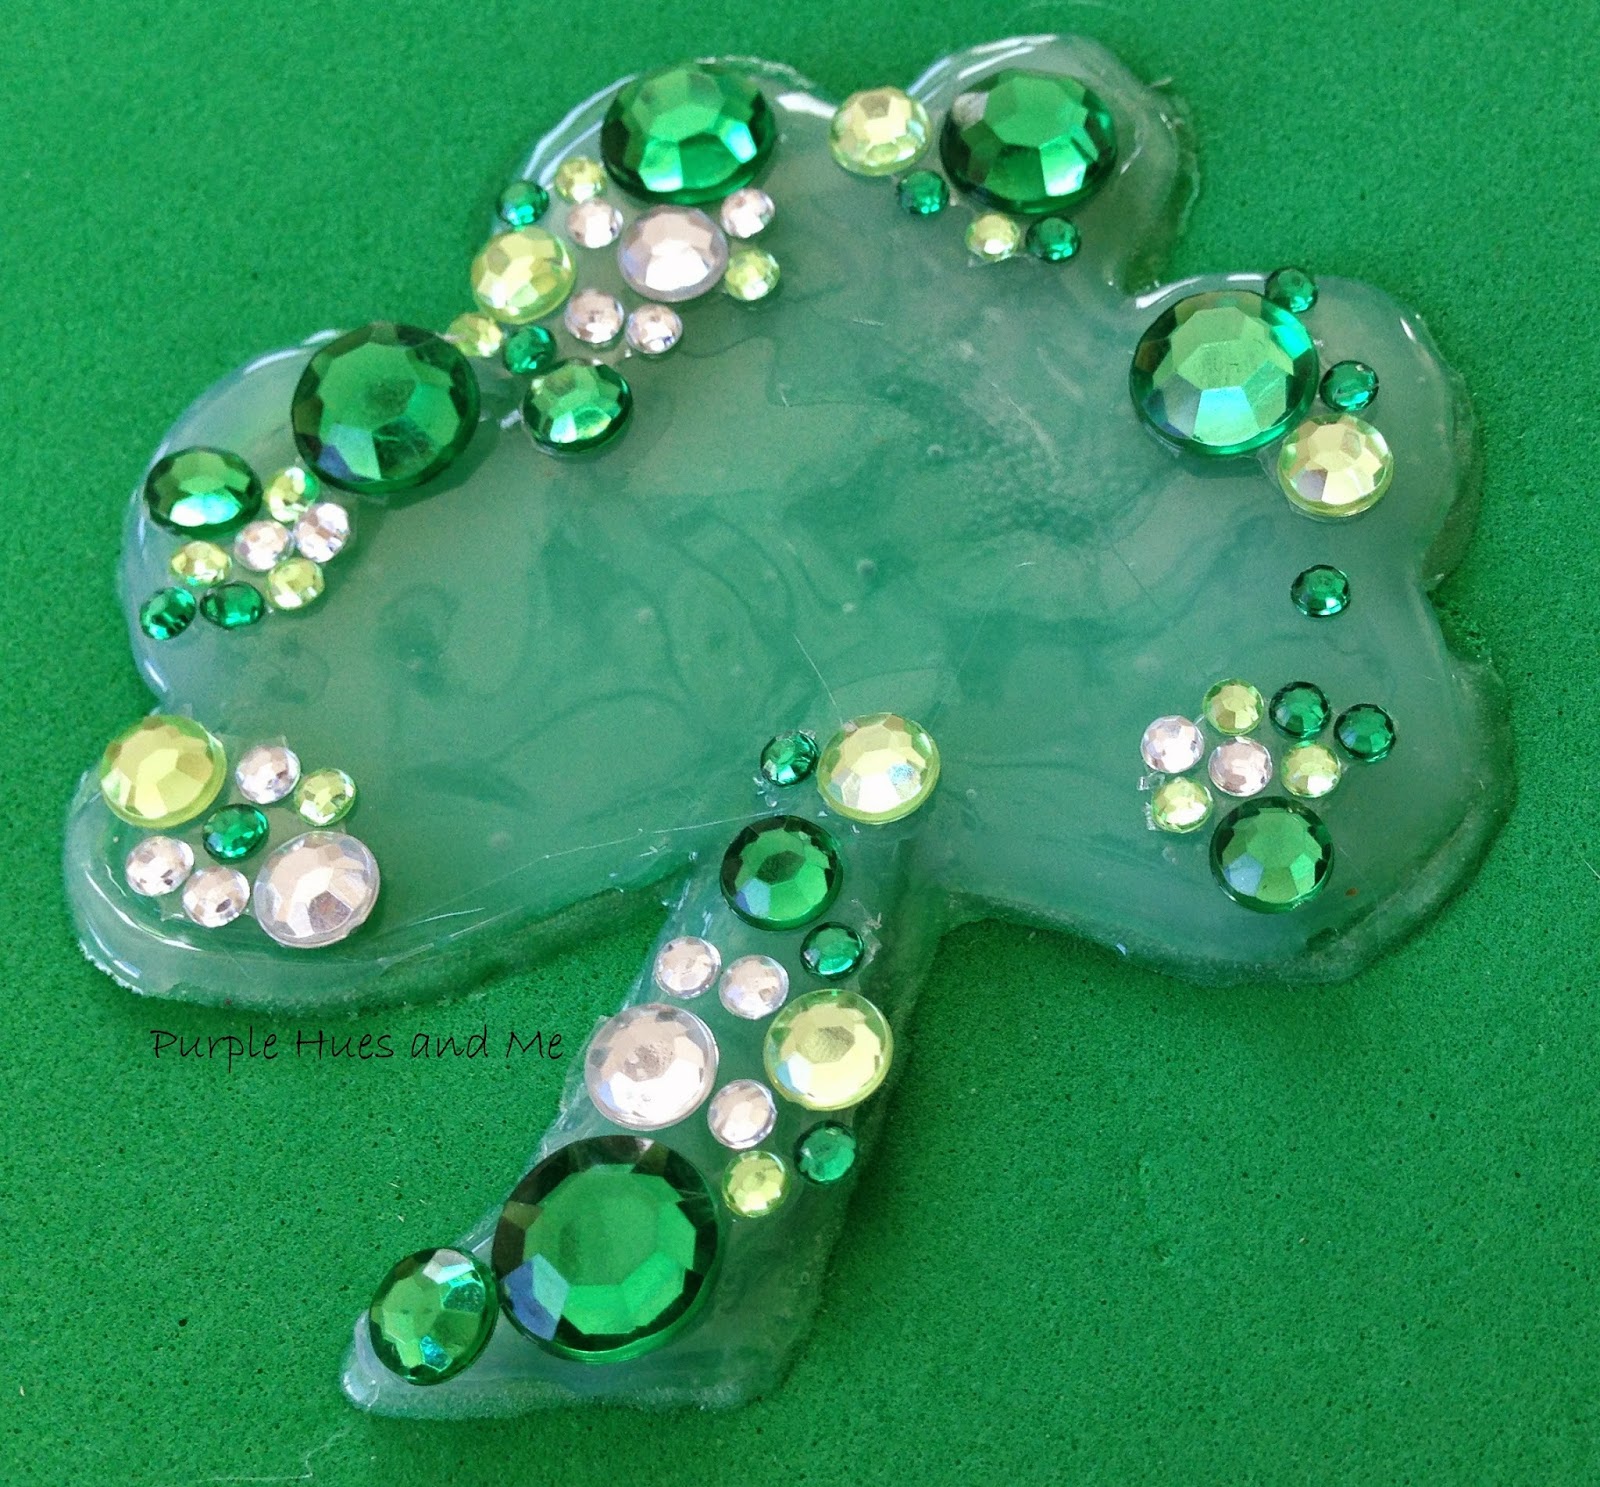
  • Once cooled, cut shamrock out.

 Sorry about the air bubbles but that's the beauty of handcrafted items - there're always imperfections!


  • Apply pin fastener to back using E6000.  The glitter foam sheet had an adhesive backing so I removed the paper and placed interfacing on the sticky surface before adding the pin.
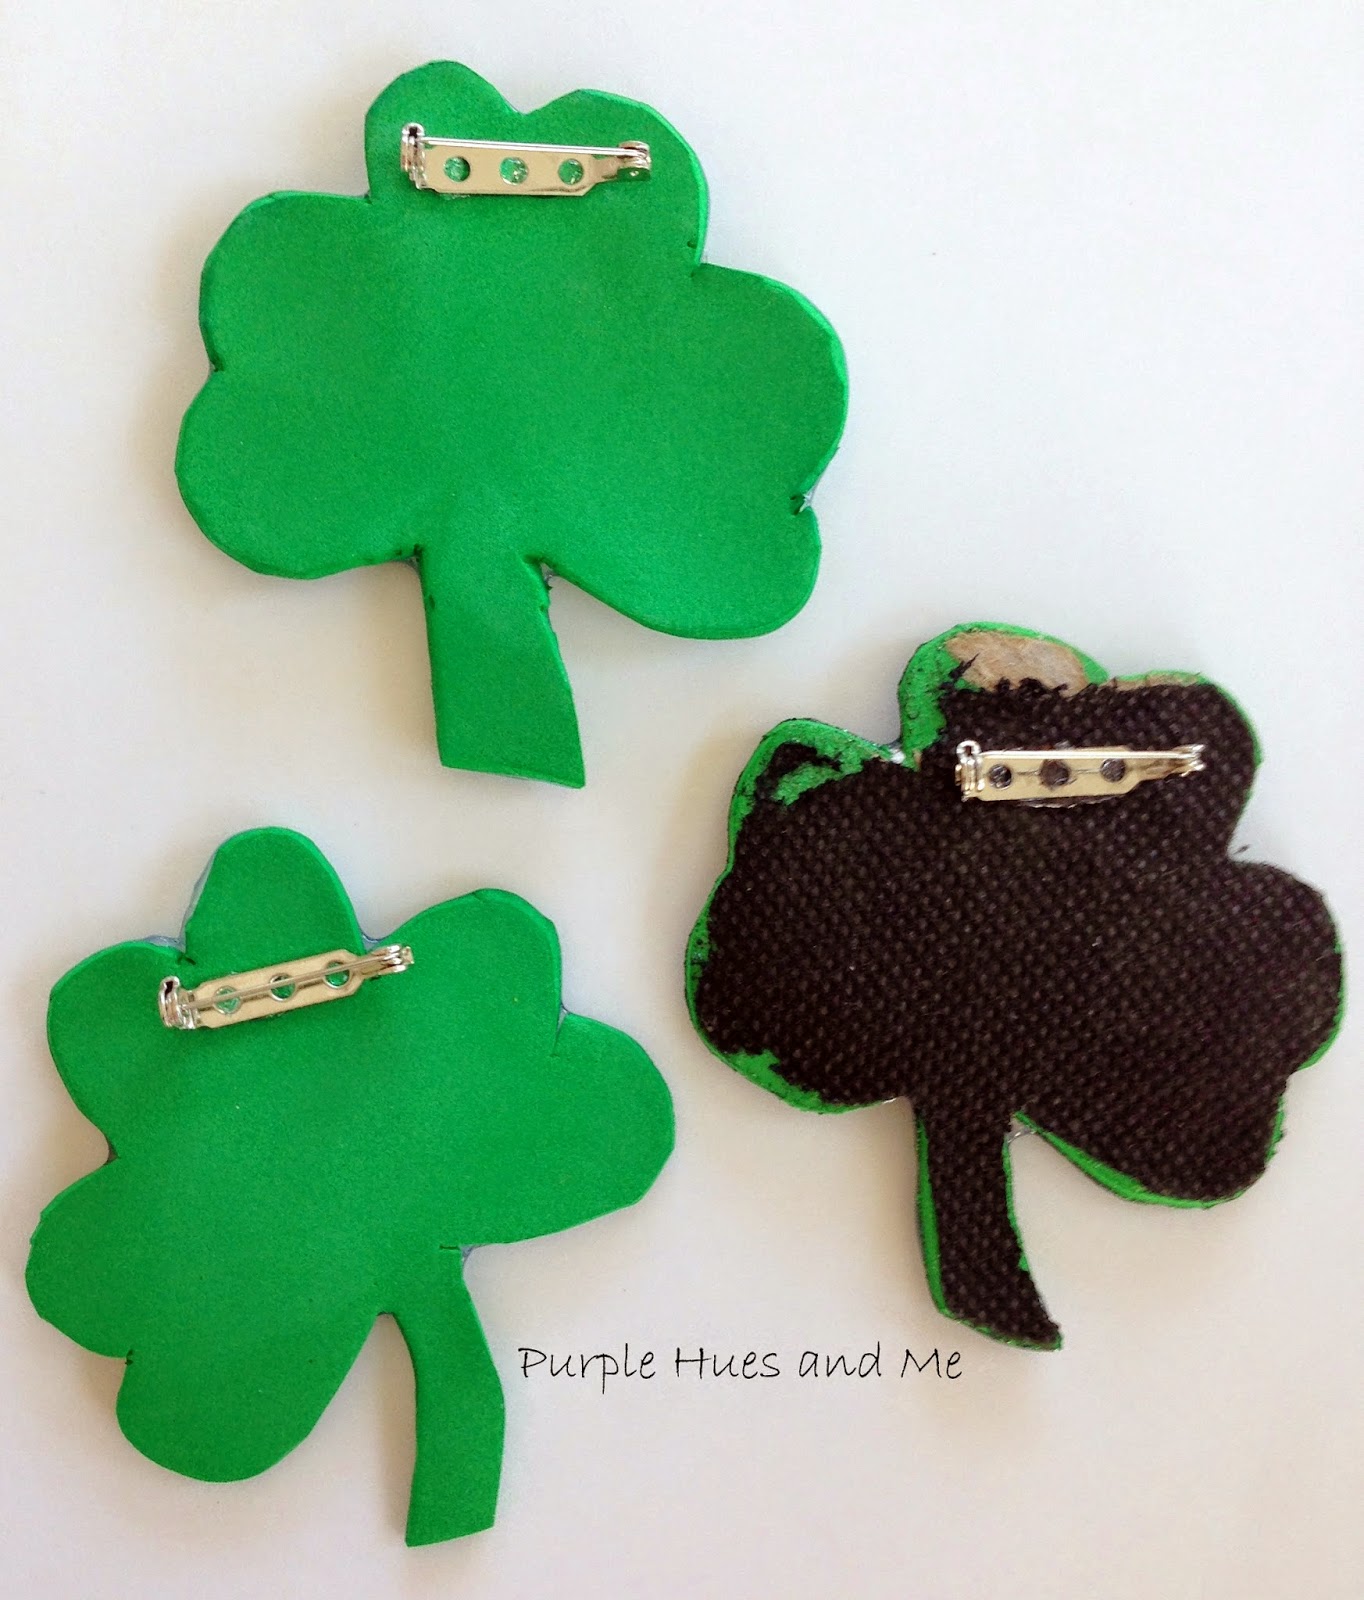

Cute, cute, cute!


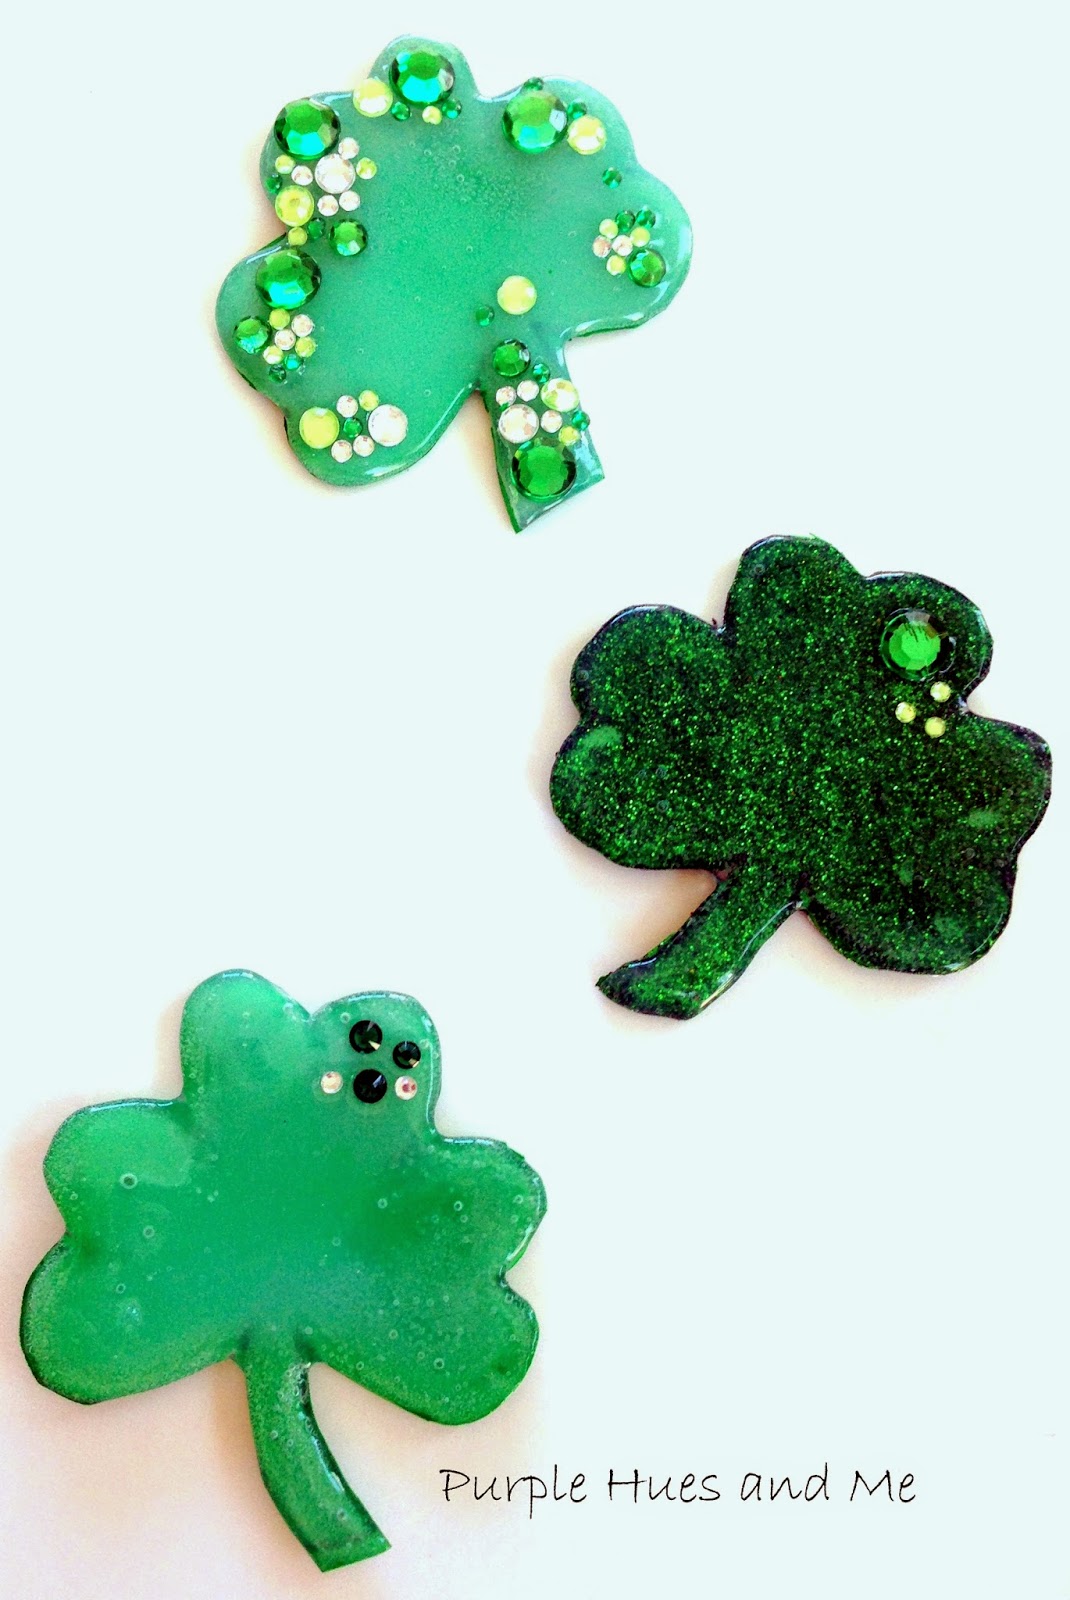
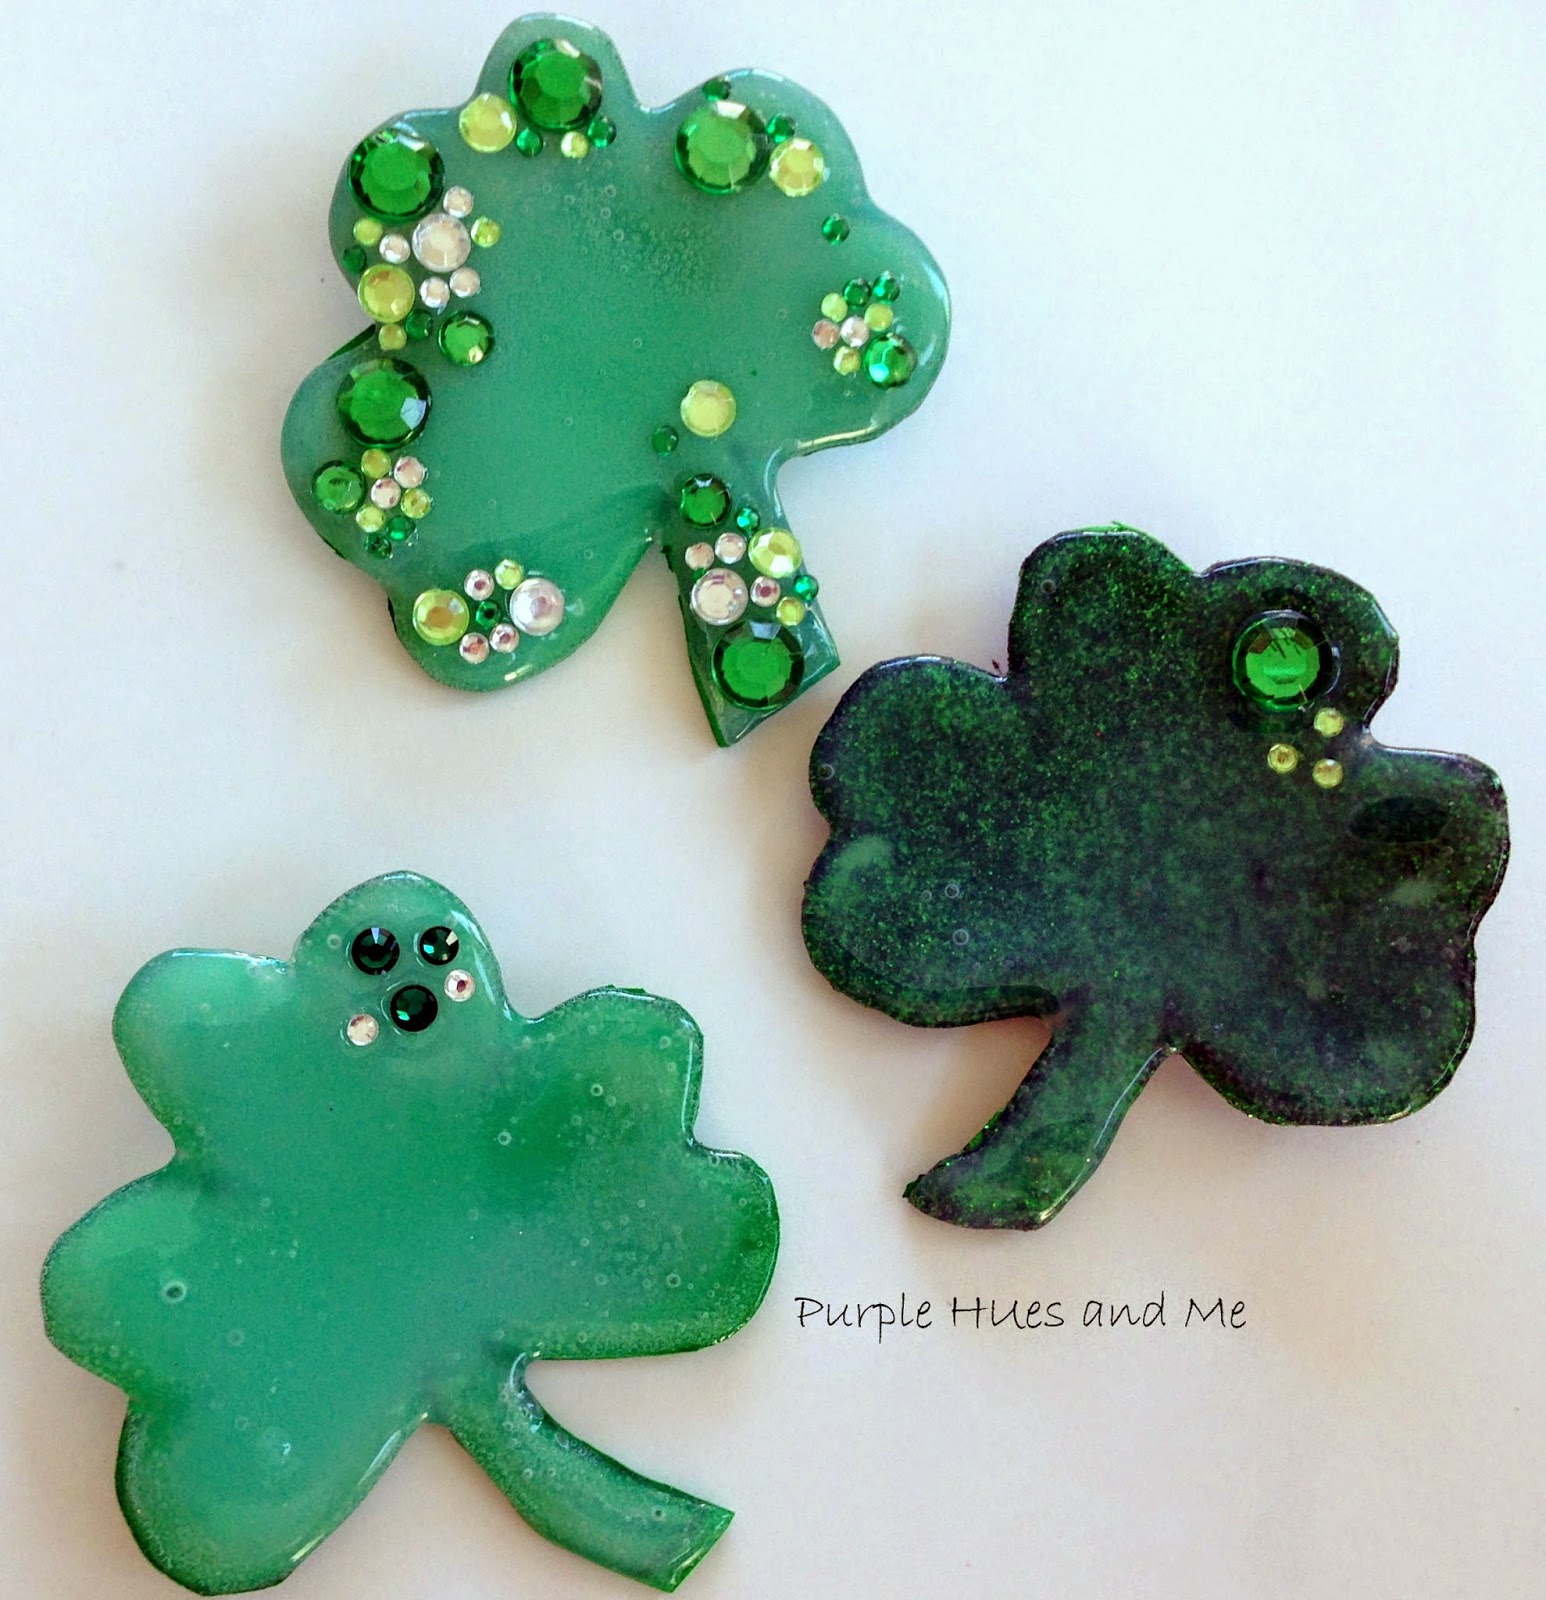
These hot glue shamrock brooches are some of the cutest pieces of jewelry you can make to help celebrate the luckiest day of the year and be pinch-proof, too!


Thanks for stopping by

and take a little time to enjoy -

Happy Crafting!


  •  Facebook
  •  Twitter
  •  Google+
  •  Stumble
  •  Pinterest

Wednesday, February 15, 2017

Let's Make Penguins - An Easy Snowy Day Craft


Little kids and not so little kids look forward to indoor crafts when the weather is cold and snowy!  I know I do!  Everyone loves penguins - it's just something about them - could it be their waddle, or little faces or their black and white coloring?  I just know they are so cute and fun to watch! 

This adorable penguin craft is made using items you can find at the dollar store or around your home, like socks, scarf, felt and bottles!  And it's a cute and easy craft for both adults and children alike -  perfect for those cold snowy days and any in-between time during the winter months!

Begin by gathering the following materials:
Socks
Milk or water bottle
Fleece scarf
Felt (black, white, orange) 
Googly eyes
Penguin Template
Scissors
Fabri-Tac glue or hot glue


Save as, or copy the penguin template .  .  .


and cut out in felt. Glue on the smaller like pieces on top of the larger ones for the feet and wings.


Next, pull the sock over the bottle .  .  .
 and twist the sock* top around and down over the bottle. *This way you're saving the socks in case you want to wear them later. Lol!
Glue on the body and then .  .  .

 the feet.

For the hat, cut out a 7 1/2" square from the fleece.
Run a bead of glue along one side .  .  .

 and fold over creating a tube.
Turn the tube inside out, cuffing one end and gathering opposite end, just below edge and tying.  

Try on hat over the sock bottle and adjust to fit down, just before tip of body.

Glue on eyes, beak and wings.

 How adorable is this!
To finish, cut a narrow strip of fleece and tie around penguin, just below beak and over top of wings.

Have fun making a companion or more!

This is cuteness overload!

Thanks for stopping by
and take a little time to enjoy -
Happy Crafting!

  •  Facebook
  •  Twitter
  •  Google+
  •  Stumble
  •  Pinterest