Thursday, February 18, 2016

Recycled Decoupaged Paper Mache Bunny


I'm always looking around on different retail sites to get ideas on crafts to make.  For Easter and spring, I discovered the cutest decoupage bunnies on Grandinroad and knew my next project would be inspired by these.
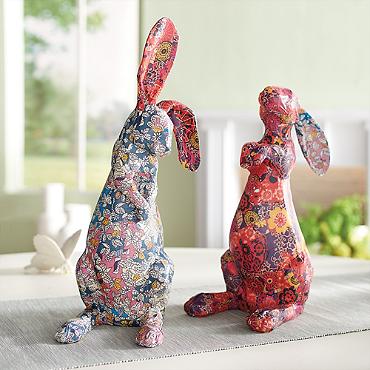
Grandinroad Source
 The only problem - well, one of the problems I had was trying to find paper mache bunnies as large as these to decoupage.  No such luck, so I had to make my own.  And, I had intended to make two, but this project became so tedious and time consuming that I was happy when I finish the one!

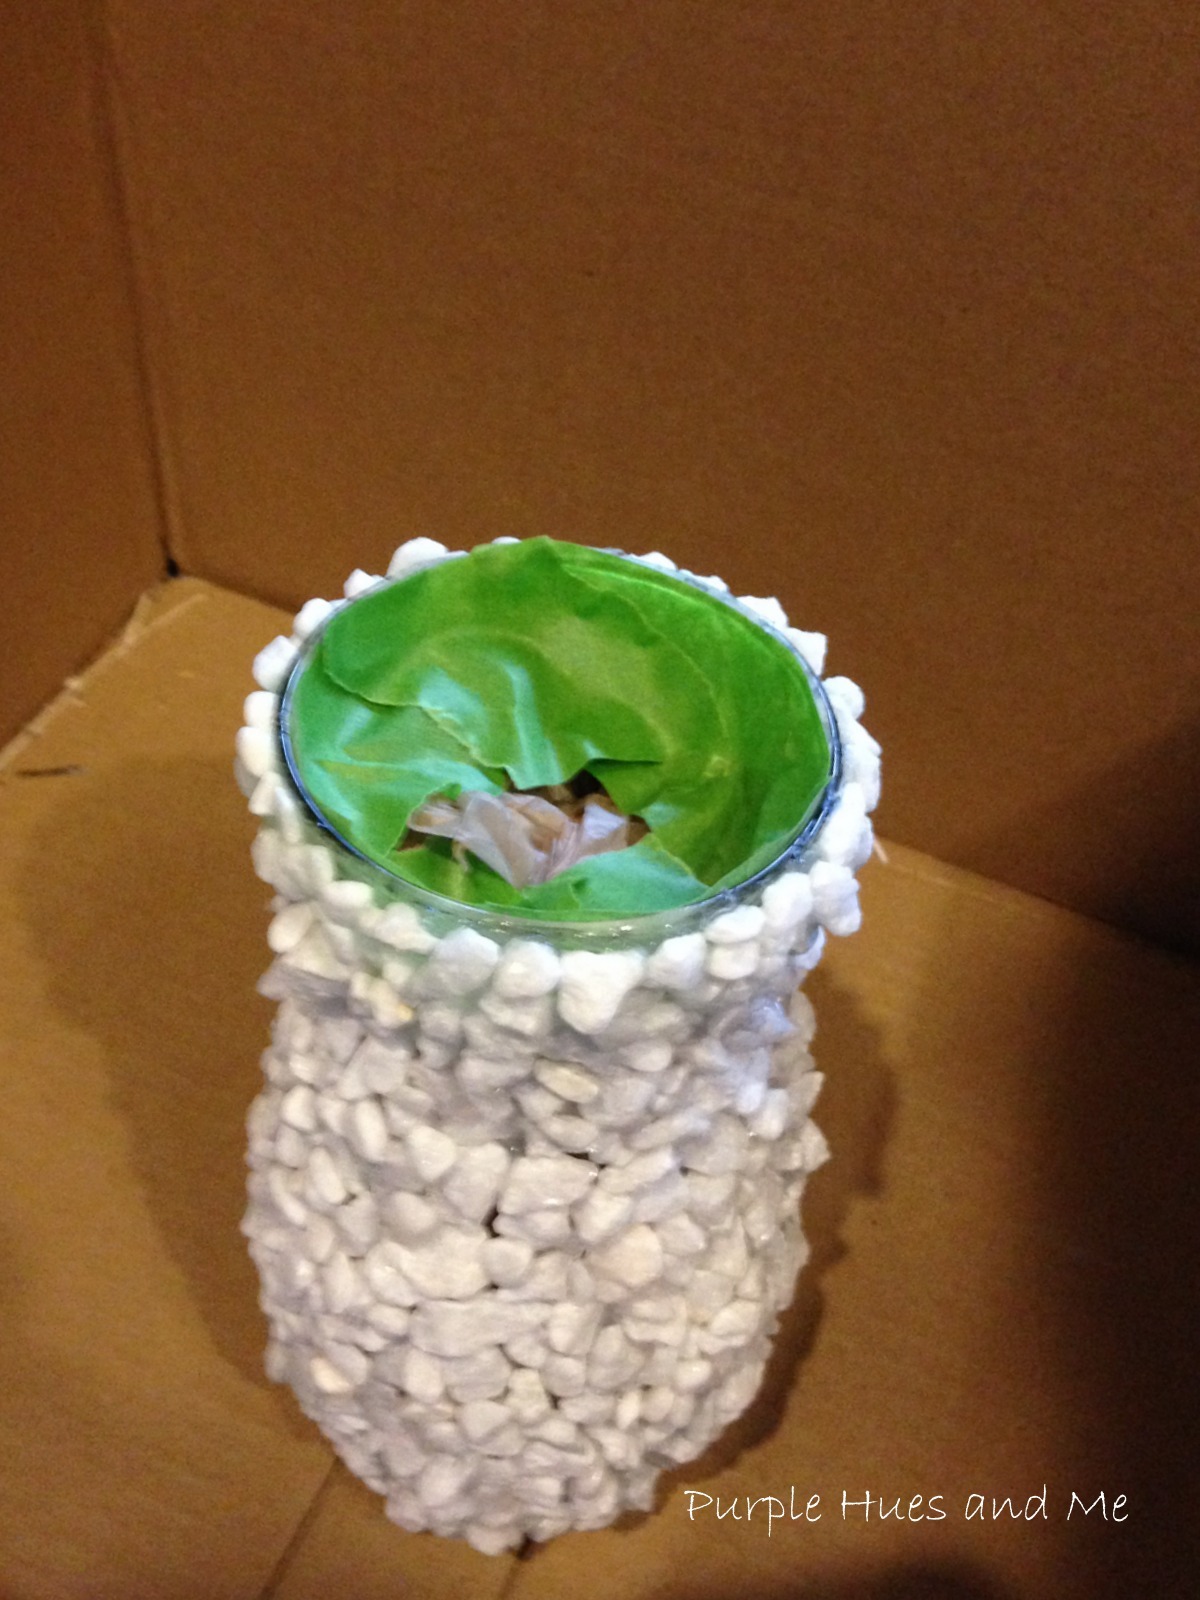
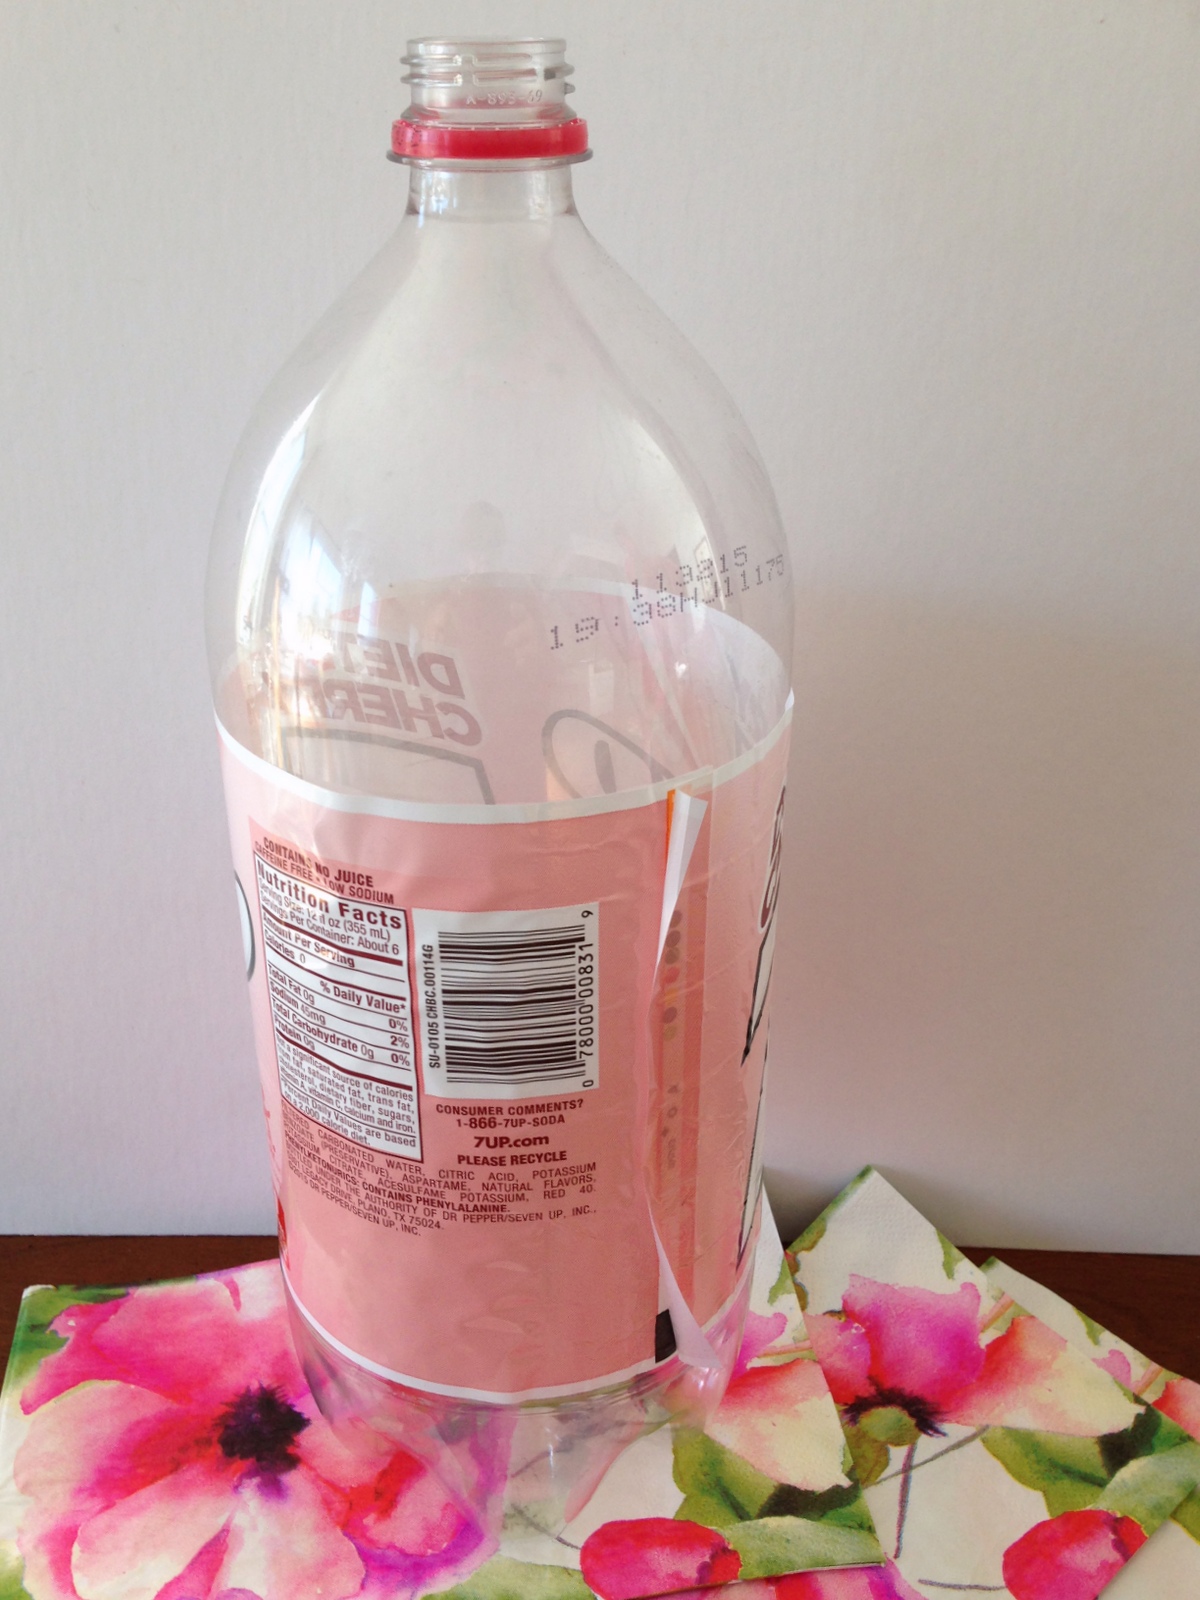
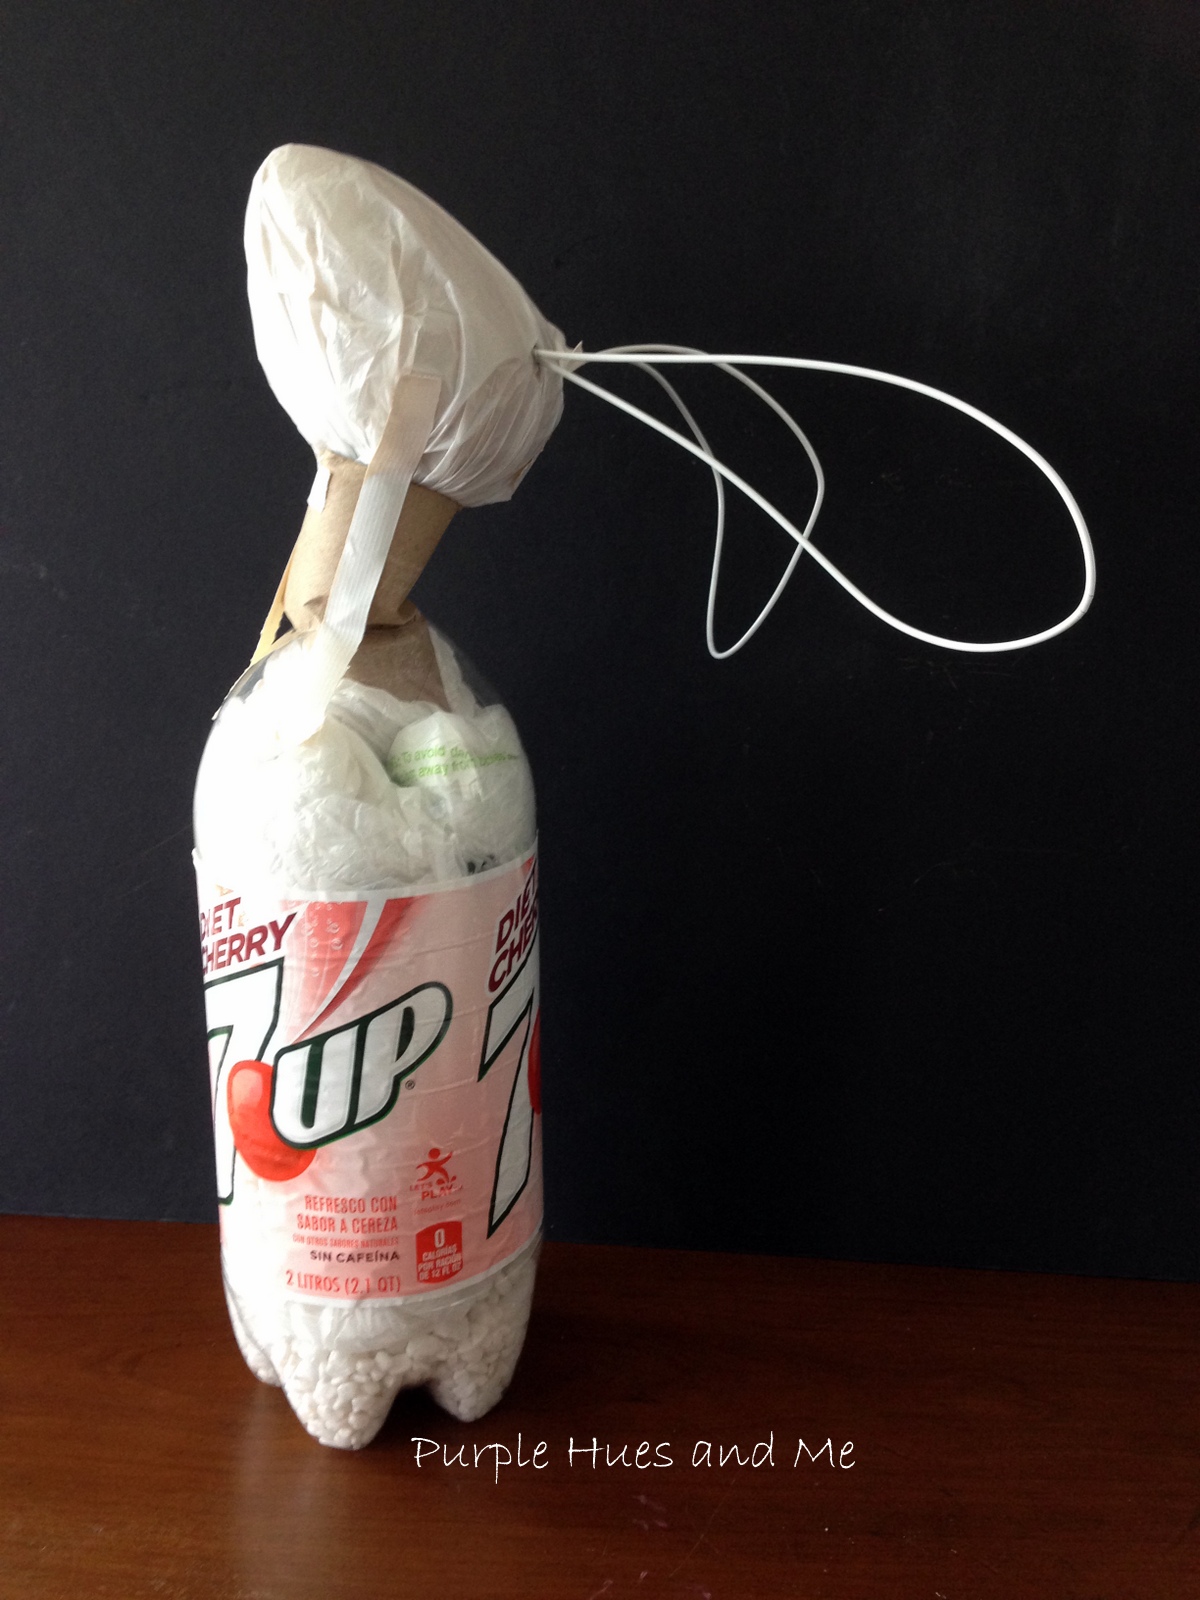
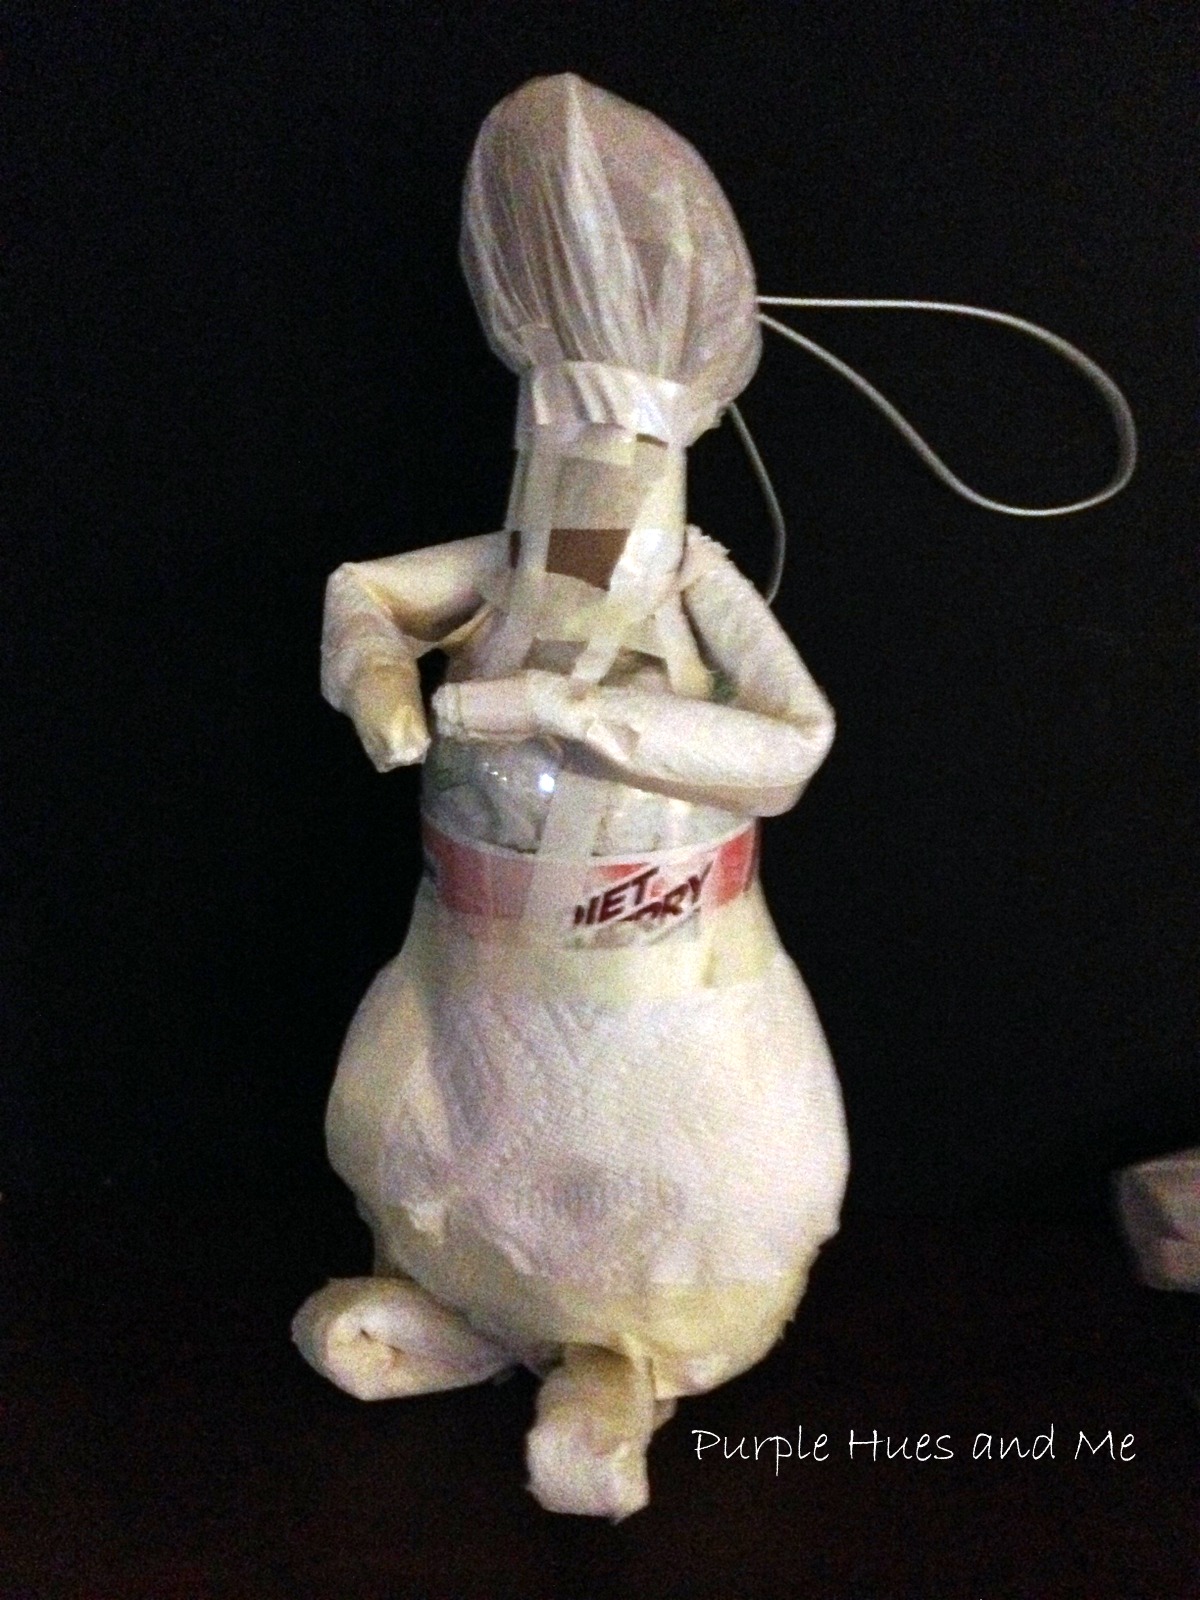
To begin, I used a 2.1qt. soda bottle that I cut off the top opening.  I would discover another problem in finding paper napkins I wanted to use - something springy and hopefully in purple - but that wasn't to be either.  Although, I did find a flowery purple pattern at Party City online but didn't want to wait another week or more for them to arrive. So after looking in several stores, I settled on a design I found at Tuesday Morning. 


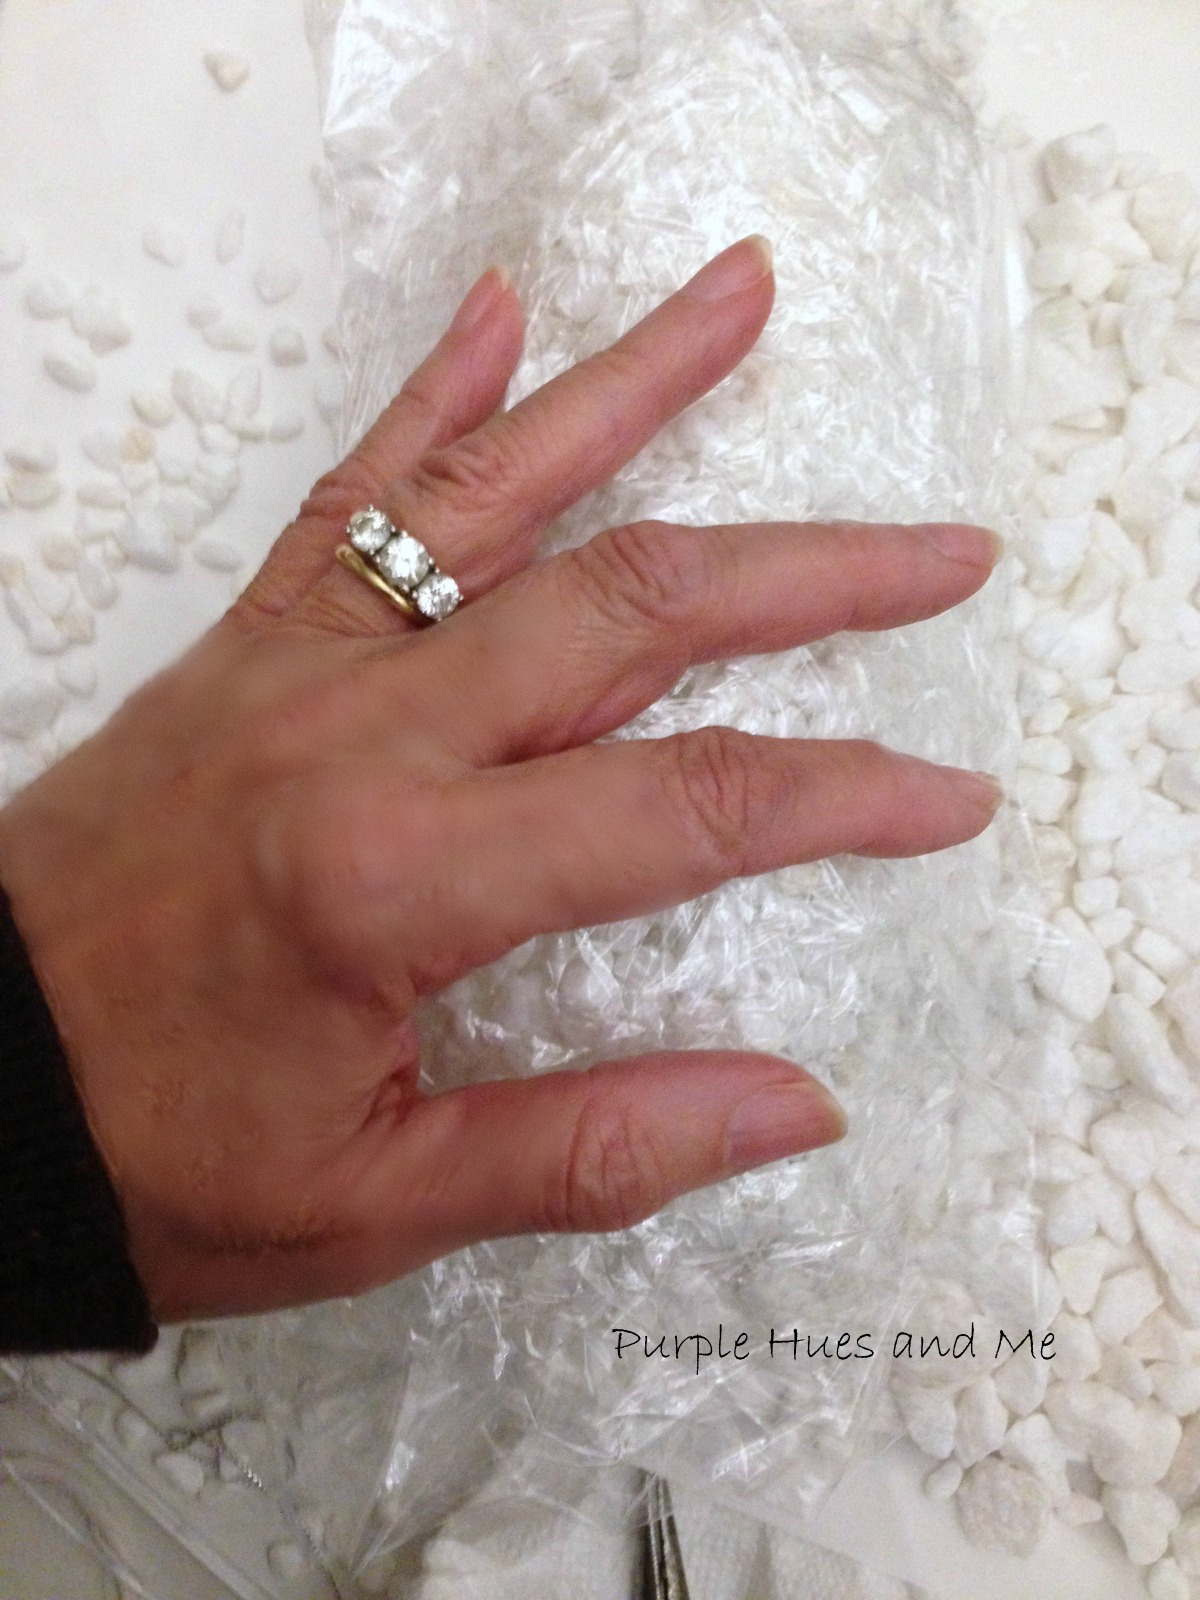
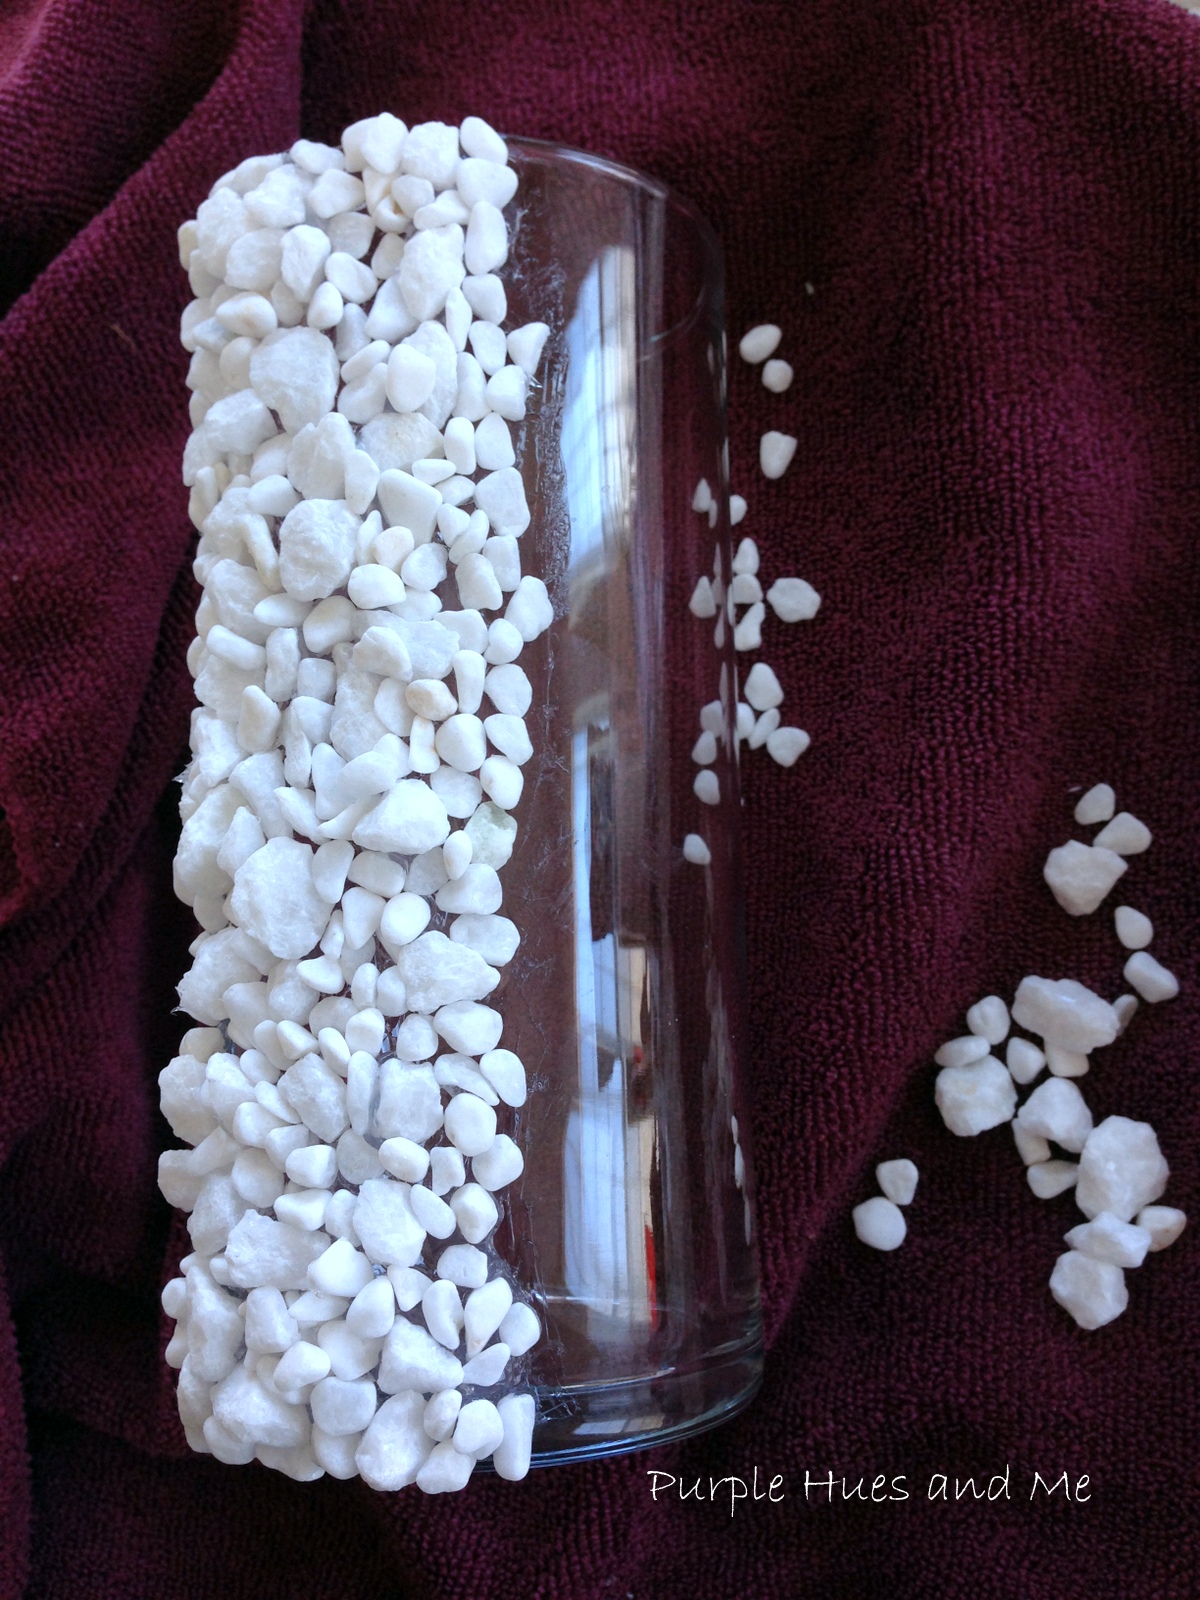
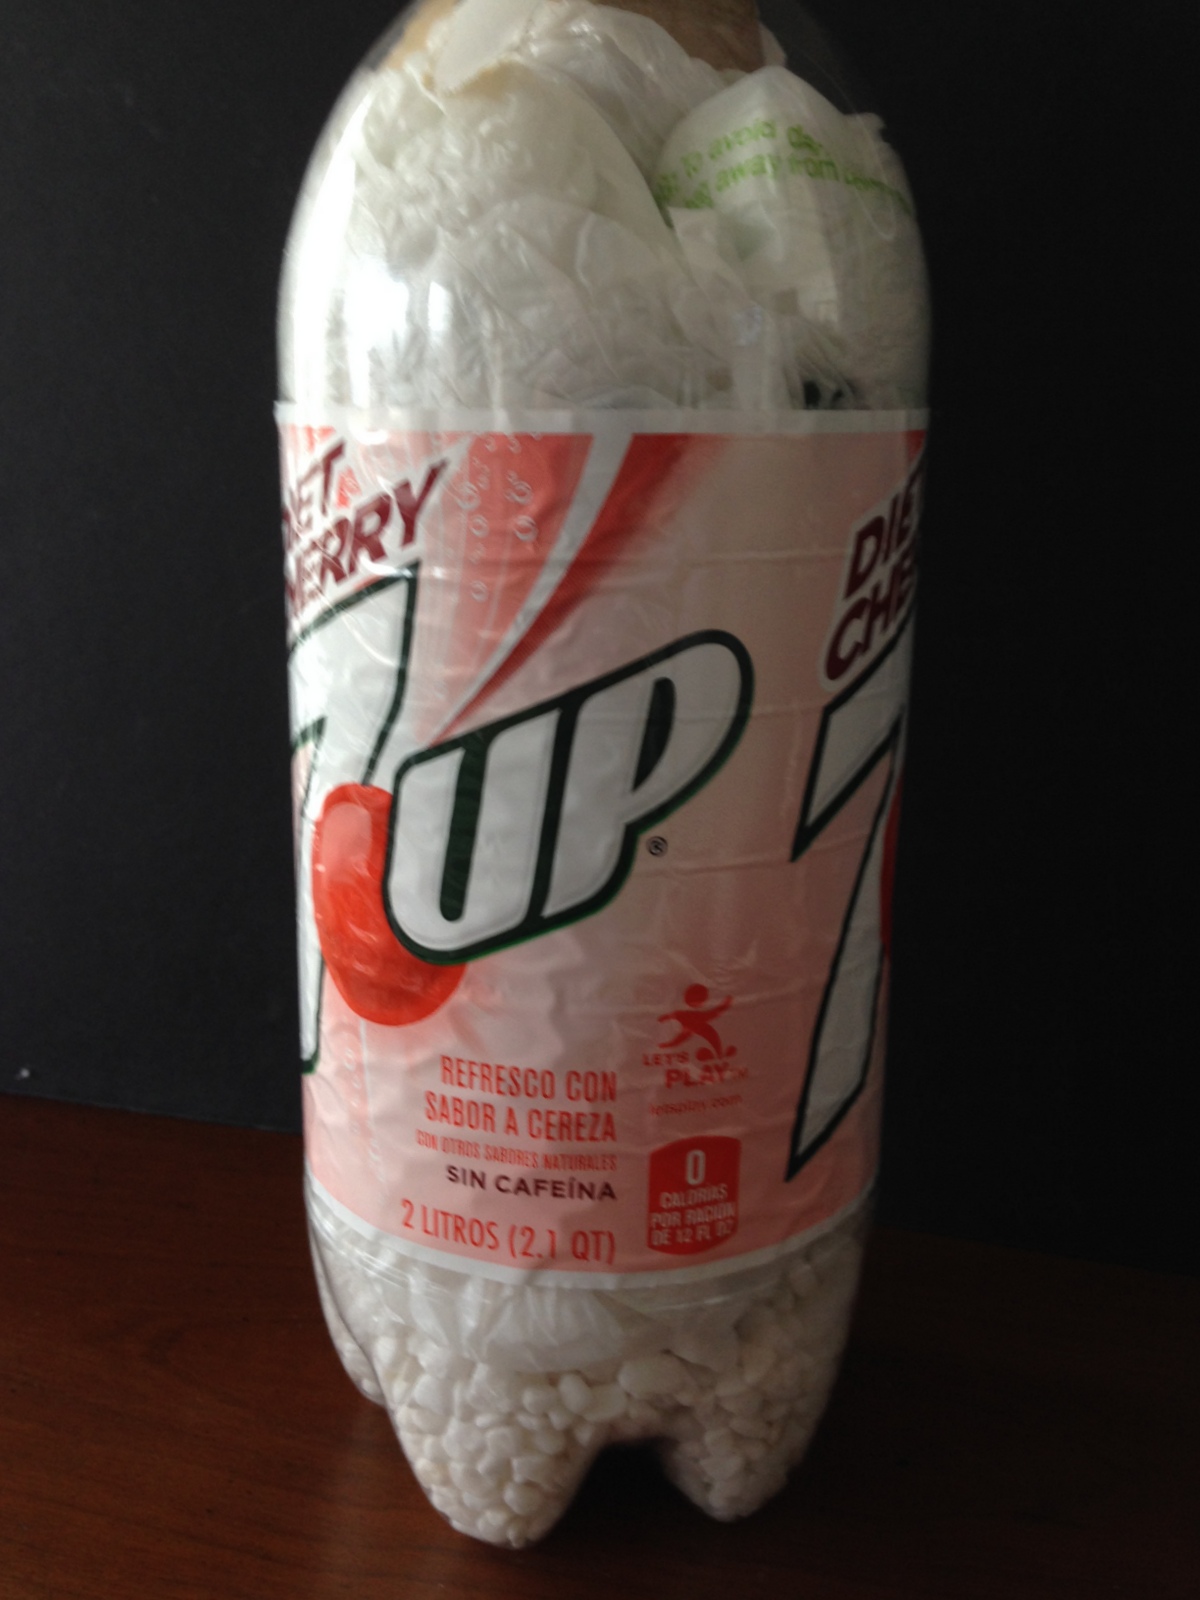
Next, I added small rocks in the bottom of the bottle to give weight to the bunny and also stuffed the cavity with plastic bags so the sides would not cave in like they did when I washed the bottle.

With a picture of the bunnies to look at, I began shaping the structure with masking tape, using a paper mache egg for the head (wrapped in a plastic bag), and clothes hanger wire for the ears. I also used a portion of a toilet paper tube  to extend the neck.


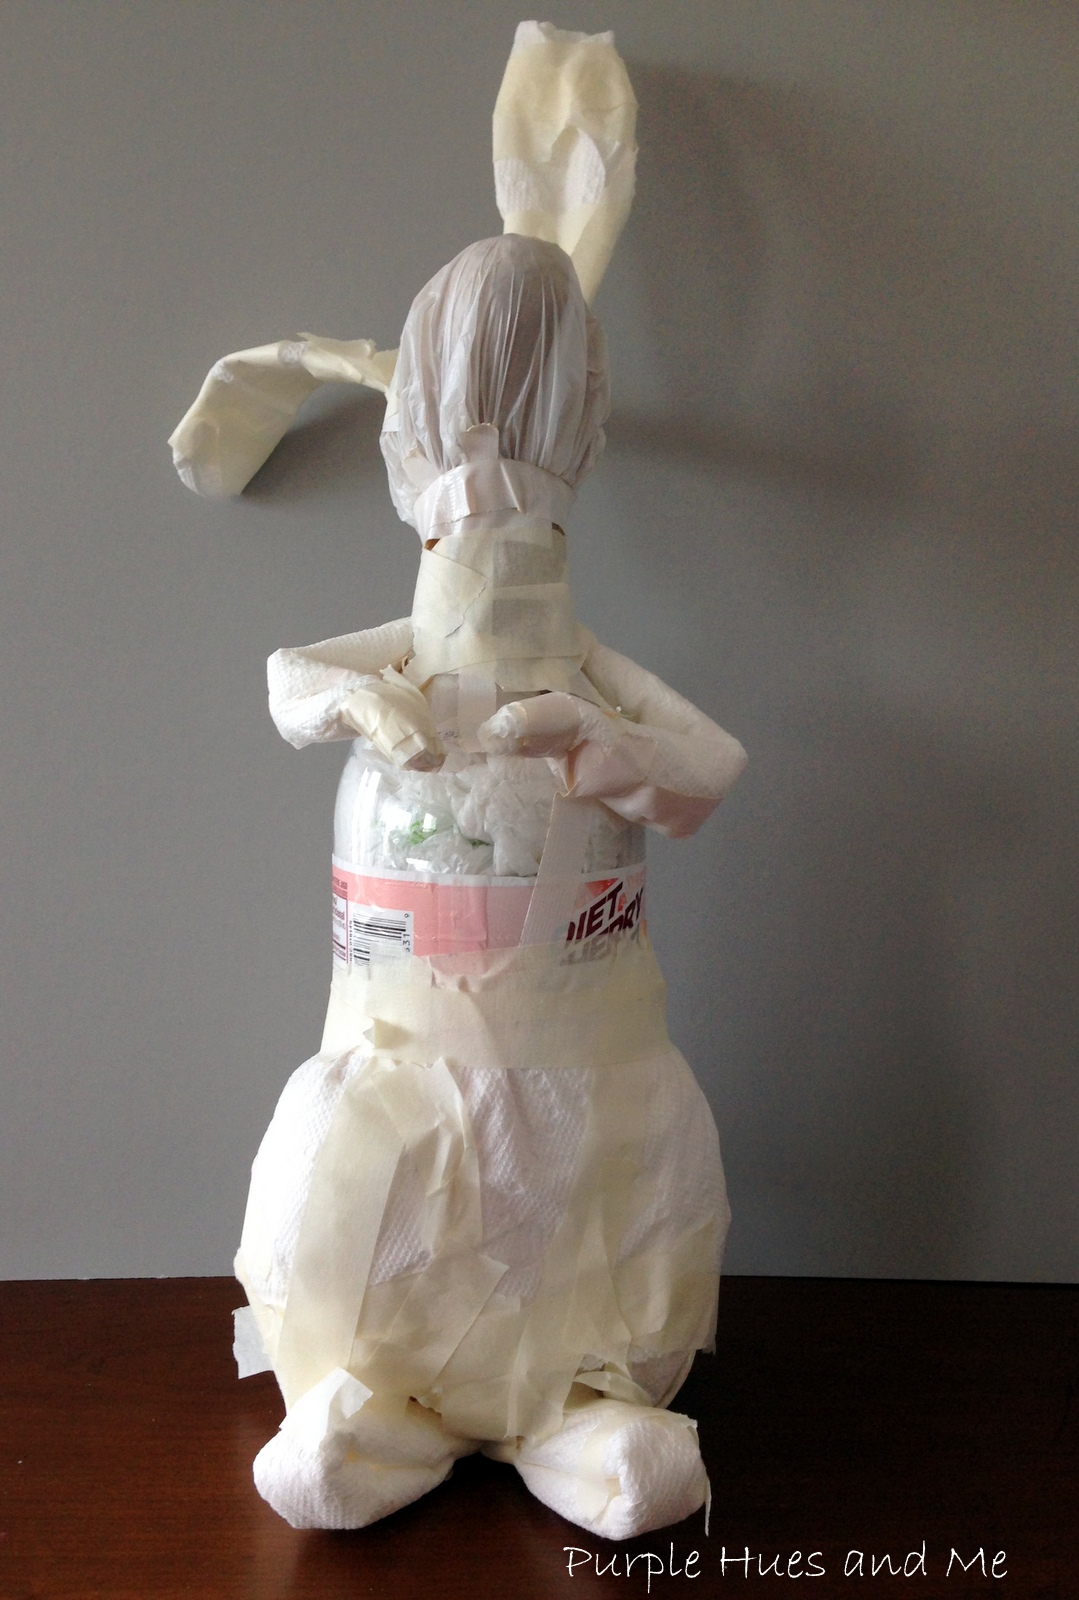
And used folded paper towels to shape the bunny legs and feet.


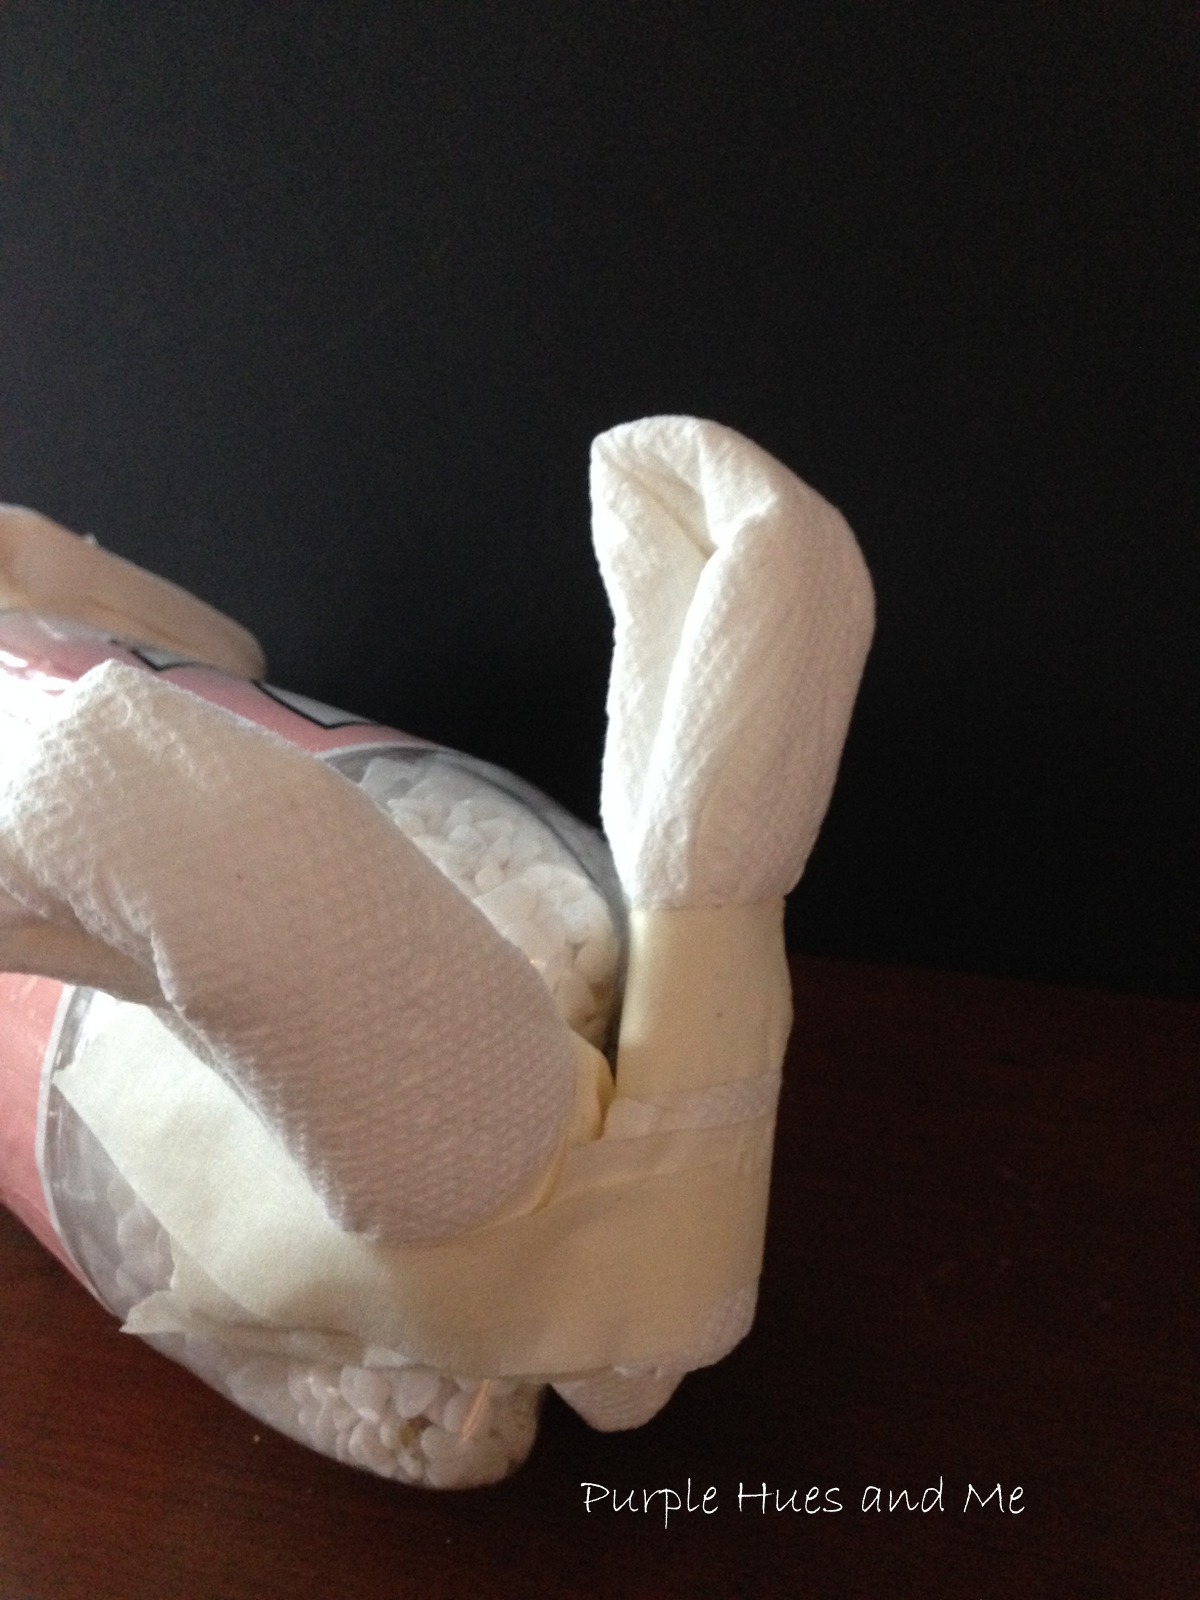
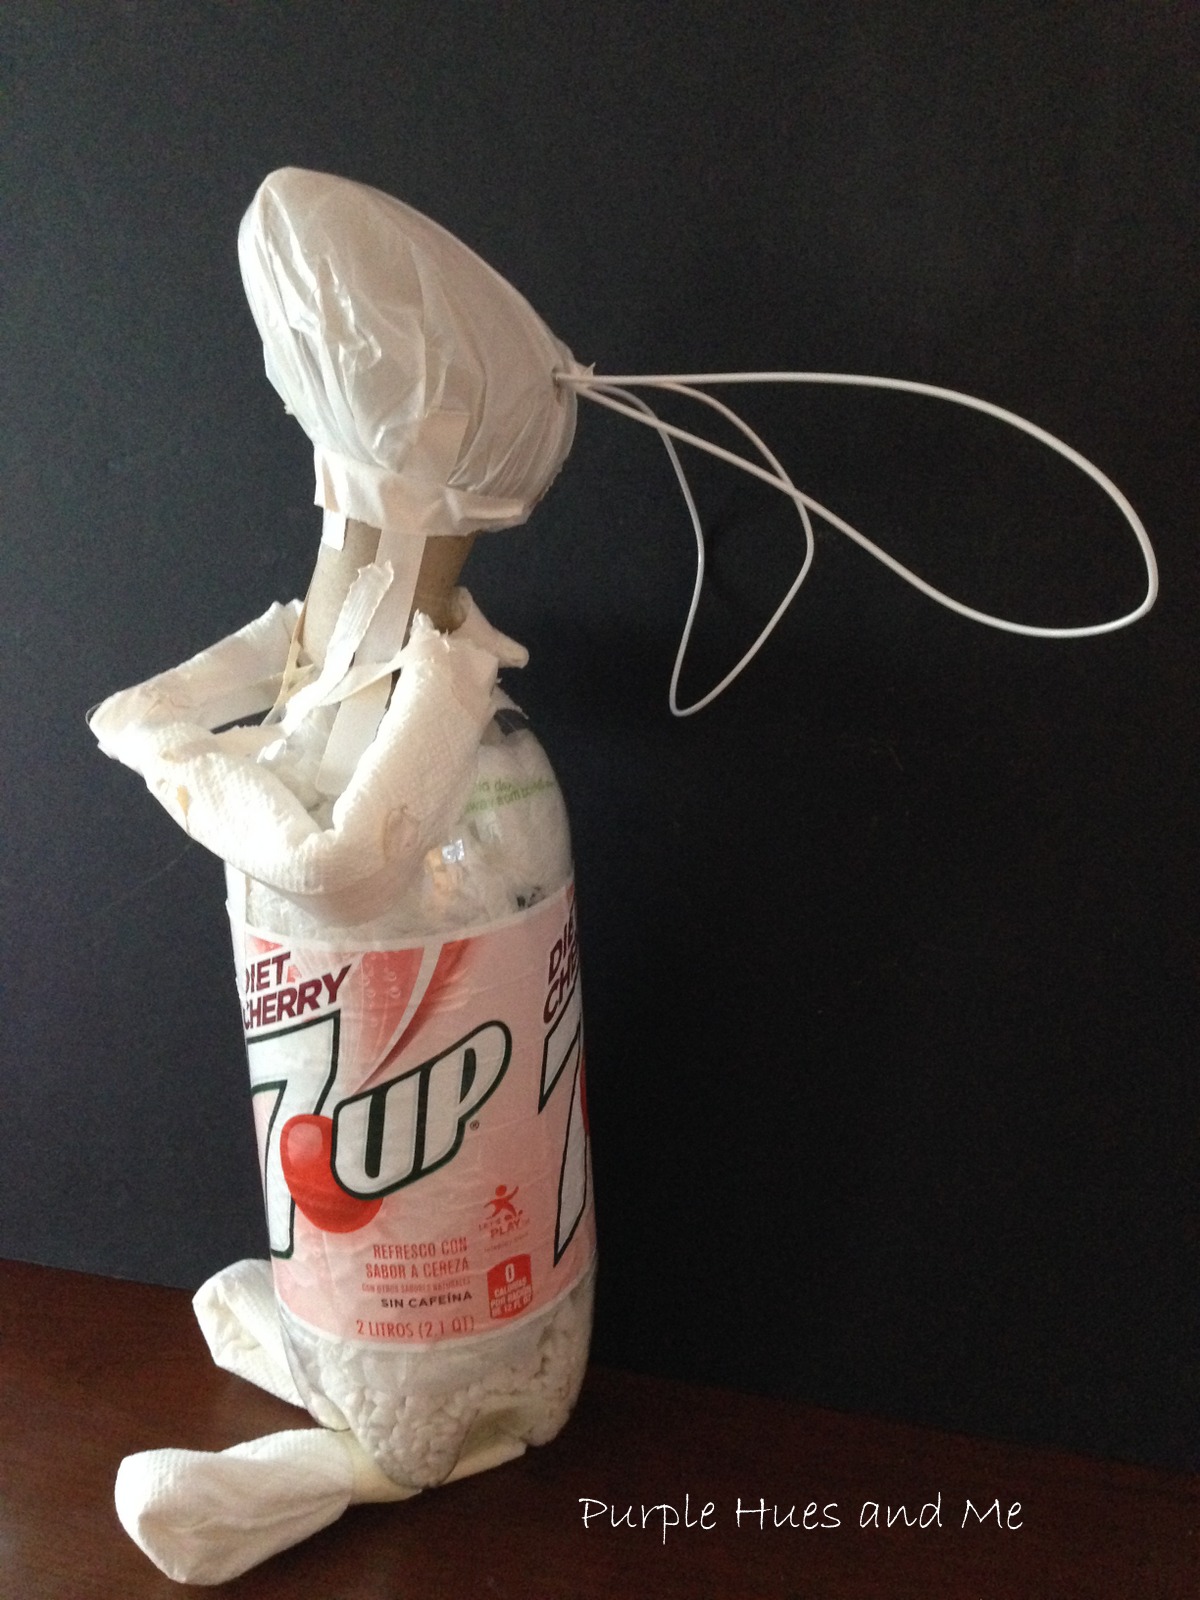
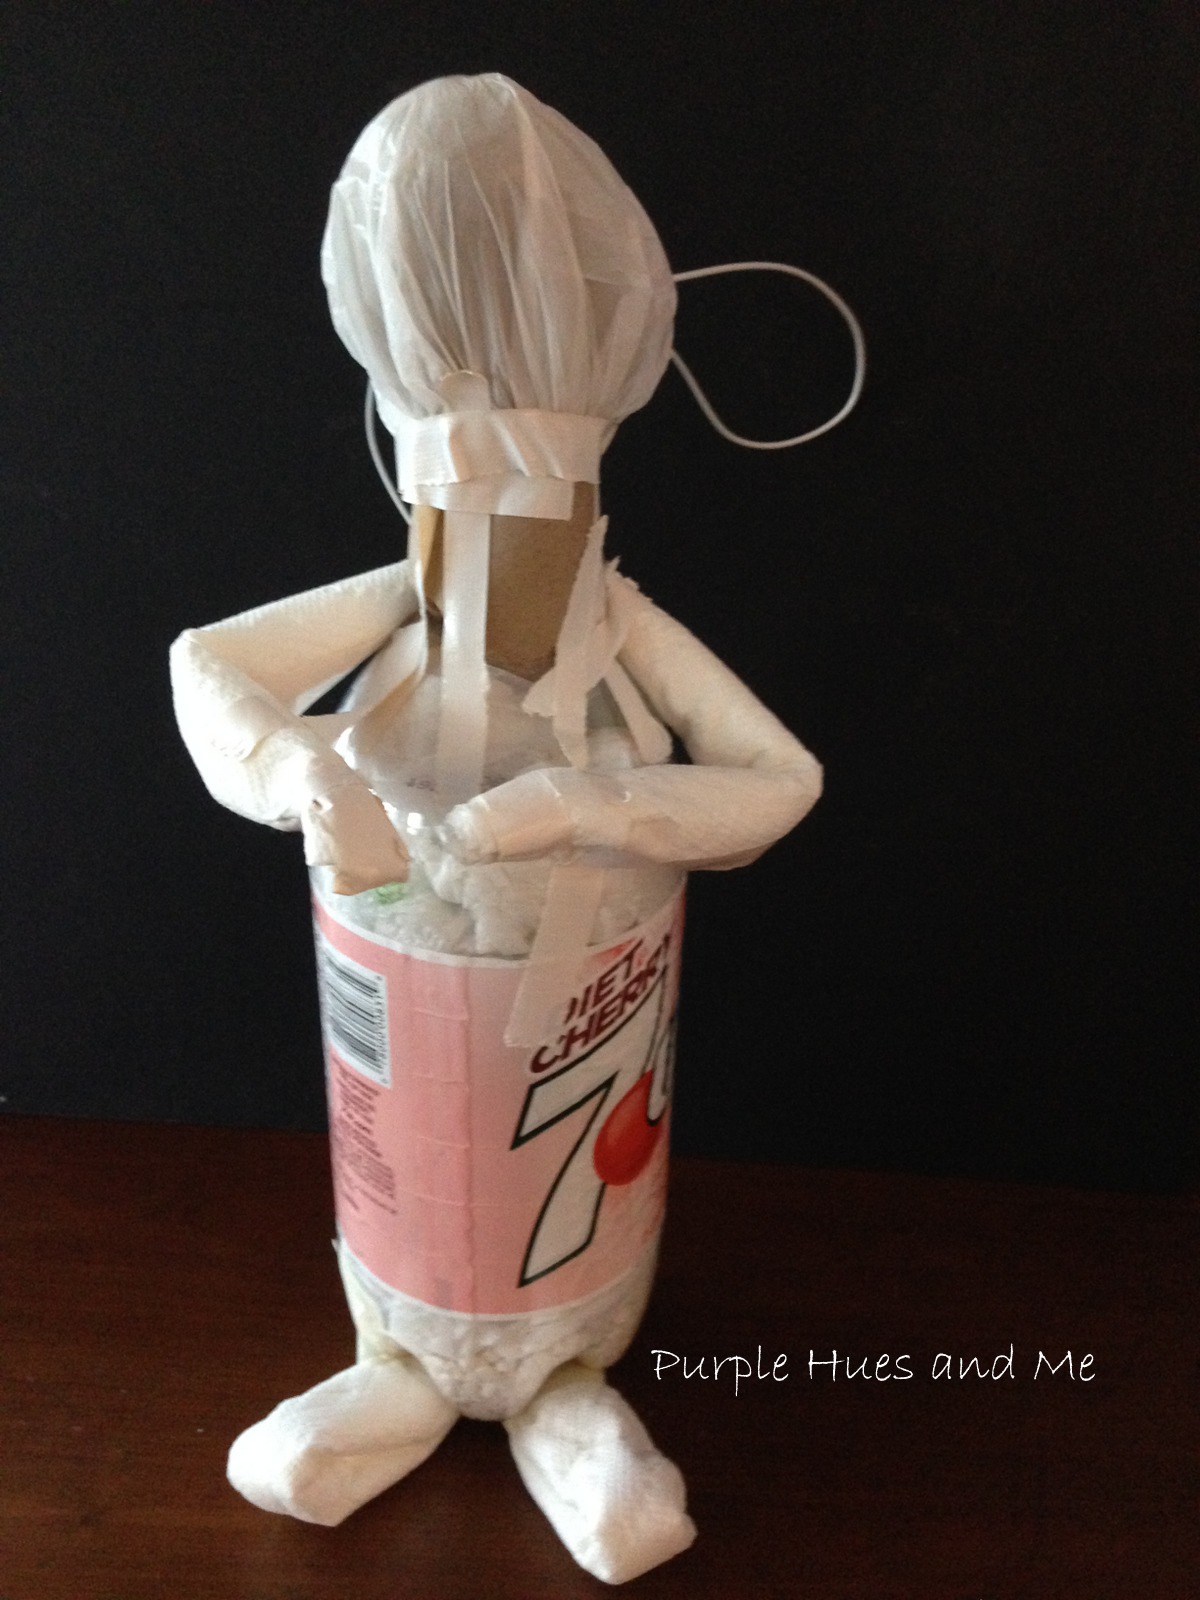
And also used them to increase the bottom area of the bunny .  .  .


and to cover the ears.
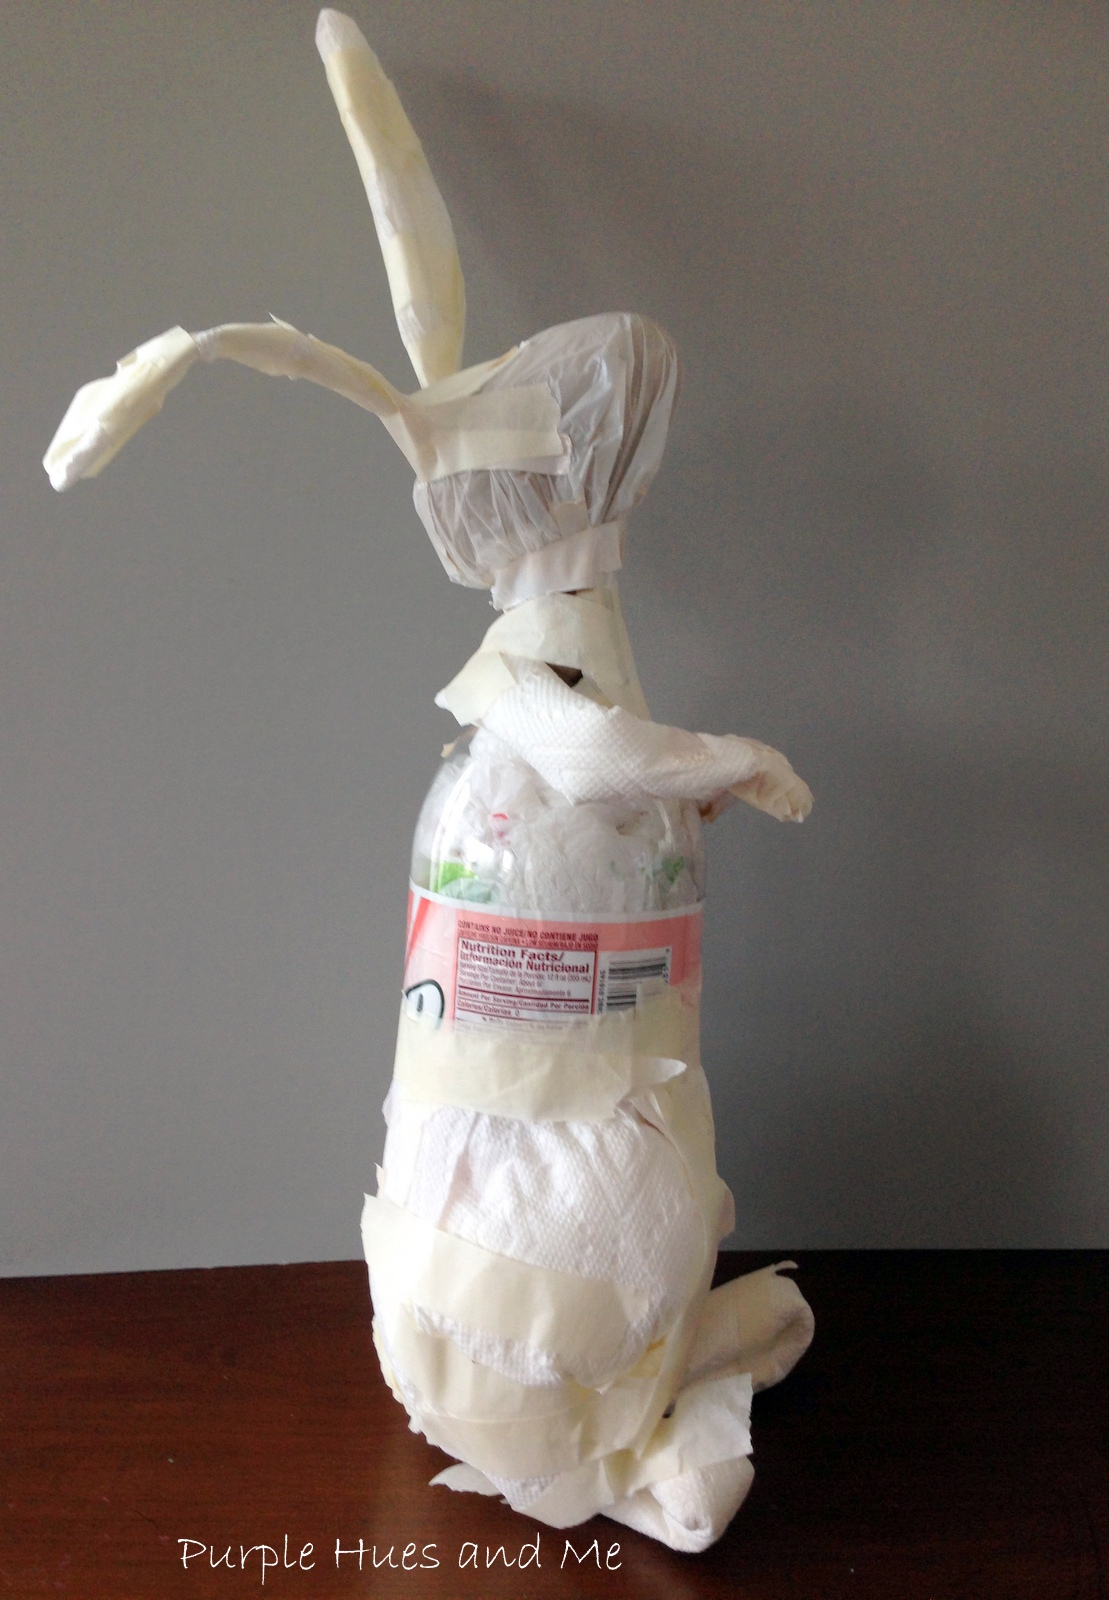
The masking tape that I used to secure the paper towels was rather old and kept coming loose.


But it was snowing outside so going after new tape was not an option for me.


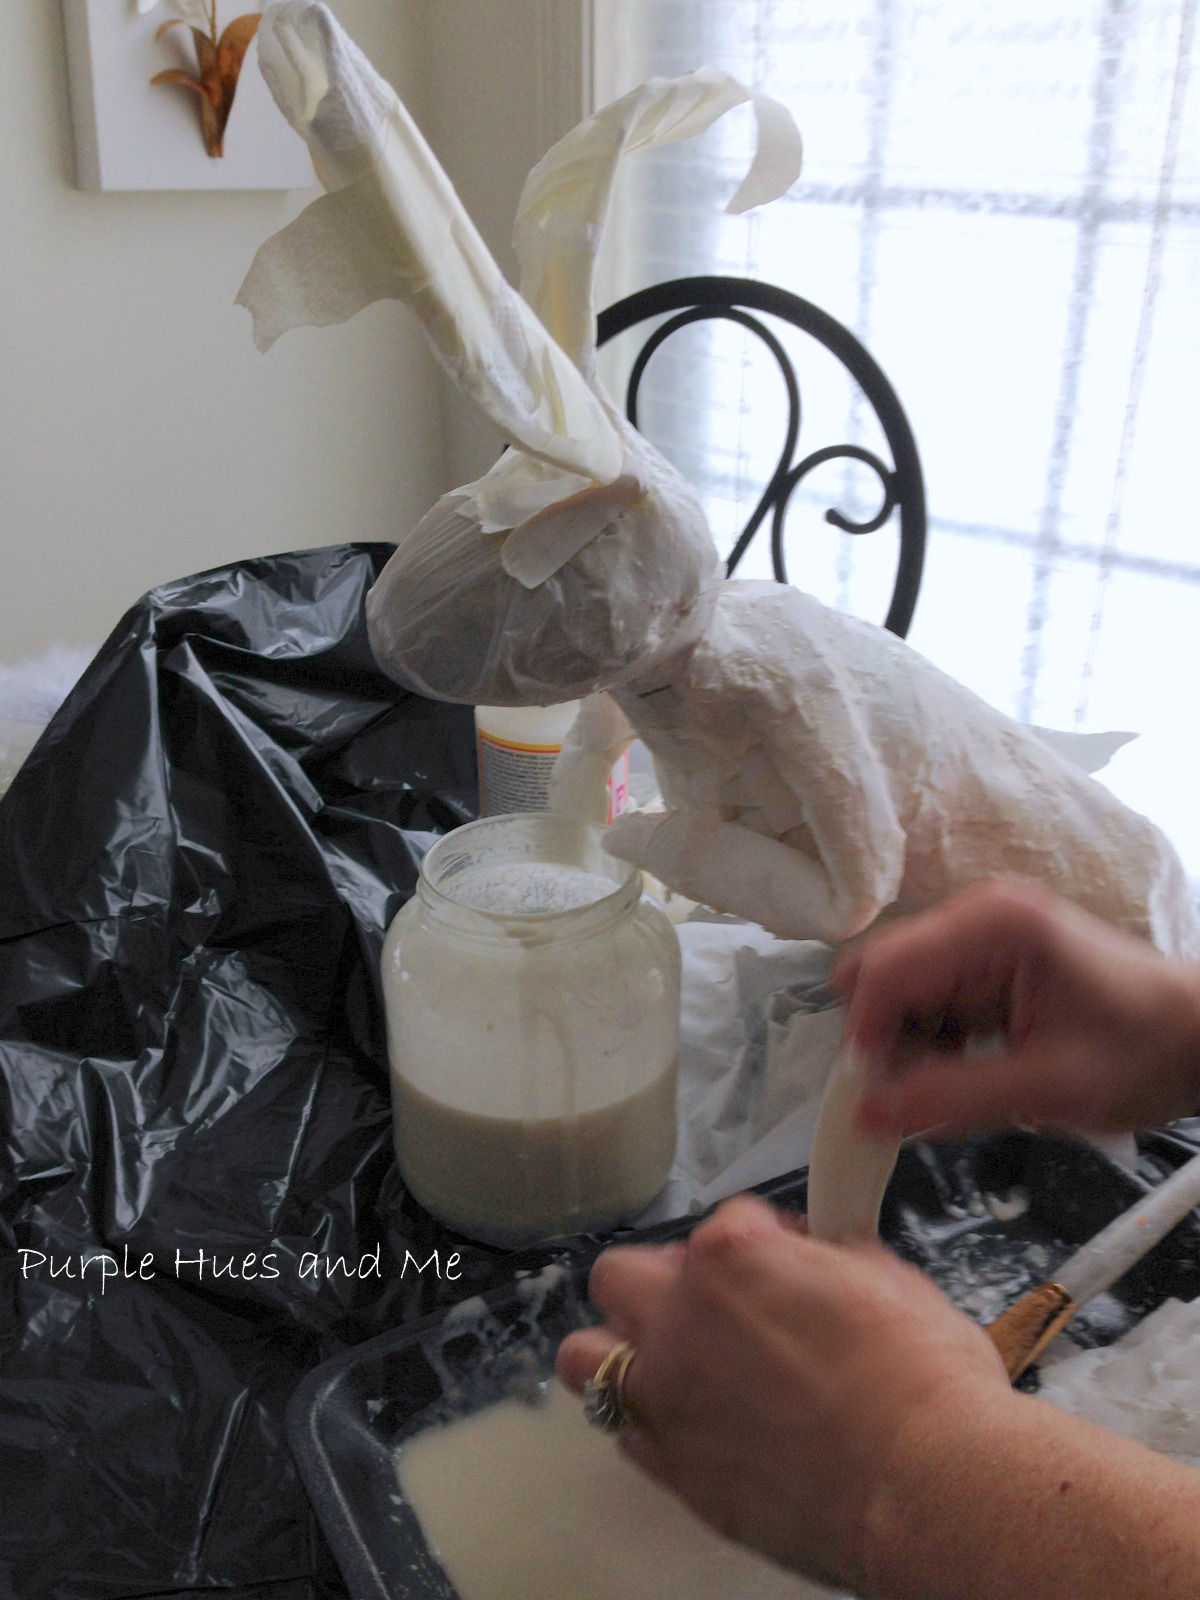
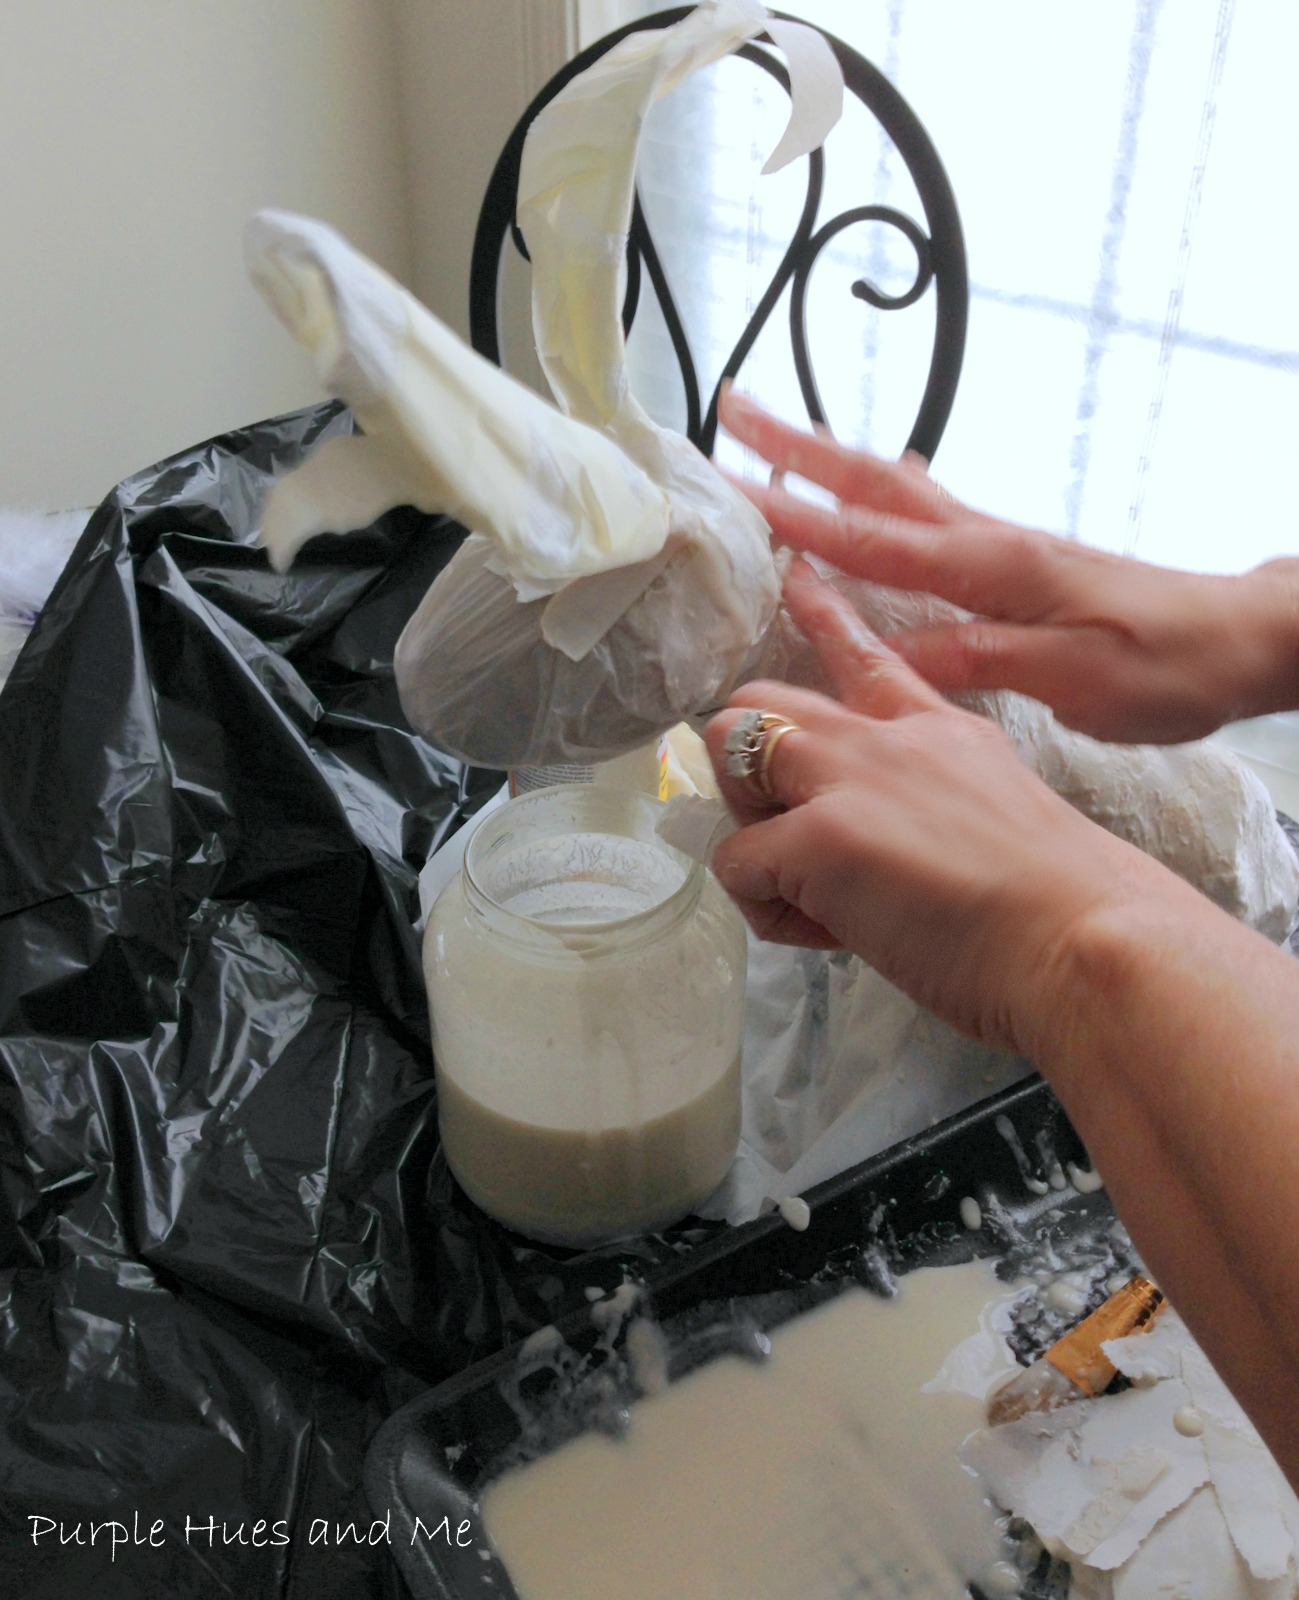
Once I was satisfied with the bunny's shape and foundation, I mixed up a paper mache paste - one part water, one part flour and a pinch of salt. 
 I had a large roll of white drawing paper that I torn up in small strips and started gluing them on to the frame.


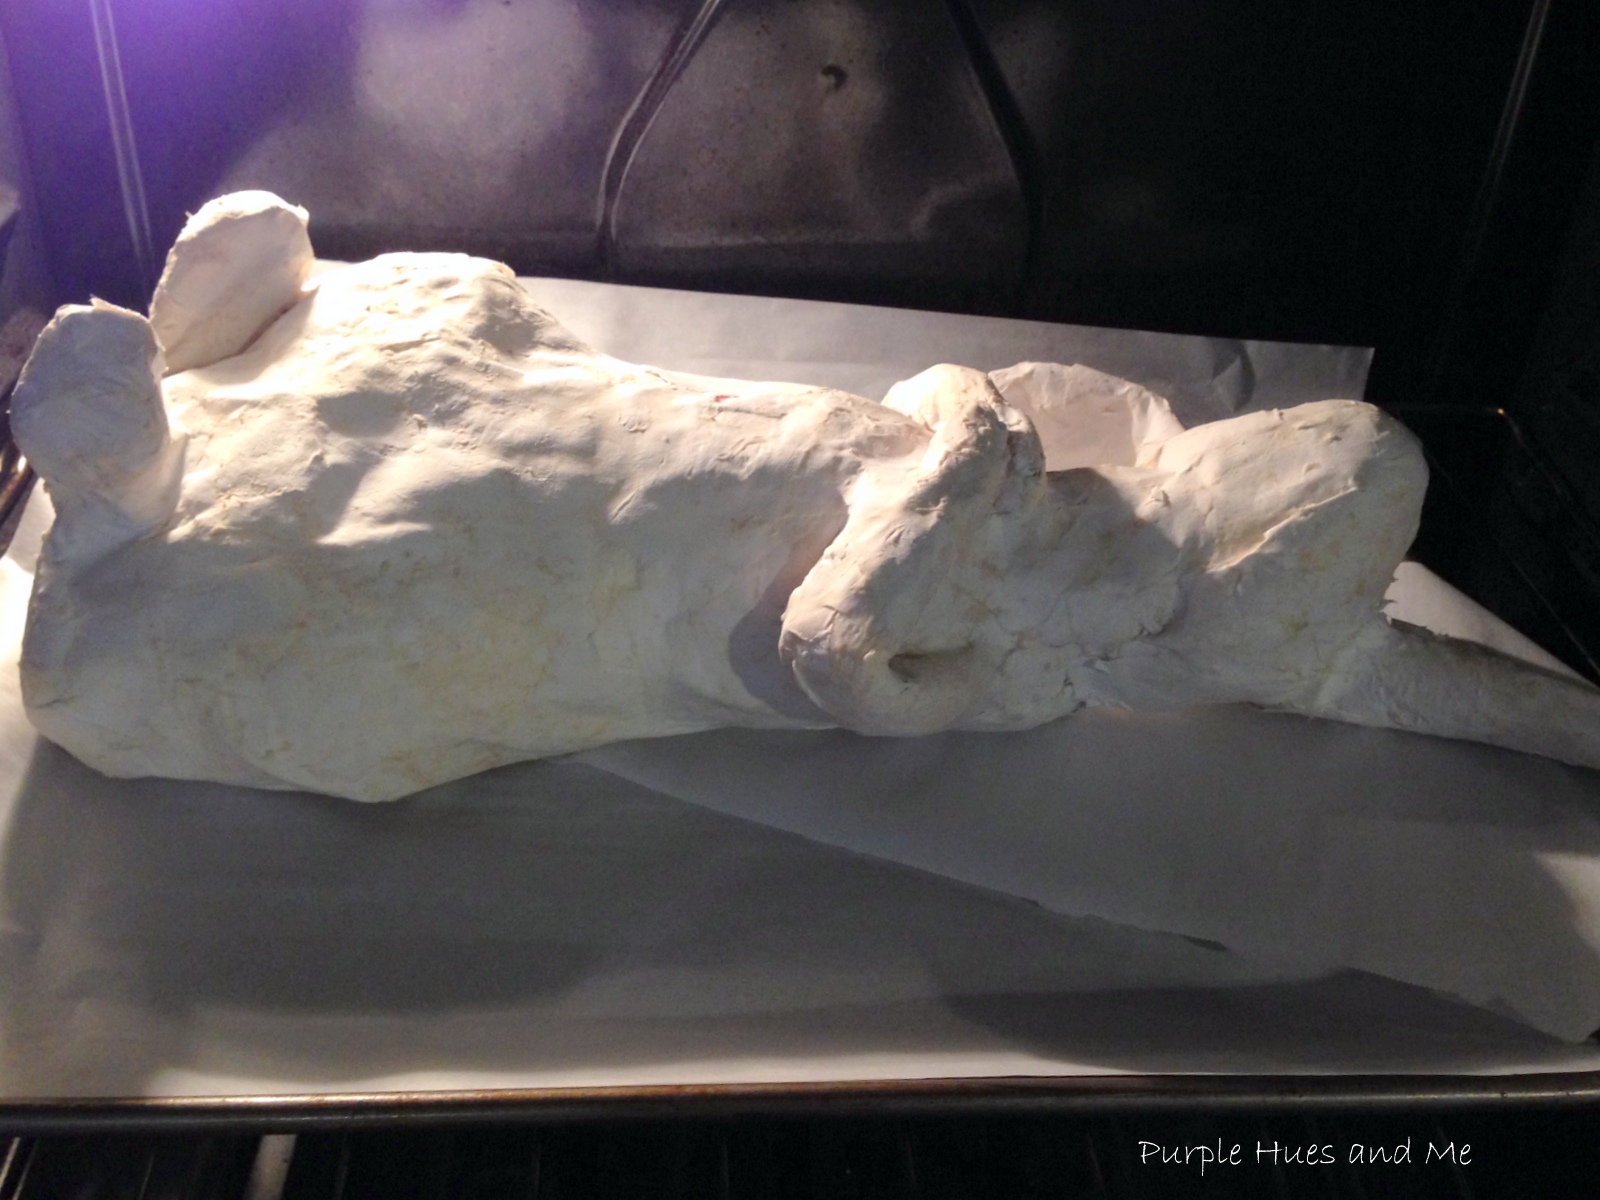
After I finished gluing on the first layer, I placed the bunny in the oven set on 200 degrees to dry. Laying the bunny down in the oven flatten the backside so I didn't put it back in the oven anymore.

After that, I added two more layers using a blow dryer first and then letting it air dry overnight each time.


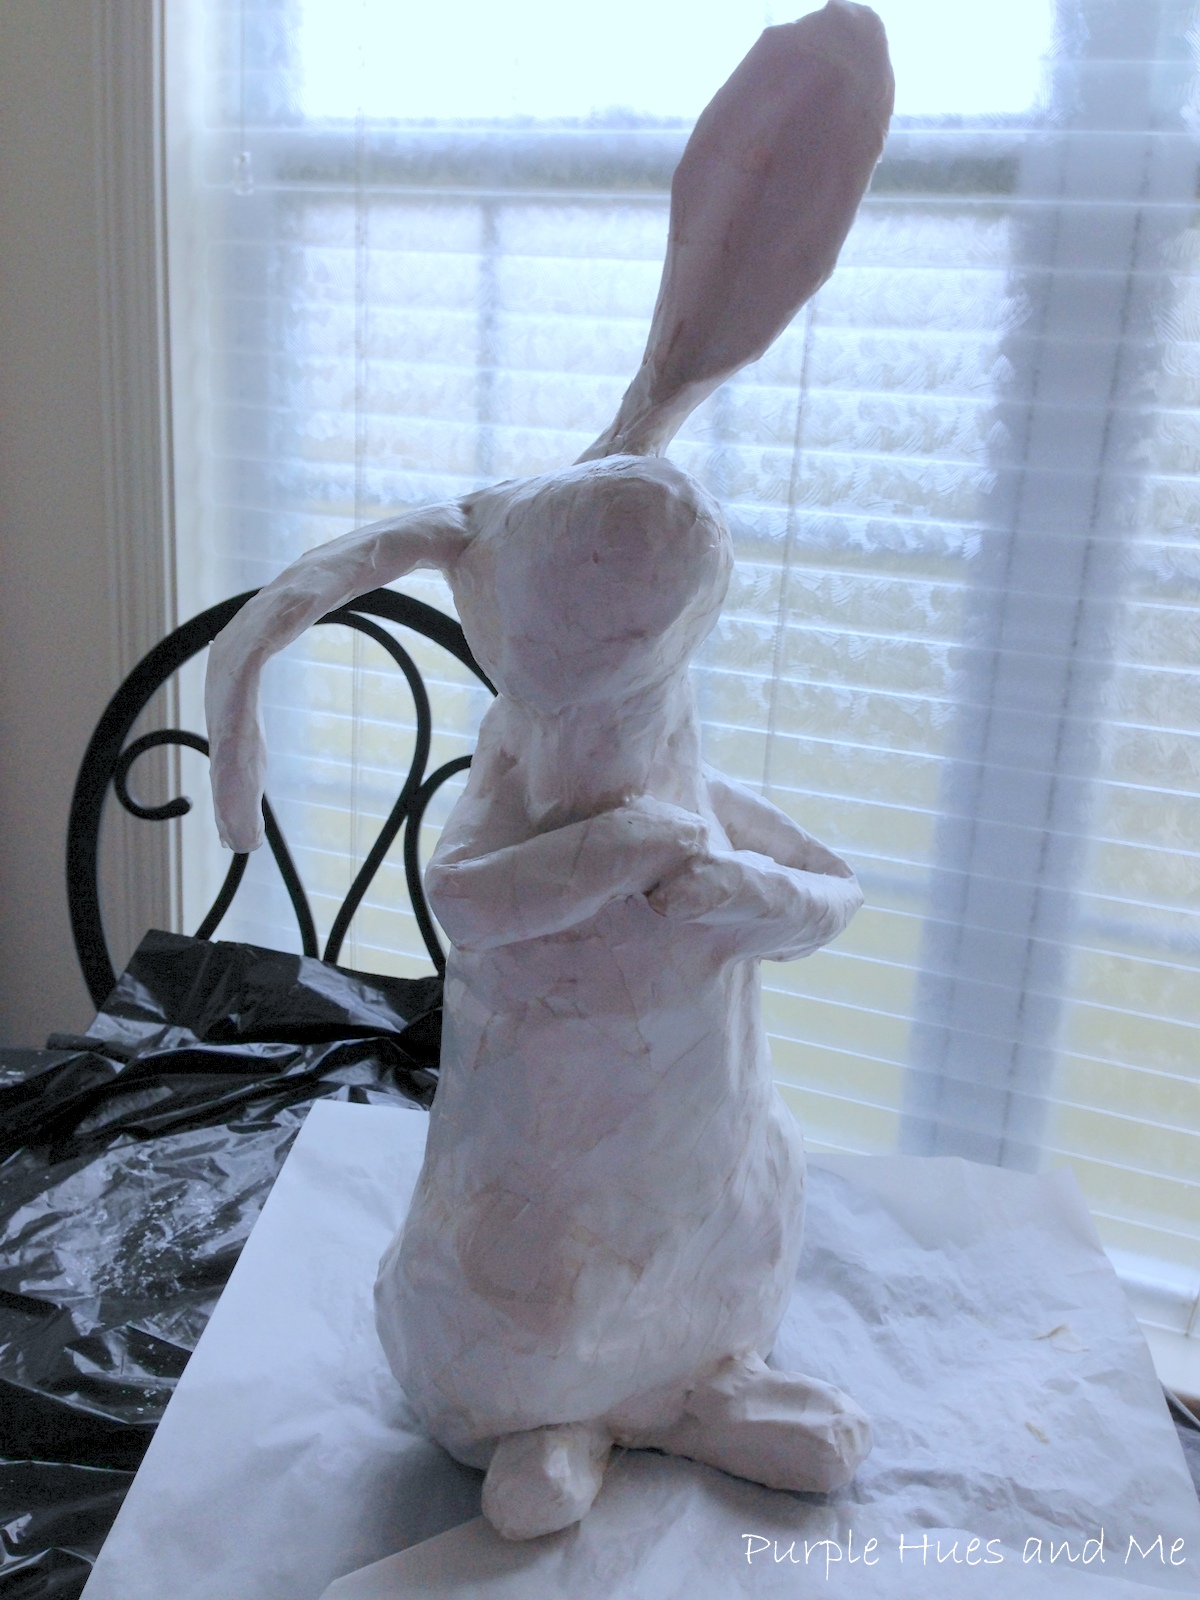
After drying, I added a coat of mod podge to seal the entire structure.


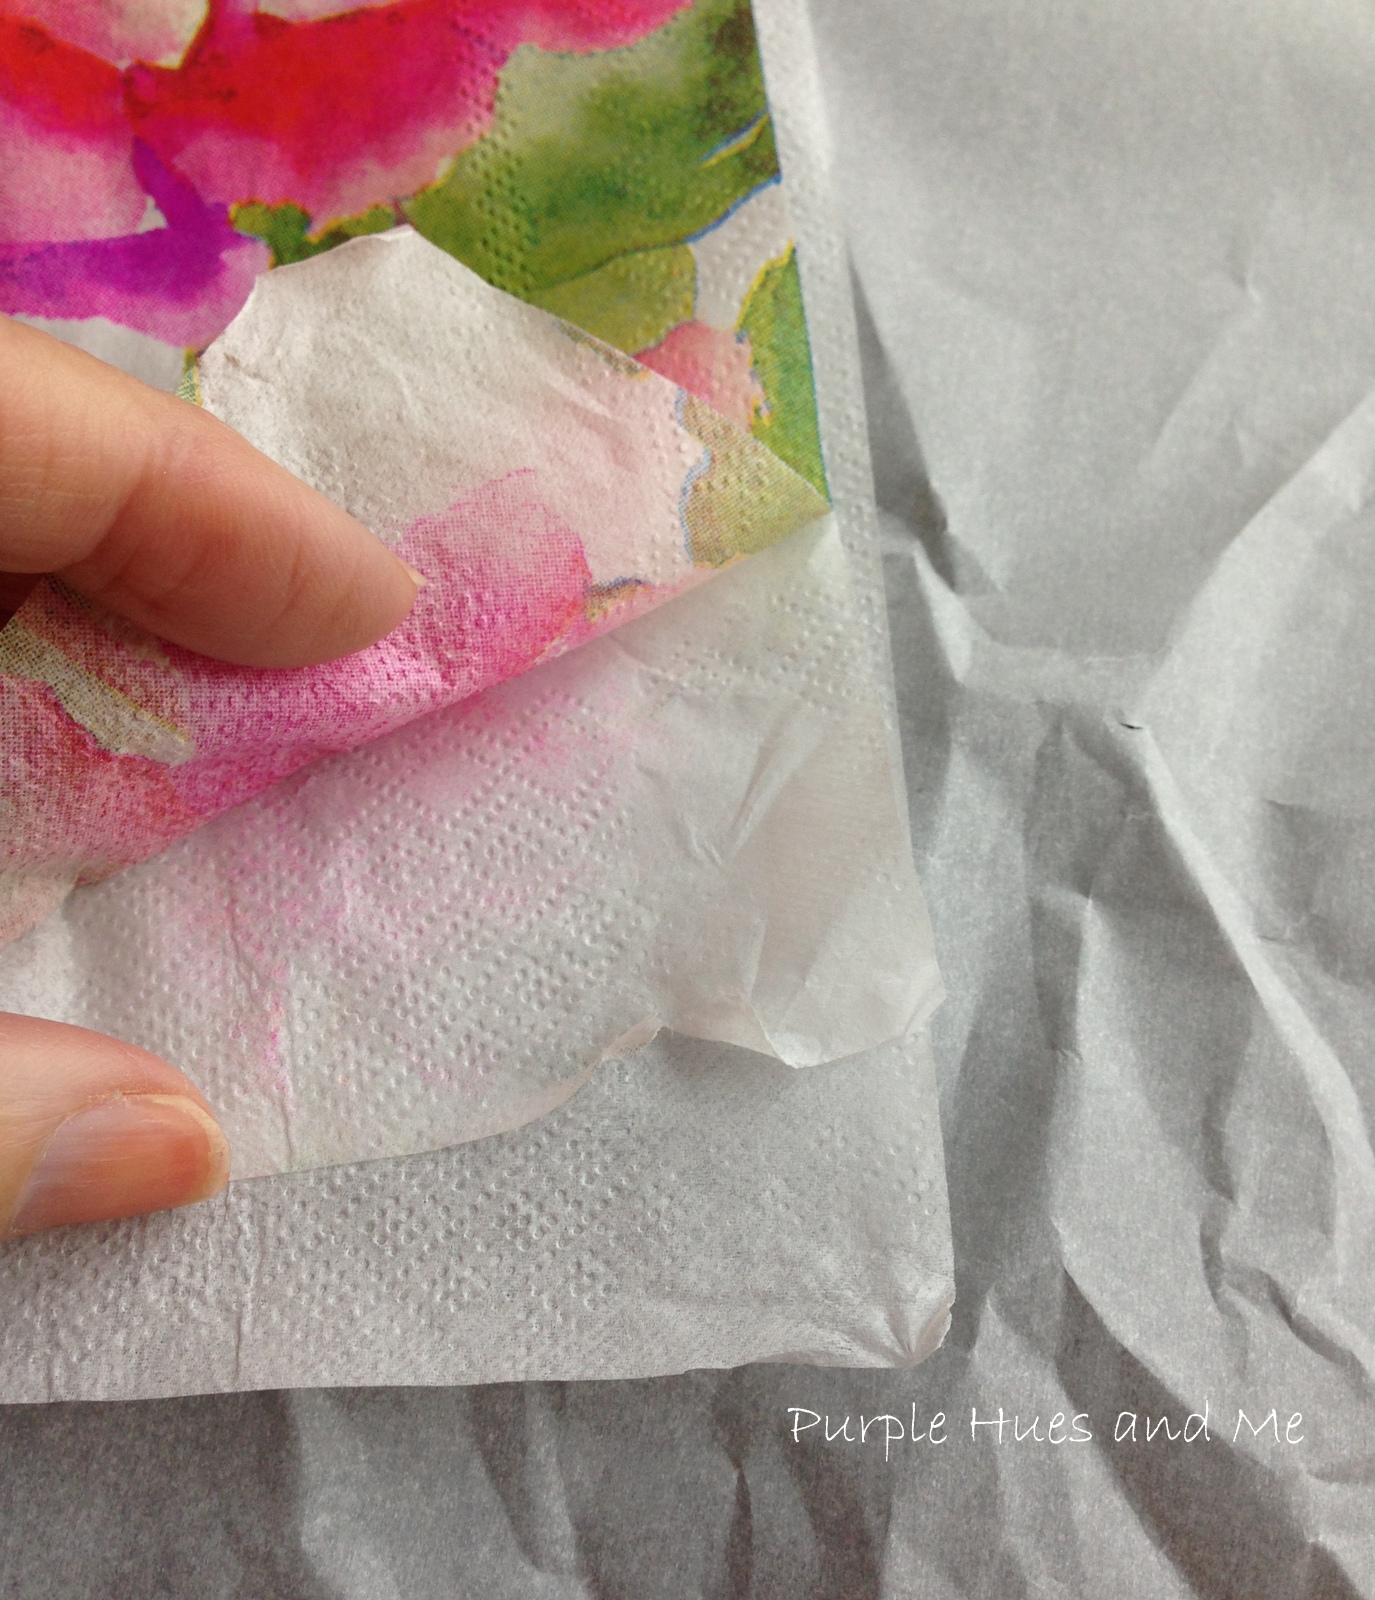
To decoupage the bunny, begin by removing the two layers of backing of the napkin to expose the single printed side.


Tear out the portion of pattern you want to use making sure there are no hard lines or straight edges. Using a sponge brush, apply mod podge to the paper mache area and then lay the napkin piece on top, smoothing it out with the brush.  I also like to use plastic wrap to gently smooth out any additional wrinkles.


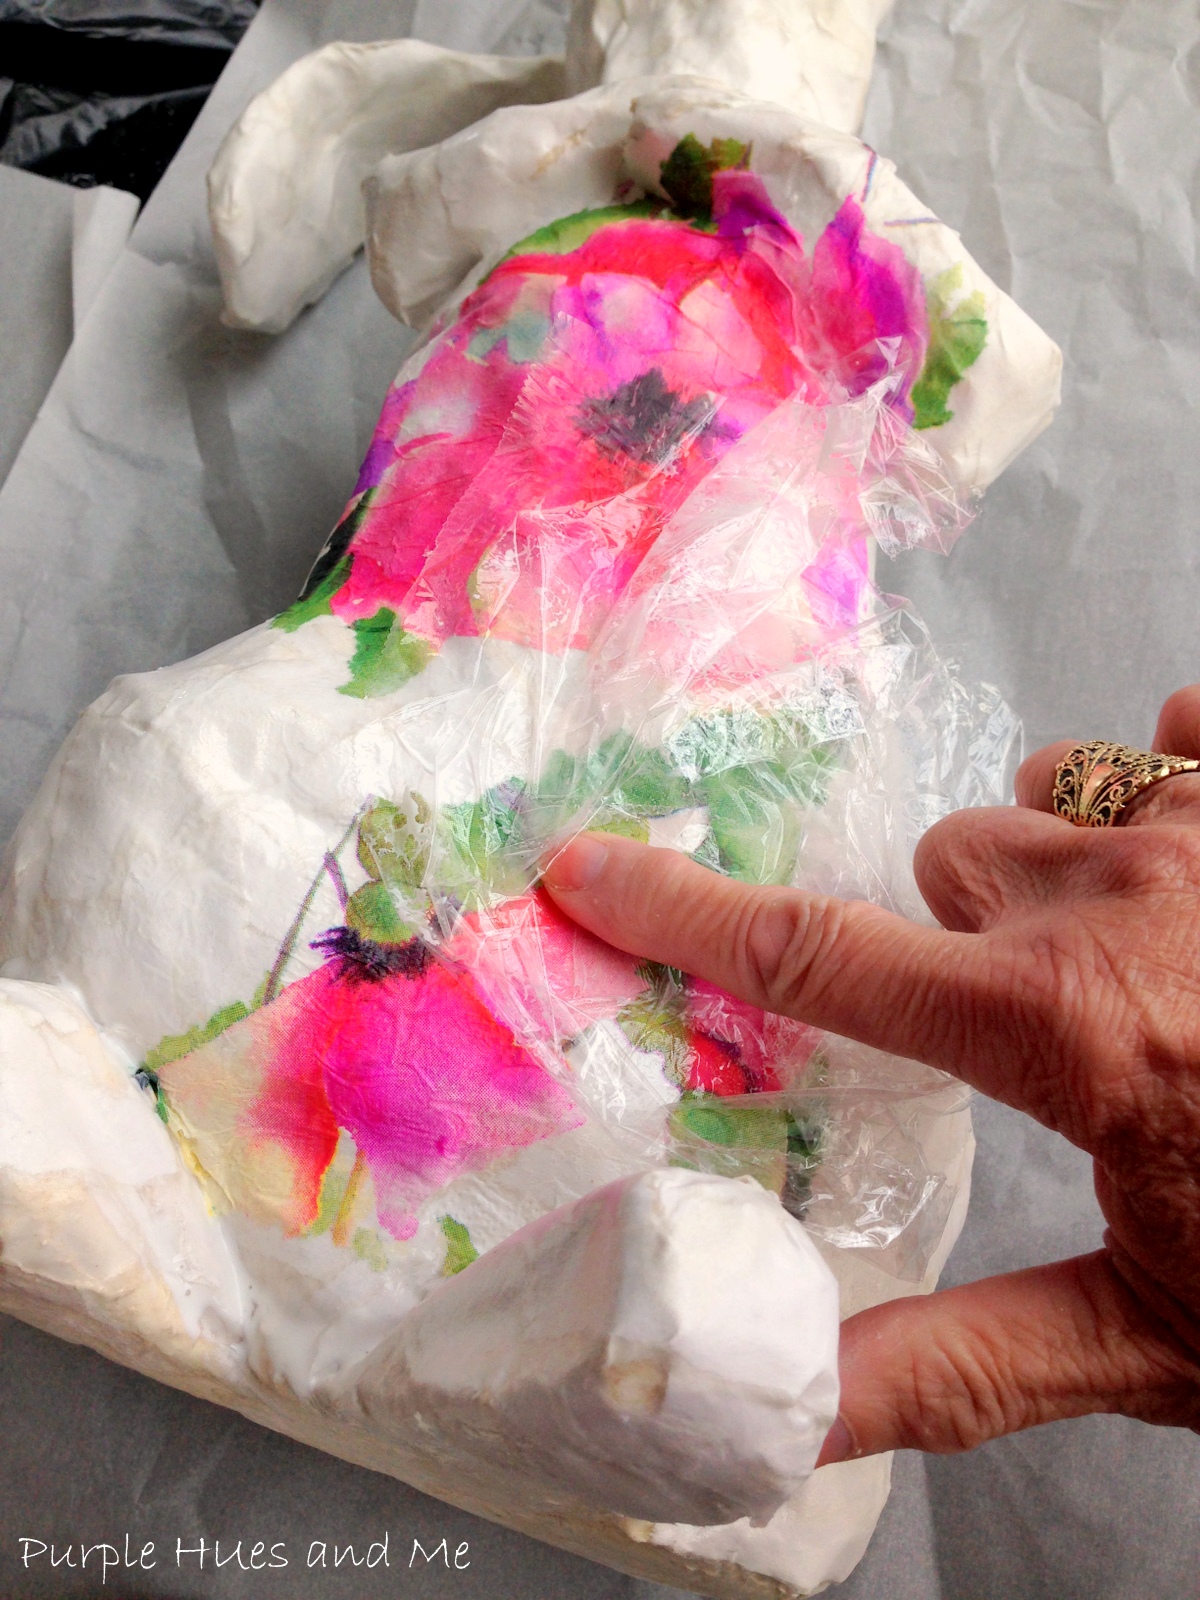
Continue applying the napkins in this manner, slightly overlapping each piece as you continue to cover the bunny.

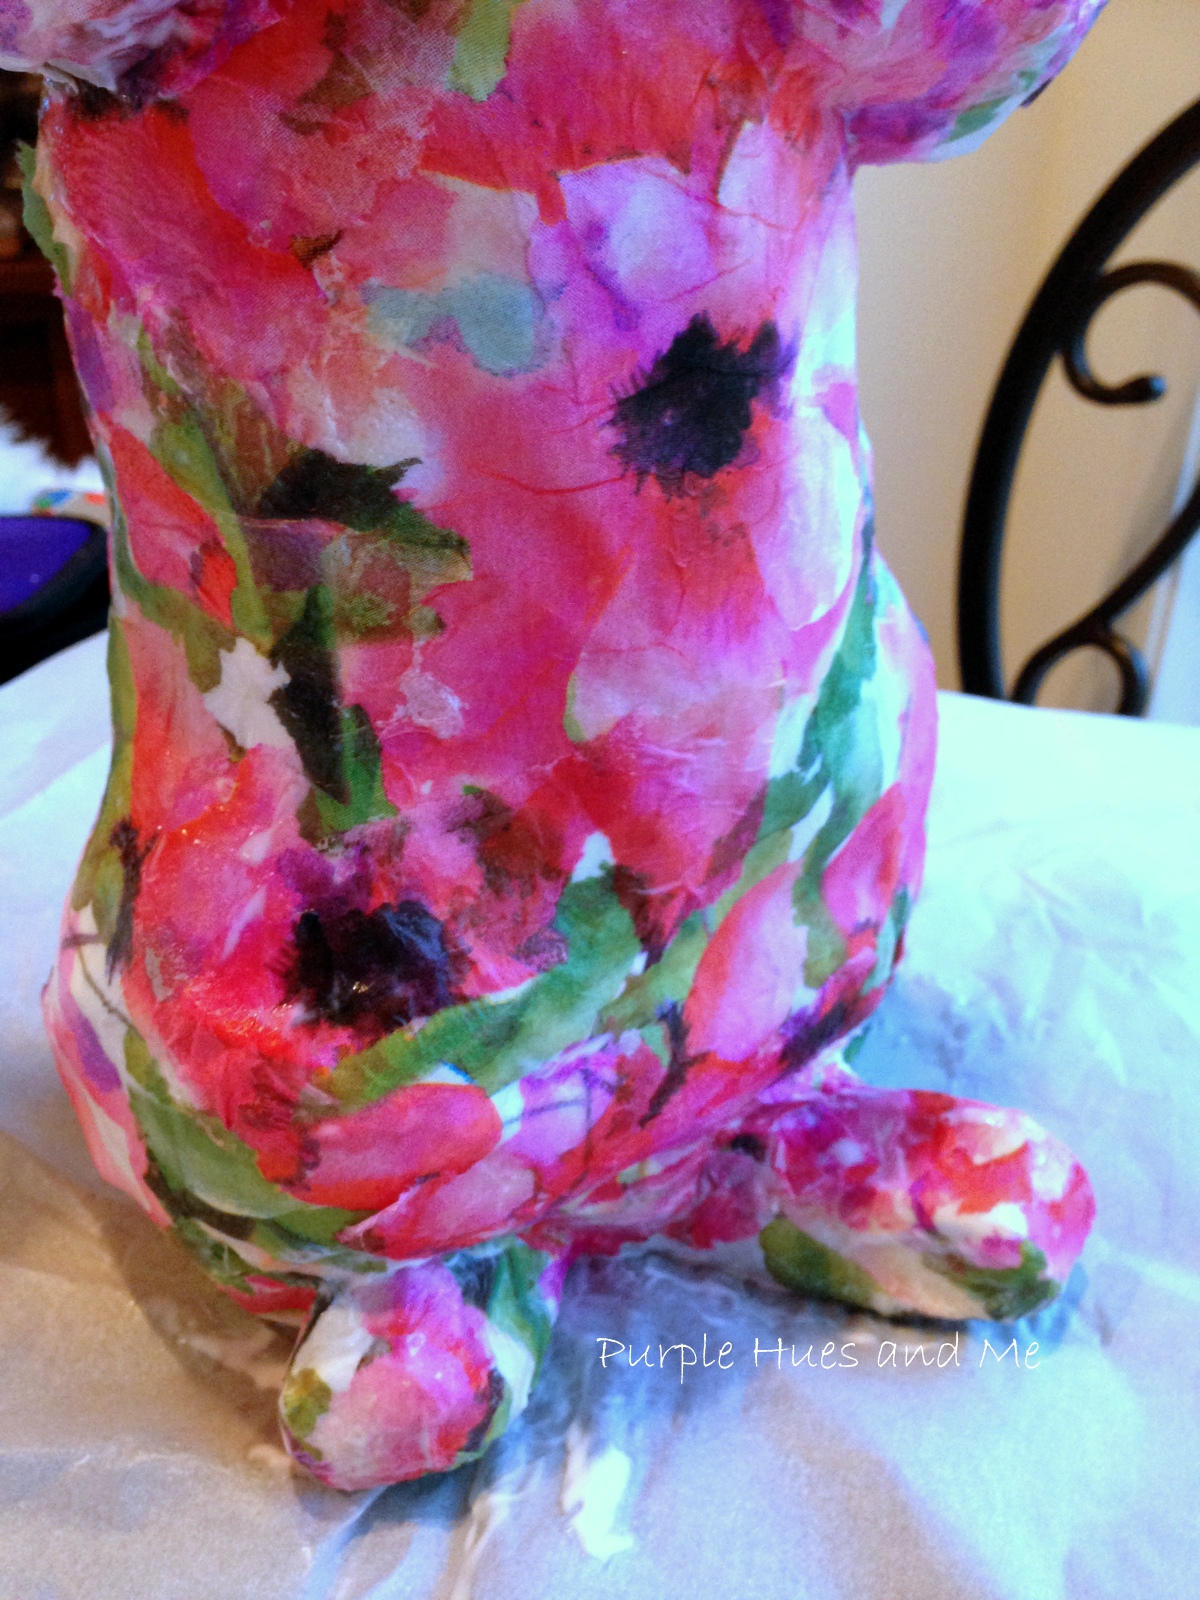
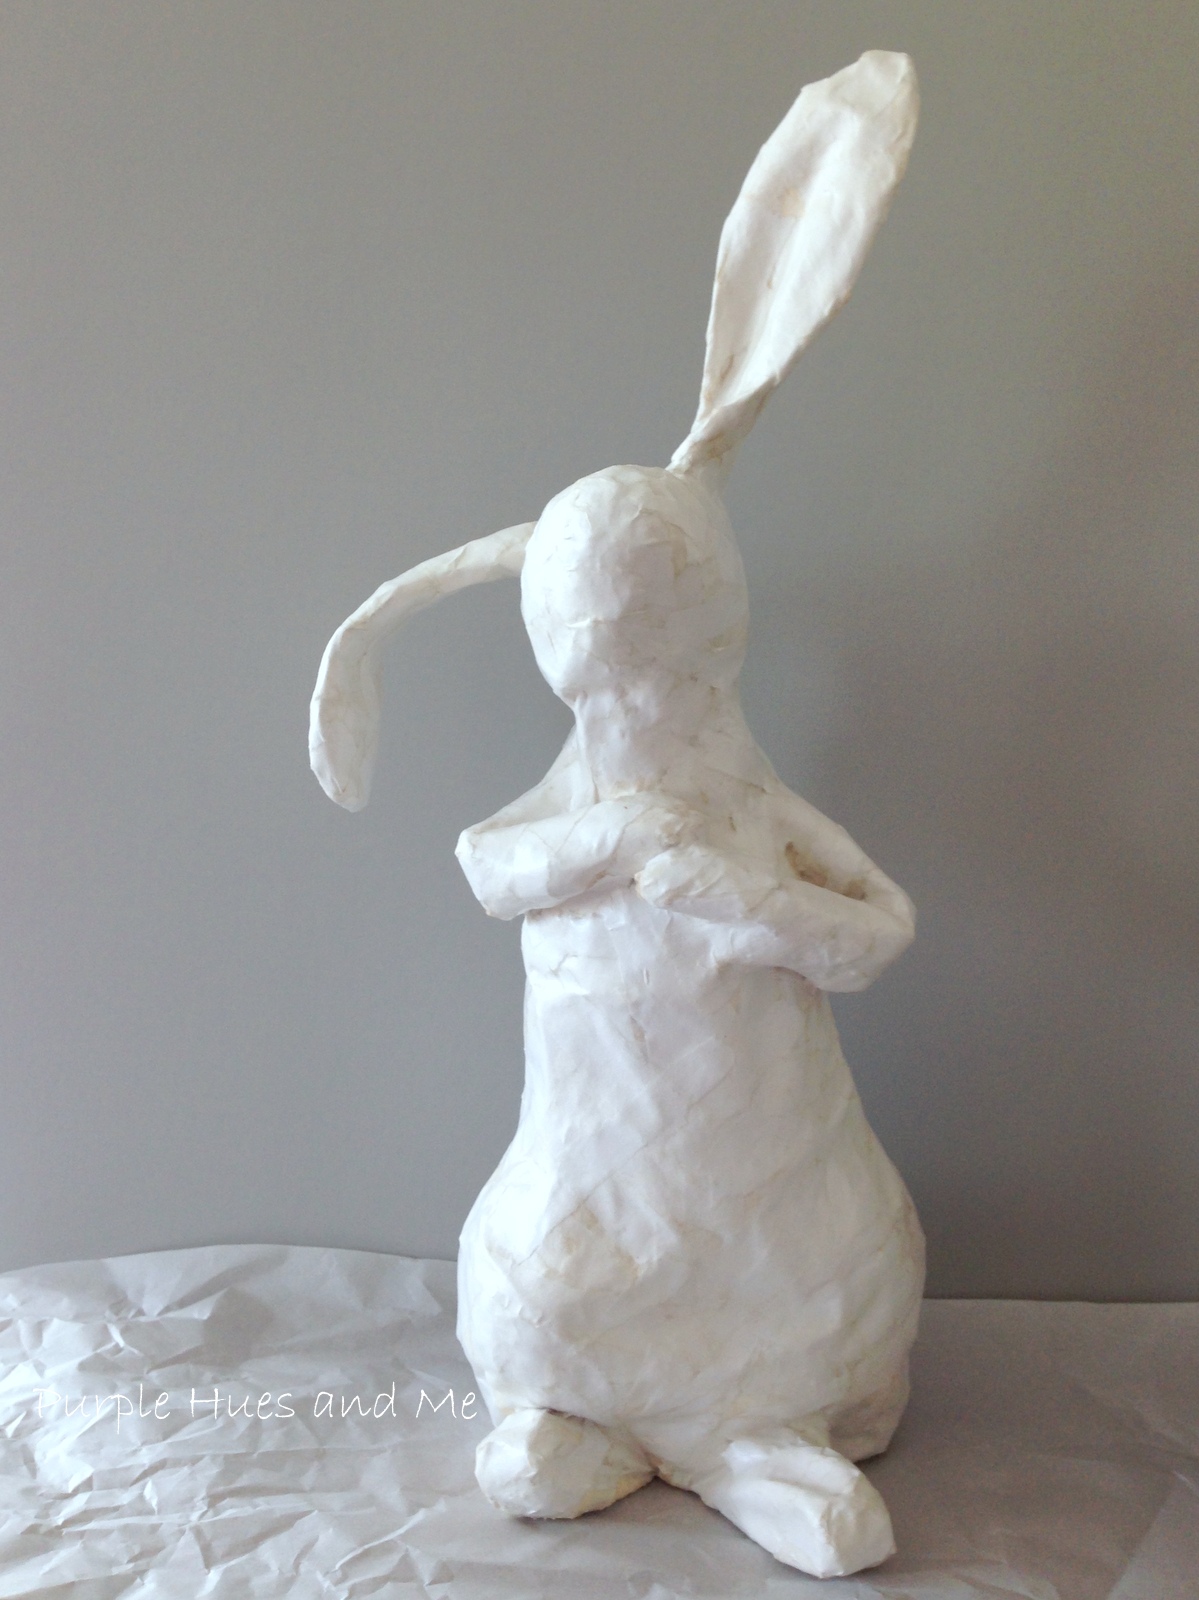
Allow to dry once the bunny is completely covered with the napkins.
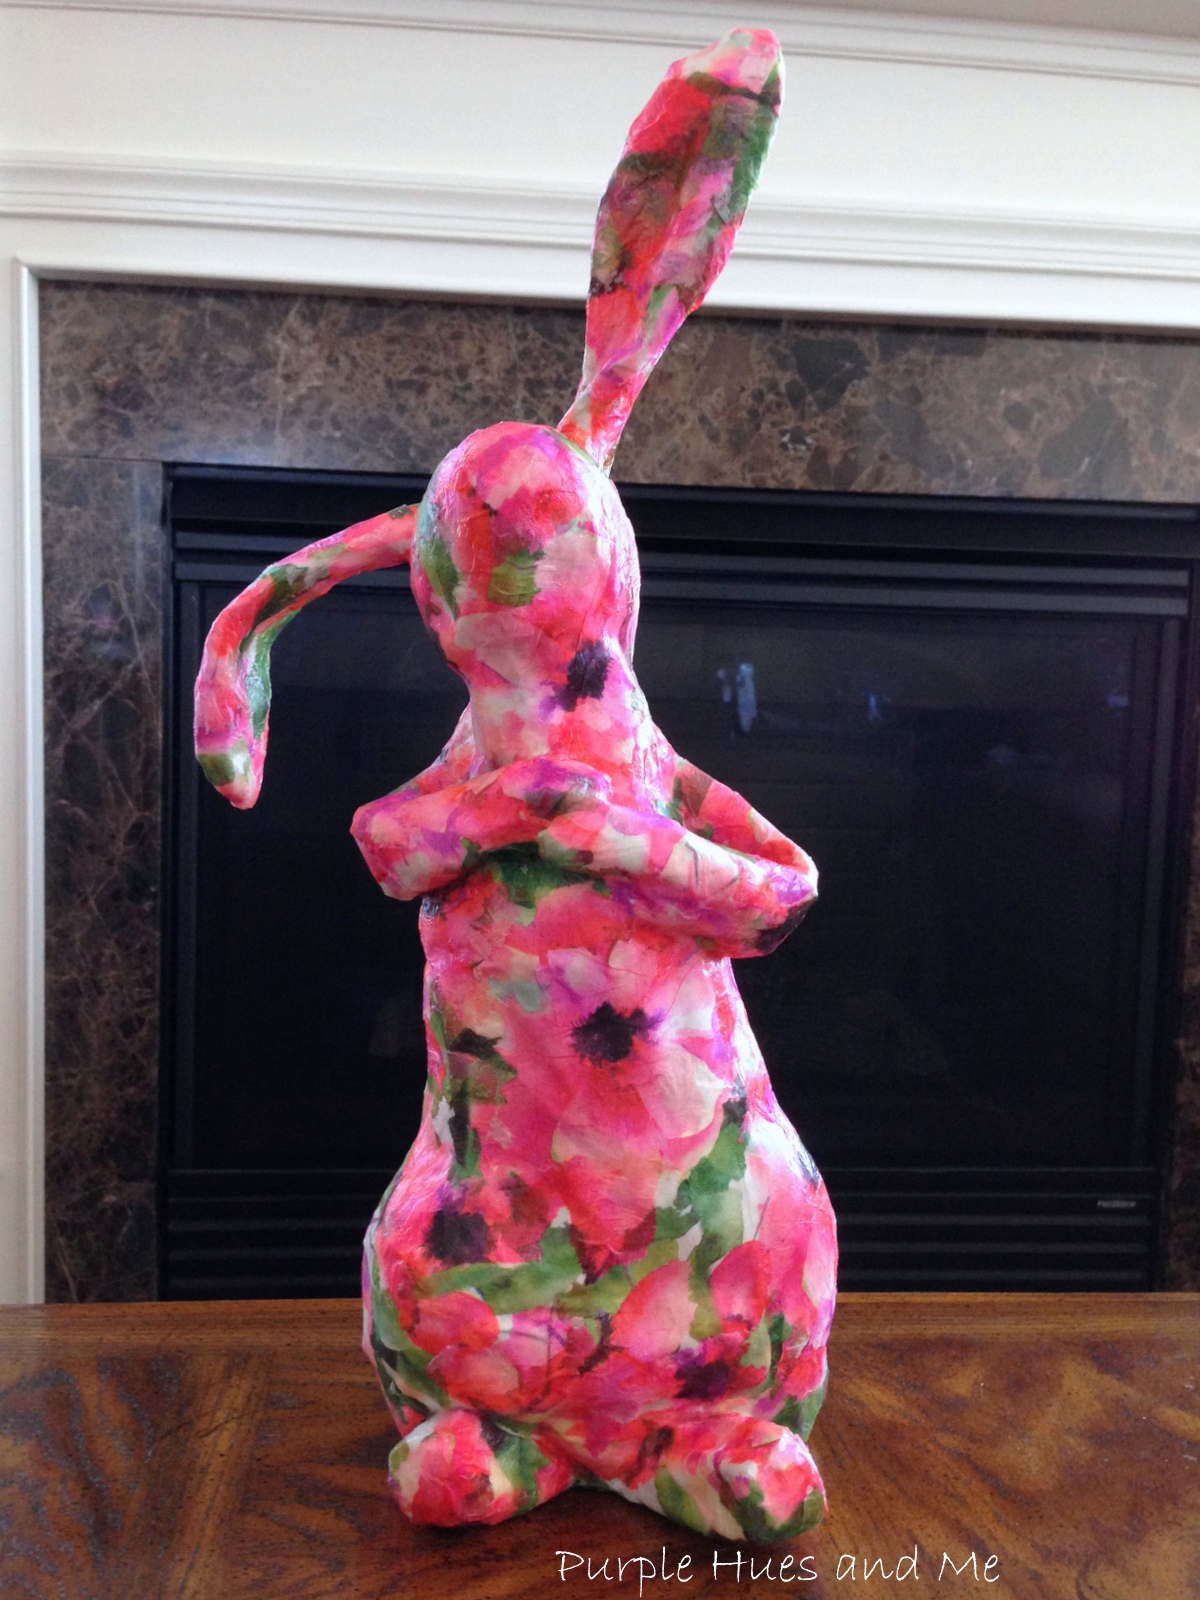
And finally, seal the dried bunny with a brush on clear varnish or sealant.


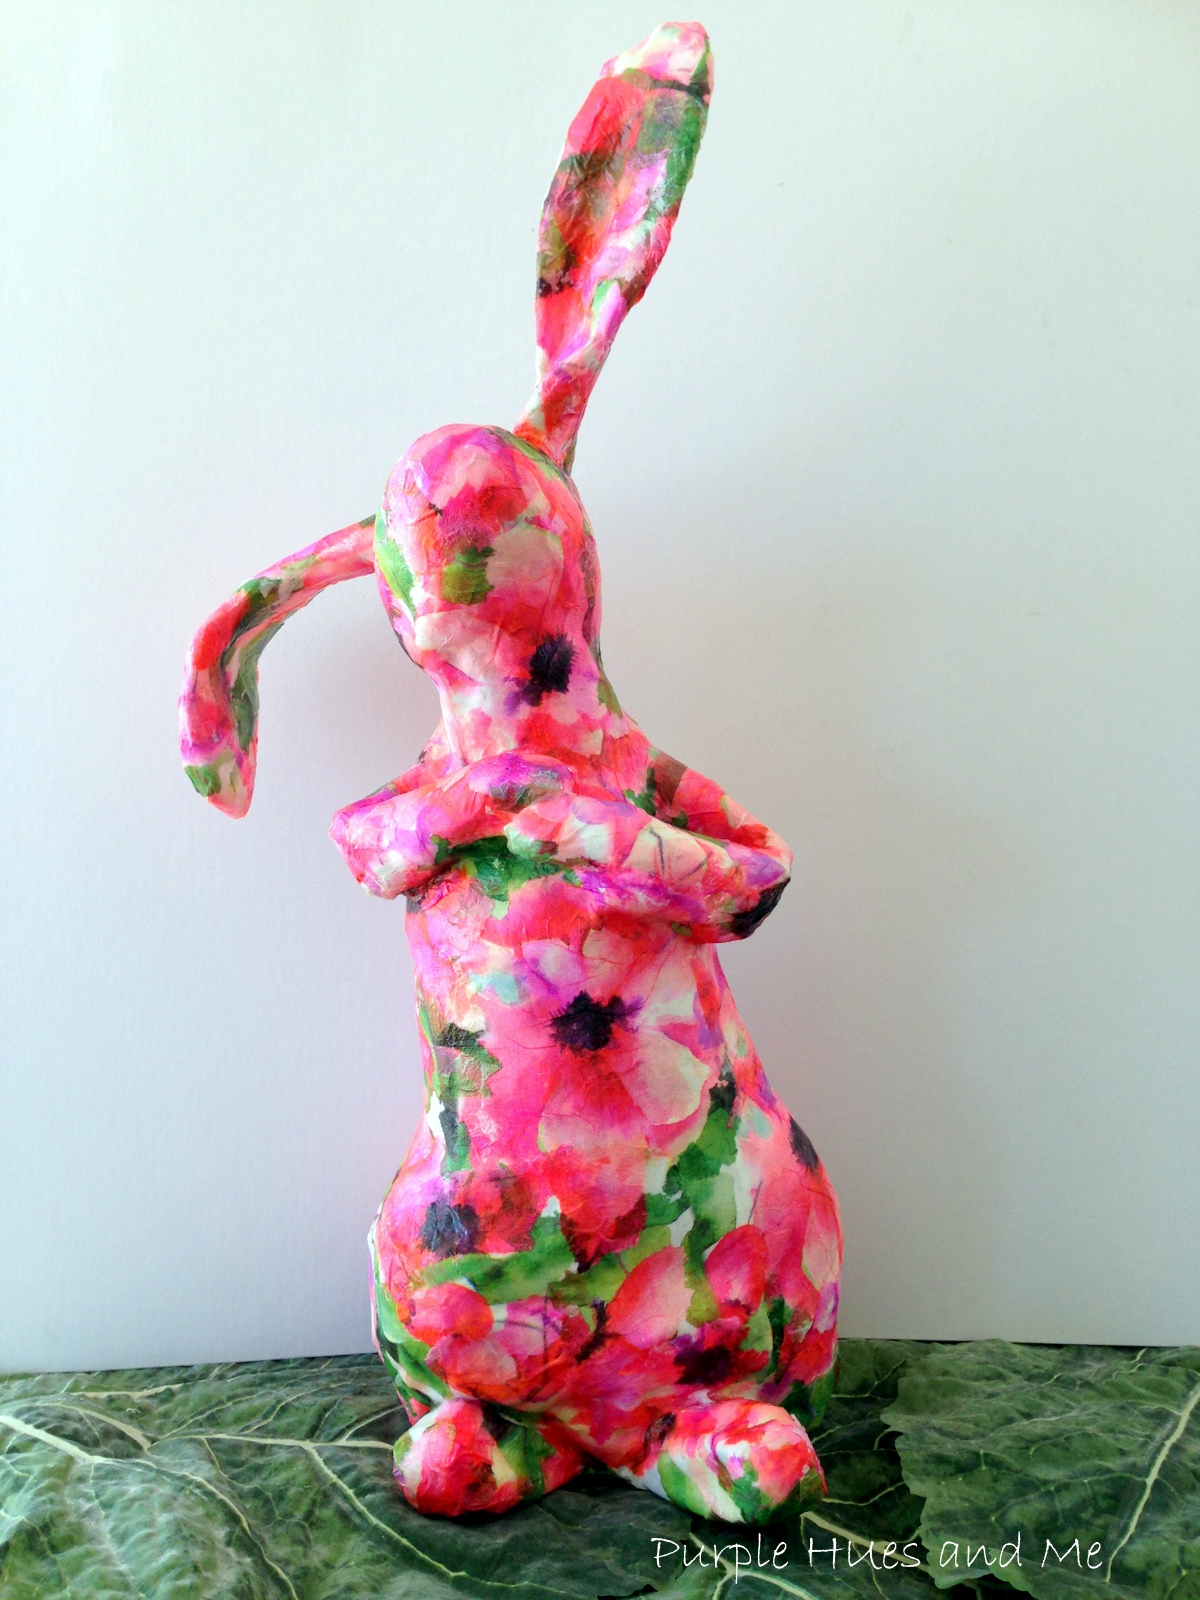
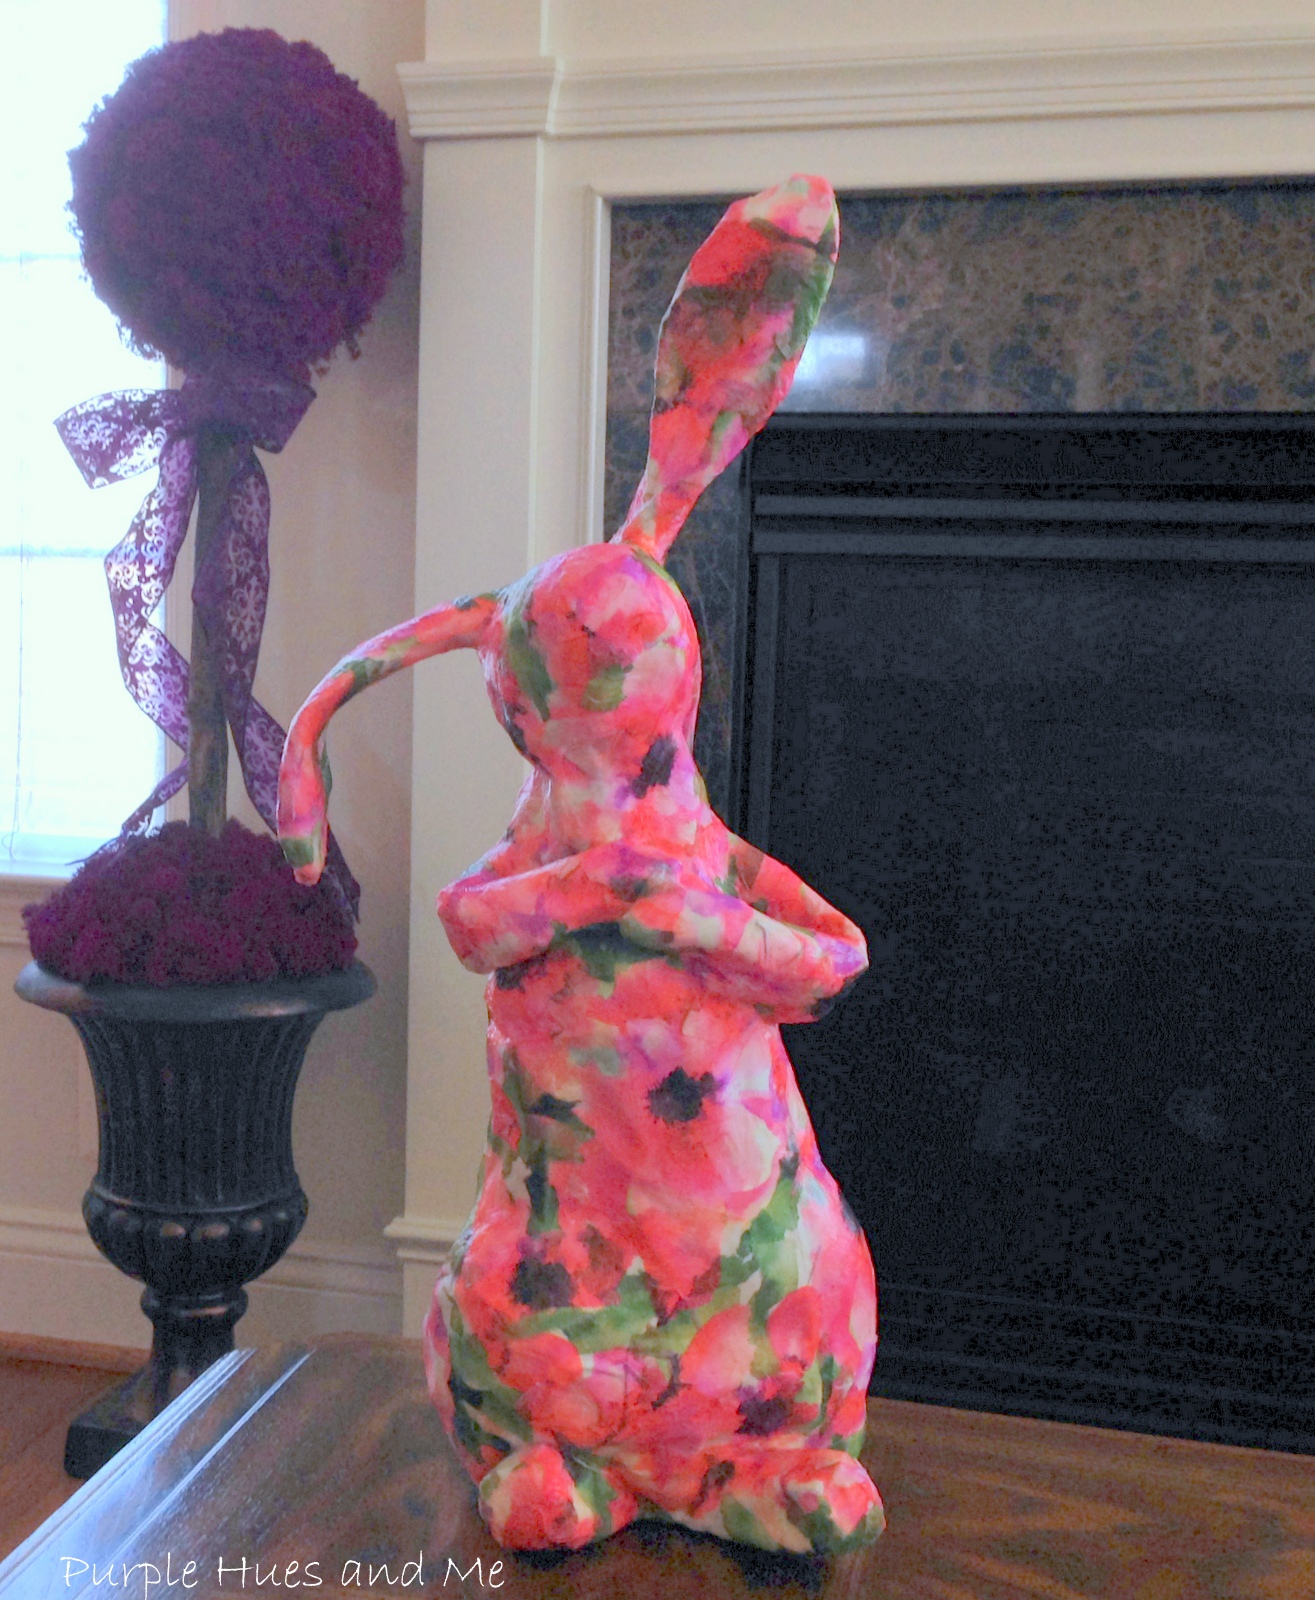
I am really excited about how amazing this bunny looks.


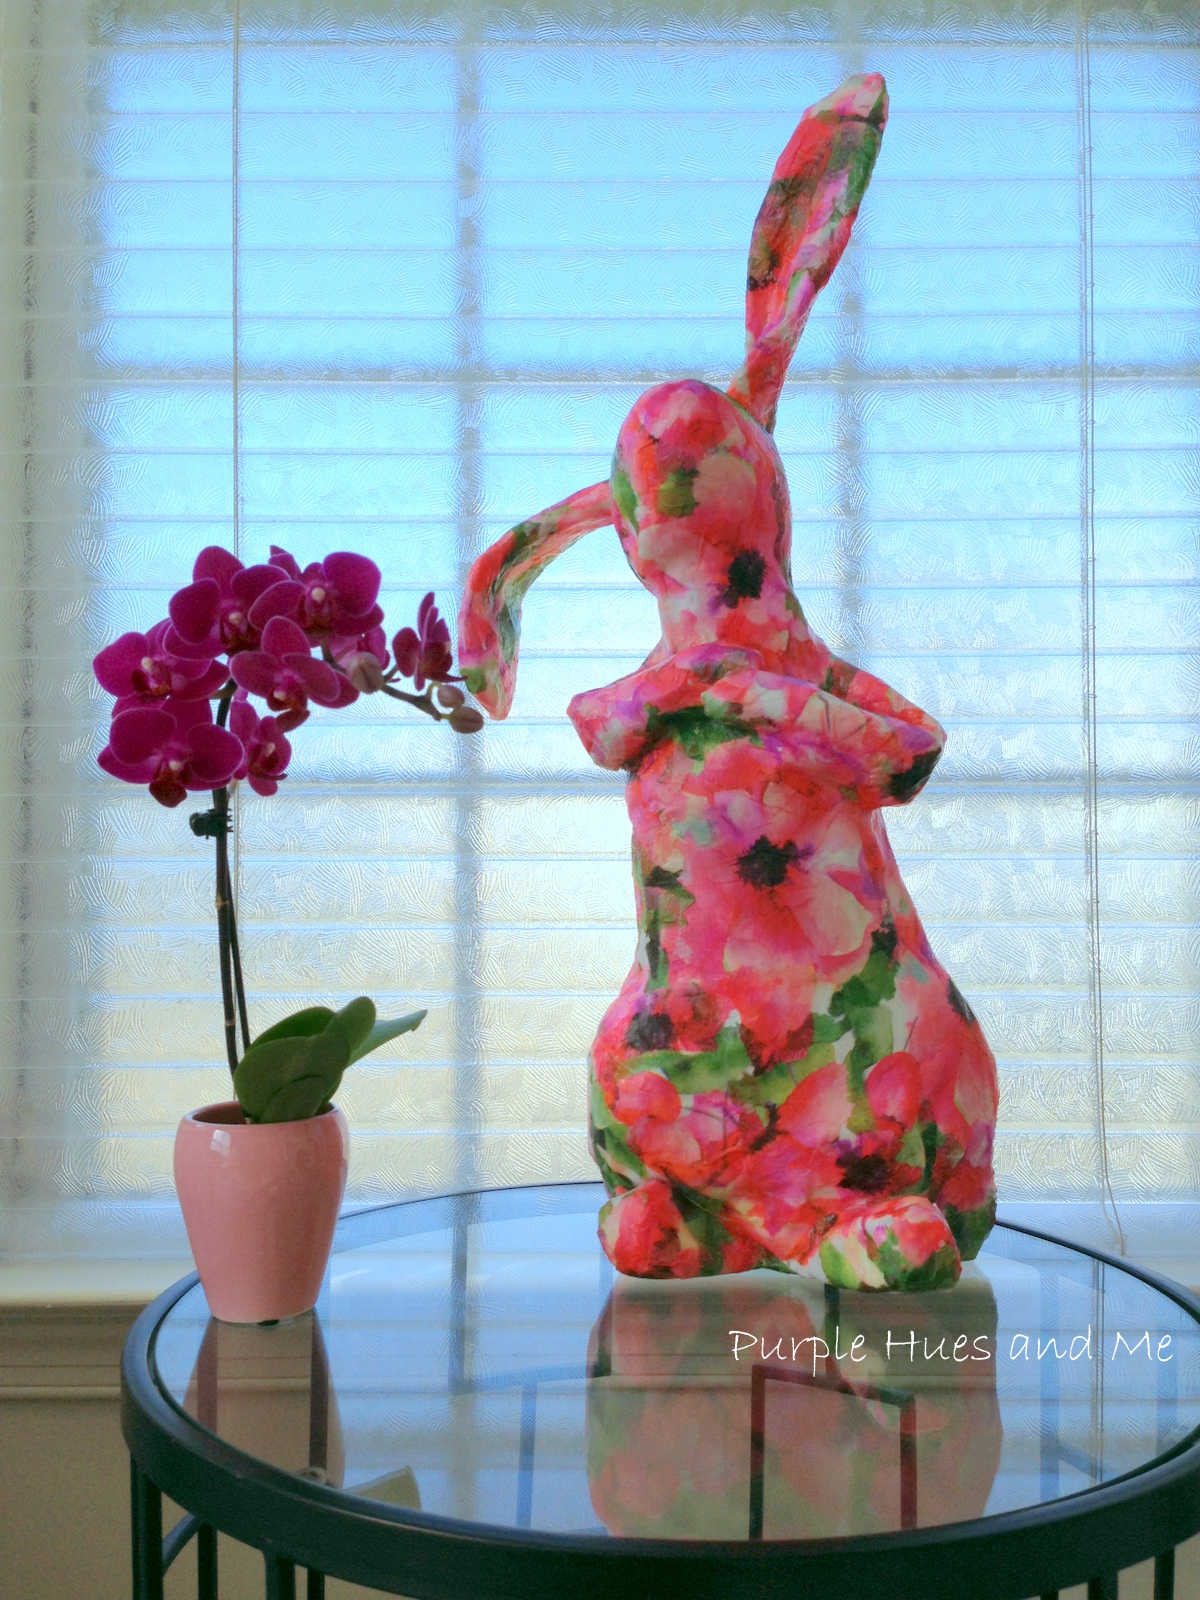
I just need to find the perfect spot and maybe one day make a companion!


Take a little time to enjoy

and

Happy Crafting!


  •  Facebook
  •  Twitter
  •  Google+
  •  Stumble
  •  Pinterest

Saturday, February 13, 2016

Holiday Sign - February's Handmade Christmas Blog Hop


Ok, I know it's early to be thinking about this but you've got to take action NOW!  Are you one who had big plans in the past for making handcrafted Christmas gifts only to realize your time has run out and you just can't complete all those wonderful gifts you had intended to make?  I'm here to help!

Follow along with twelve creative bloggers who have joined together for a 12 Month Christmas Blog Hop where one of us will be making a great gift for you to re-create each month!  Imagine, make one handcrafted gift a month for 2016 and by christmastime you'll be all set.  Isn't that terrific!

This past January, Millie of 2Crochet Hooks kicked off the Handmade Christmas Blog Hop with a cool No-Sew Fleece Blanket! And Pili @My Sweet Things  created an awesome Merry Christmas Sign using scrap wood table legs.  I'll be the one to make a gift for March, so please stay tuned.  In the meantime, did you notice my handcrafted gift holiday sign for February's blog hop. I'm so sorry that I didn't have an old table to dismantle, but I did have an unfinished blank sign, a roll of musical notes paper and some mod podge to put together a holiday gift inspired by Pili's sign!


Mine was quite easy to make and did I mention before I had everything I needed already?
Simply apply a layer of mod podge to the unfinished wood - I like to keep things simple and did not paint the wood - but if you're so incline, have at it! So, after coating the wood, gently lay the musical note paper down and smooth out and allow to dry.

Since the width of the sign is much larger than standard printer paper, I opted to print out the letters JOY, cut them out and glue on top using mod podge.


And would you believe I even had a roll of musical notes ribbon to make a cute bow to complete the look!

SCORE!  Two gifts down!

Be sure to check back in March with me, Gail @PurpleHues and Me for March's Handmade Christmas Blog Hop!


Handmade Christmas Blog Hop


An InLinkz Link-up


Have fun!


  •  Facebook
  •  Twitter
  •  Google+
  •  Stumble
  •  Pinterest

Wednesday, February 10, 2016

Coiled Wire Heart for Valentines


Last week a blogger buddy, Tuula @Thrifty Rebel Vintage, who does a series on her "Finds of the Week," featured a coiled heart she found at a thrift store.


I made a comment that I had just gotten into coiling and thought I could make one - just a smaller version.  Needless to say, she didn't see my comment - sometimes her new domain doesn't recognize me for whatever reason although we thought it had been corrected. It wasn't until I asked for her permission to post her picture and discovered my comment wasn't there.

 Anyway,  I was in Dollar Tree a few days later and found red wire! I knew immediately what I would do with it - make a coiled heart!  It was so easy to do  and it only took about 15 minutes.


To begin, I coiled the wire  (it doesn't say what the gauge of the wire is but I guess it to be 16 or 18) around a skewer stick.  I didn't think I had enough wire to make a bigger coil that would require using a larger stick like a dowel rod.

Gaps in the coiling wire can be tighten by pressing the coils together.

Once finish coiling the length of wire needed, remove coiled wire from stick.


Usually, the ends are cut off evenly but I left them on to secure together when making the heart shape. Next, cut a piece of straight wire several inches longer than the coiled wire.


Then use a plastic cup or something else round to help shape the wire into curves of the heart.

Grab each end of the coiled wire with pliers and stretched the entire length - evenly separating the coils and inserting the straight wire into the extended coil, forming a heart shape.

Bring the two end wires together, wrapping one around the other.
Finish the longer end by cutting off excess and using a round nose plier to make a loop at the top to close the wire. 


To make a matching jump ring, coil wire four or five times around a skewer or slightly larger stick and cut off excess ends, removing coiled wire from the stick .  .  .


Use wire cutters to trim ends of coils and cut out each coil at the same spot releasing the jump rings.


Open the gap of the jump ring by moving each end sideways to open. Close gap of jump ring in the same manner once attached to the top loop of heart. 


Surprise your sweetie for Valentines with this extra touch .  .  .


Thanks for the inspiration, Tuula!


Take a little time to enjoy

and

Happy Crafting!


  •  Facebook
  •  Twitter
  •  Google+
  •  Stumble
  •  Pinterest

Thursday, February 4, 2016

Gold Nuggets Decorative Accents


Do you buy "just in case" items?  I do all the time when it comes to crafting.  My latest was picking up some decorative accent white pebbles and a couple of vases from the Dollar Tree .  .  .  just in case I  come up with a different idea on what to do with them - other than the usual filler in a container project.  Well, I'm here to tell you, it didn't take me long to get inspired and create something.  Using small rocks or pebbles, glass vases, silicone adhesive and spray paint, I made a couple of gold nuggets decorative accent pieces - great to hold candles, LED lights and even flowers.

*additional materials needed include rubbing alcohol, cling wrap, painter's tape, and plastic grocery bags. 

After cleaning the glass with soap and water and drying, wipe down with rubbing alcohol to remove any remaining oily residue.

Then, in a well ventilated area, spread silicone adhesive on a portion of the clean glass vase.  With the glass placed on a covered work surface, sprinkle the small rocks over the silicone (it's a fast grab and E6000 is not) Continue adding the pebbles until the glued area is covered.


Fold a piece of plastic wrap and lay it over the pebbles, applying pressure down and squeezing the pebbles close together at the sides.  Allow the silicone to set for a couple of hours.


Add additional silicone to the glass next to the set pebbles and spread over another portion as before, sprinkling more pebbles, using cling wrap to flatten and squeezing the small rocks together until the vase is completely covered with pebbles. Allow to dry 12-24 hours following directions.


To prepare the  vase for painting, I stuffed plastic grocery bags in the cavity  and taped the edges with painter's tape before spraying  with  Rustoleum Metallic spray paint.


Don't they look like "gold nuggets"?


You can place a LED battery powered light inside the larger vase to emit a lovely glow .  .


or just place battery powered candles on top .  .  .


for an awesome decorative look!

I was inspired to make these from candleholders I saw online at Horchow:


Take a little time to enjoy

and

Happy Crafting!


Happily Homemade & Handcrafted Party


  •  Facebook
  •  Twitter
  •  Google+
  •  Stumble
  •  Pinterest