Tuesday, May 2, 2017

Repurpose a Shoebox Into a Keepsake Card Holder for Mother's Day


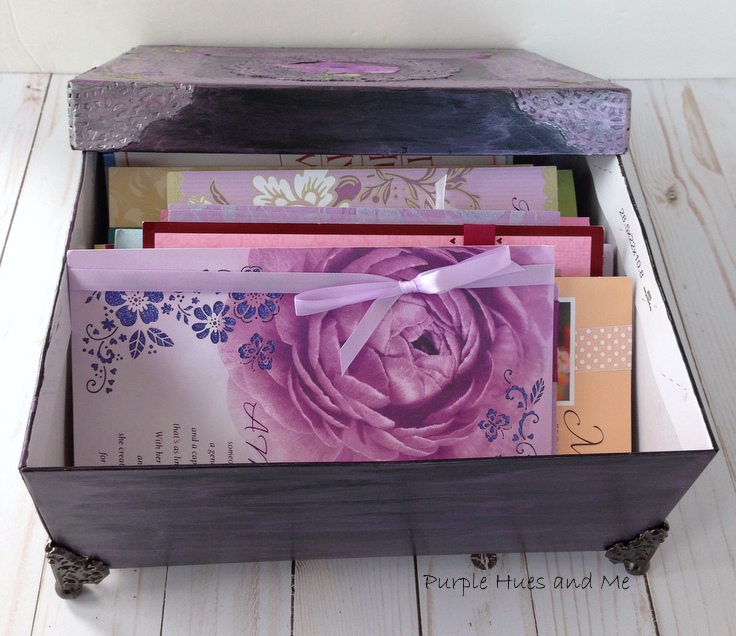
I've saved all of my Mother's Day cards since becoming a mother thirty seven years ago and I have quite a collection.  But unfortunately, I place them in a drawer that's become cluttered with other stuff.  So the crafter in me needed to make something adorable to hold my cards.

A shoebox can easily be repurposed to hold cards, or letters, photos, and other special items that we hold dear. The possibilities are almost unlimited on how to repurpose and decorate them. 

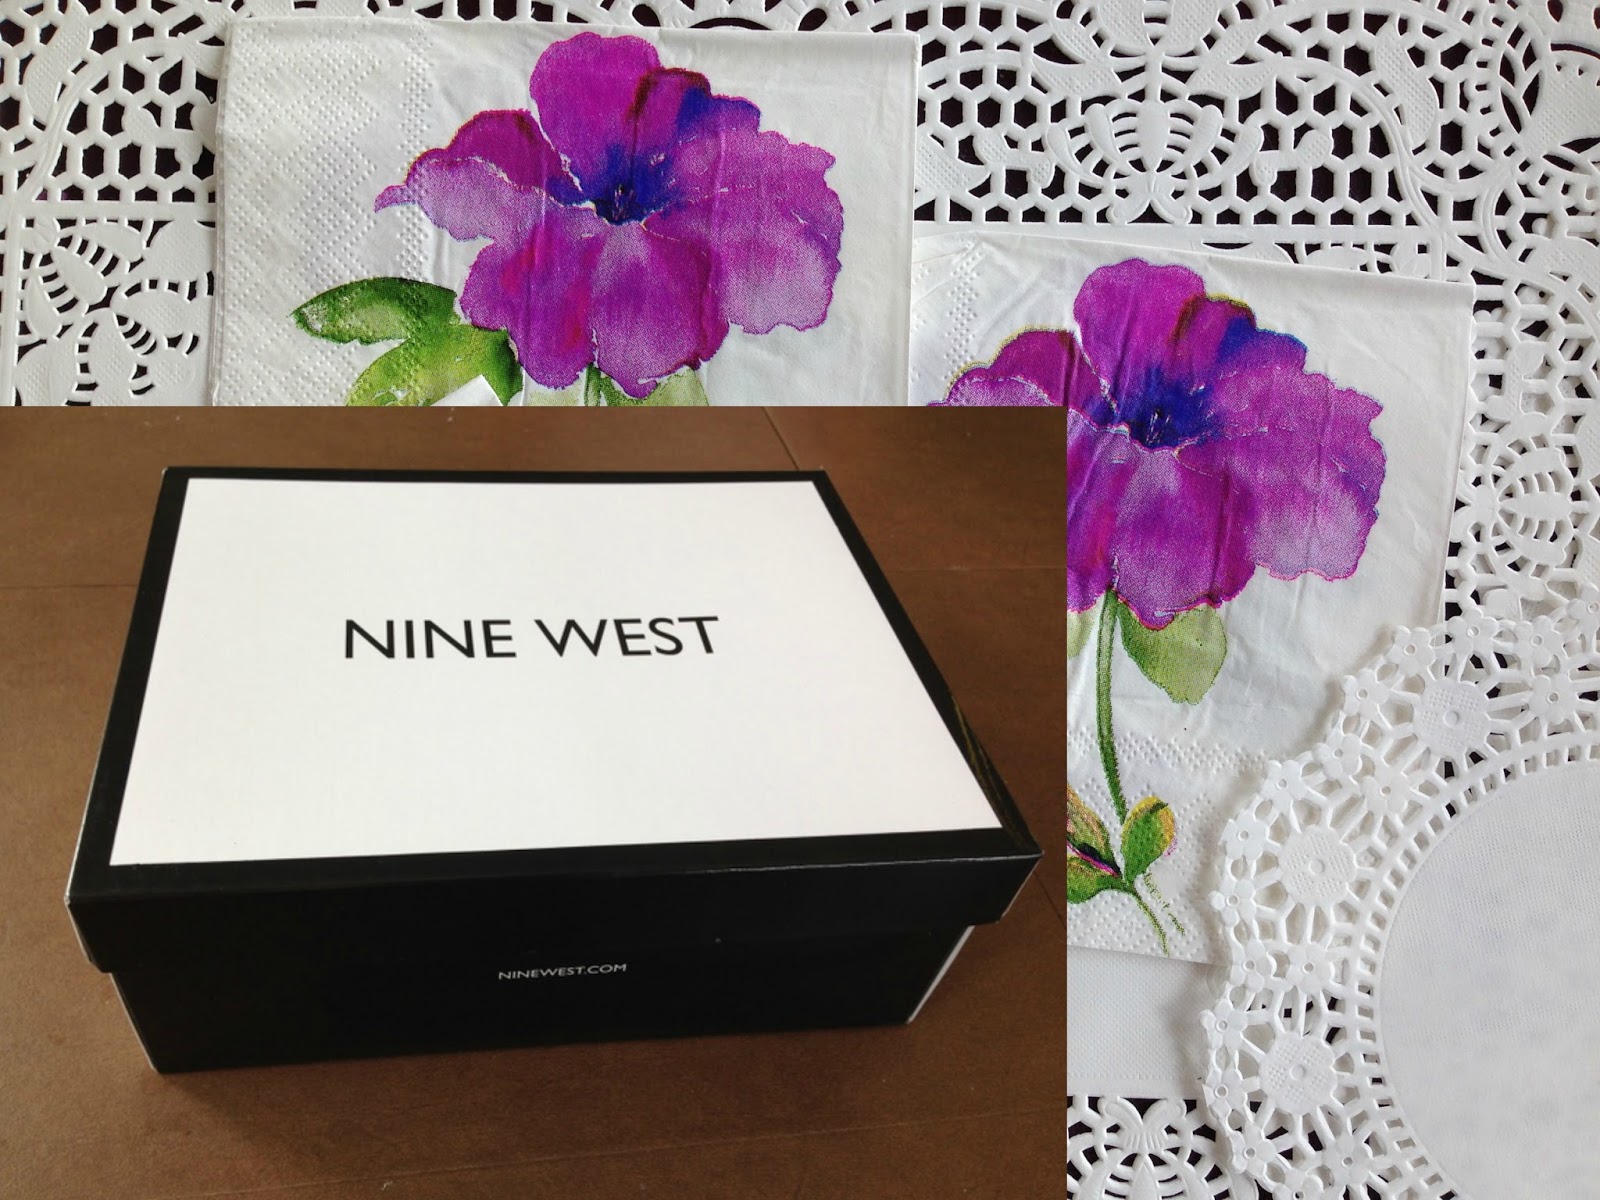
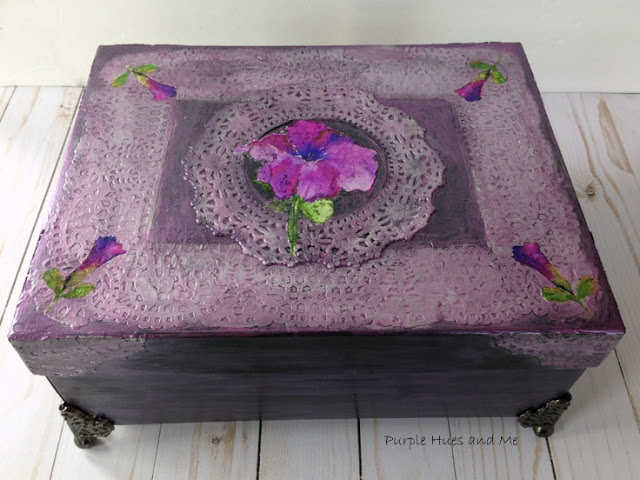
For this look, begin by finding a shoebox big enough to hold different size cards you want to keep.  I had an idea to decoupage a shoebox with paper doilies and  pretty flowers from paper napkins, but somehow it didn't exactly turn out how I hoped.  In fact, I call this my craft fail. It just doesn't look pretty and aged like I thought it would.  But I think my idea is still great .  .  .  to repurpose a shoebox to store my cherished Mother's Day cards.


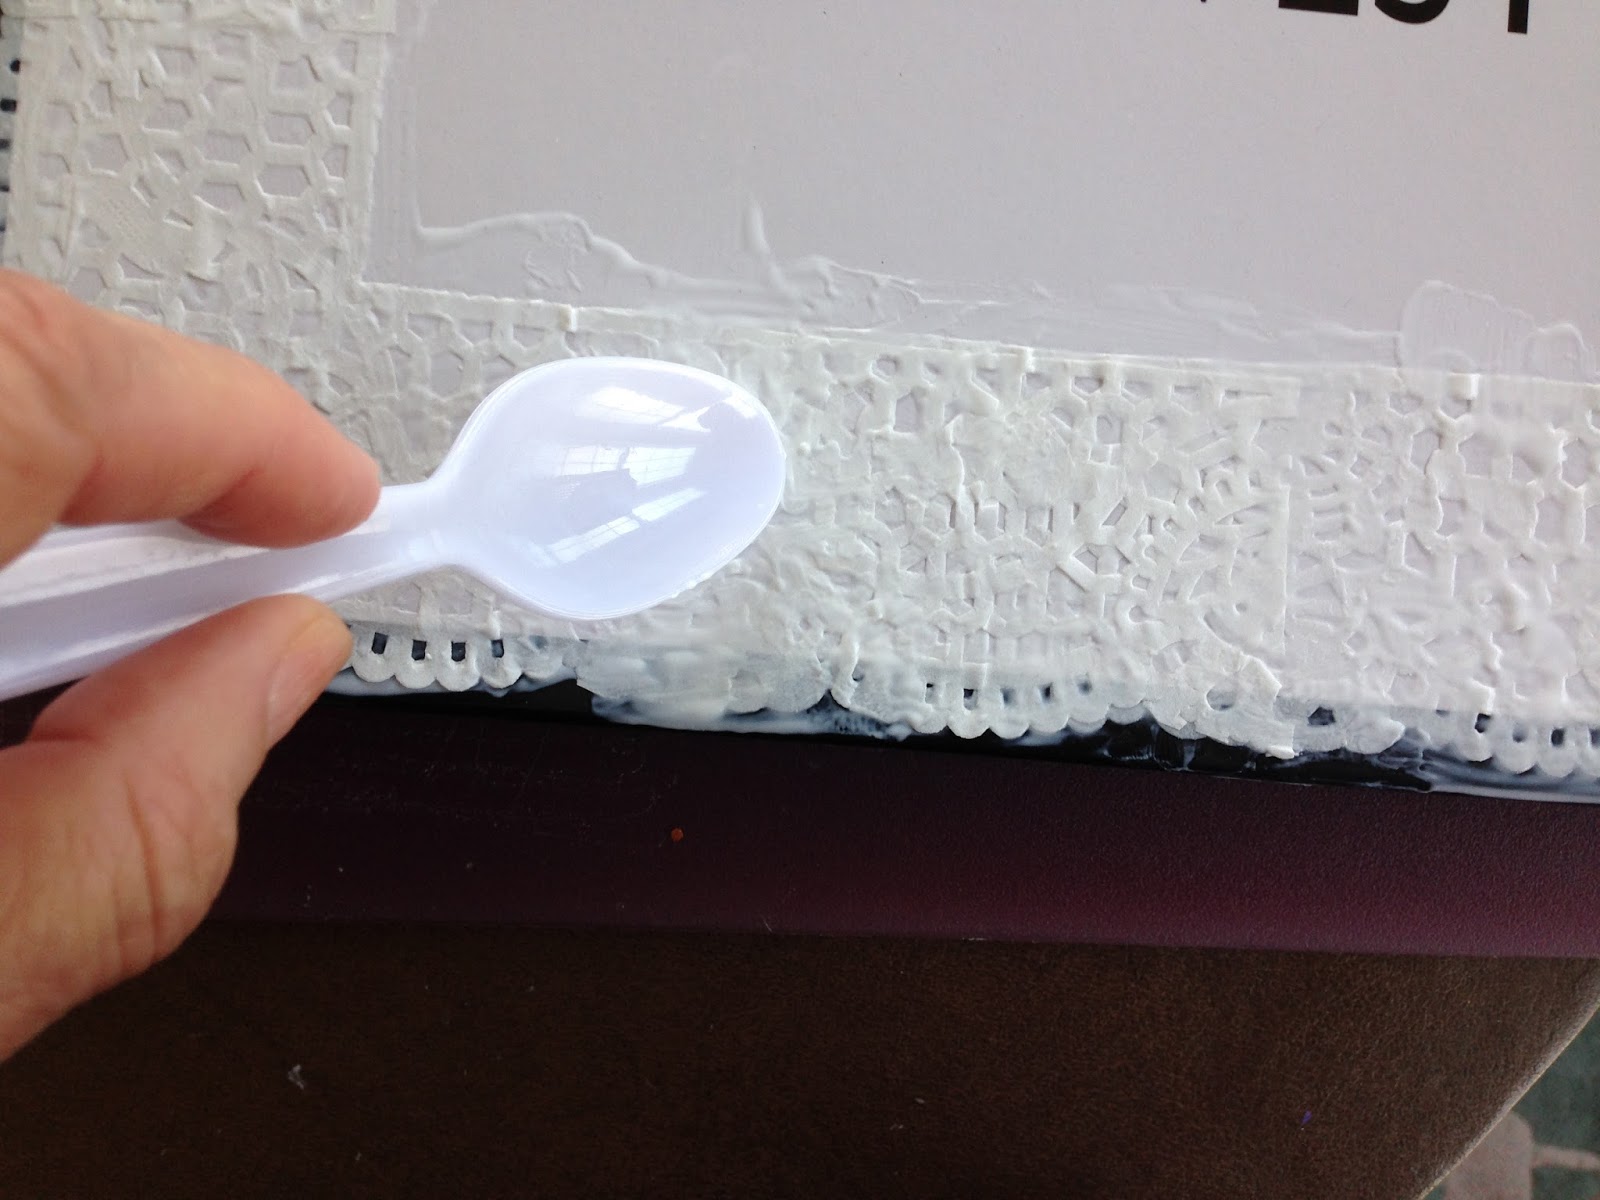
Once you have your shoe box, cut out the  border from doilies,  adjusting the size to fit the top by cutting, and then decoupage onto the box top .  .  .

 gently smoothing out the border using the back of a plastic spoon or cling wrap.

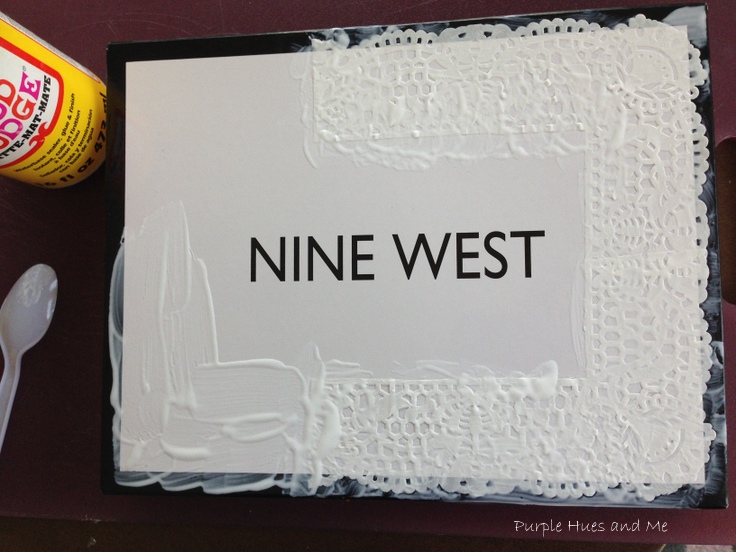
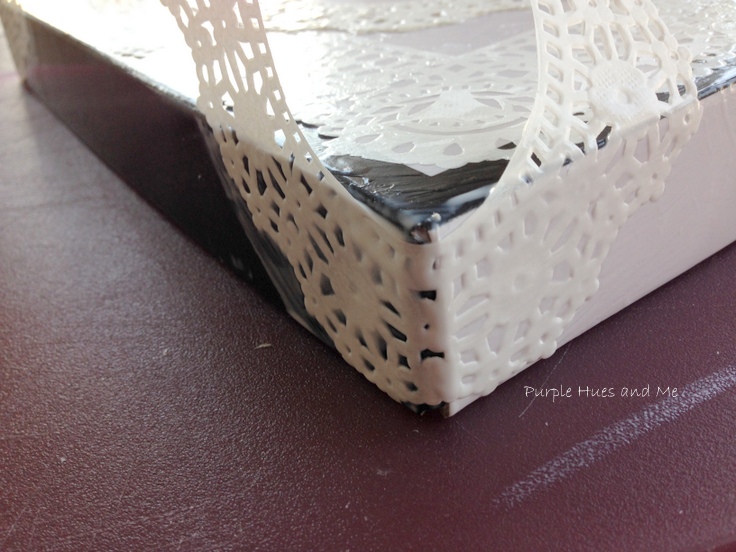
Next, cut out decorative borders from round doilies and decoupage onto the corners of the top .  .  .


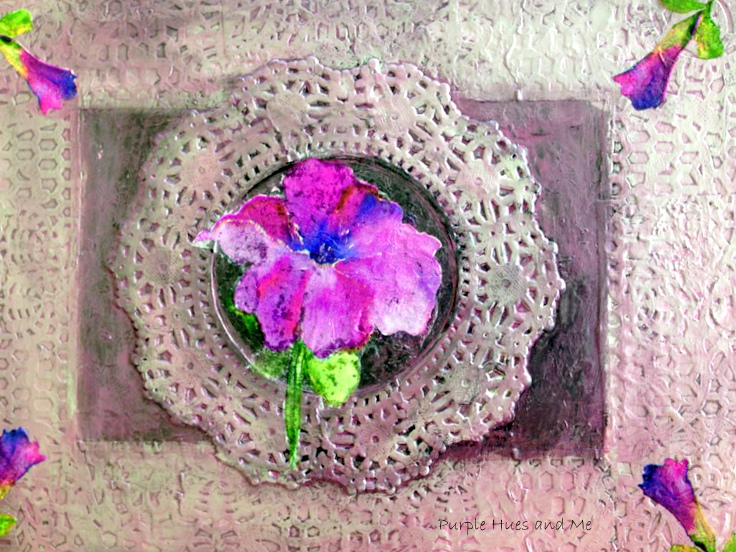
and decoupage a round cut out doily border to the center.

Once all the doilies are dry, cut off the excess corner edges. 


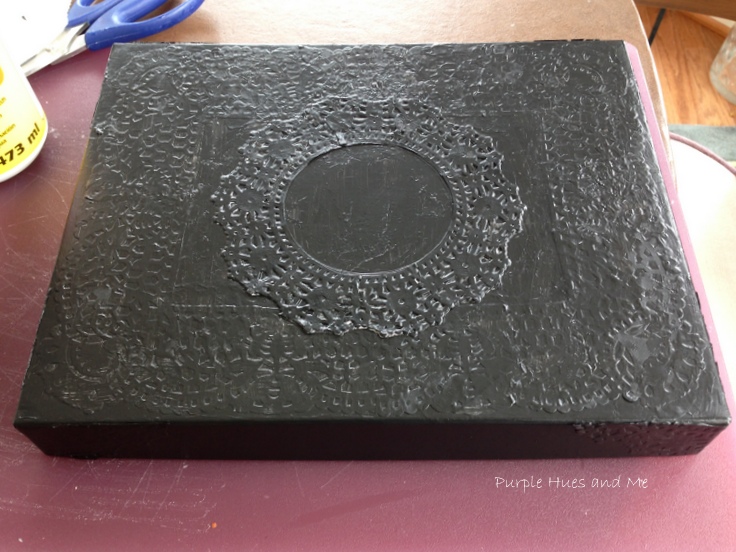
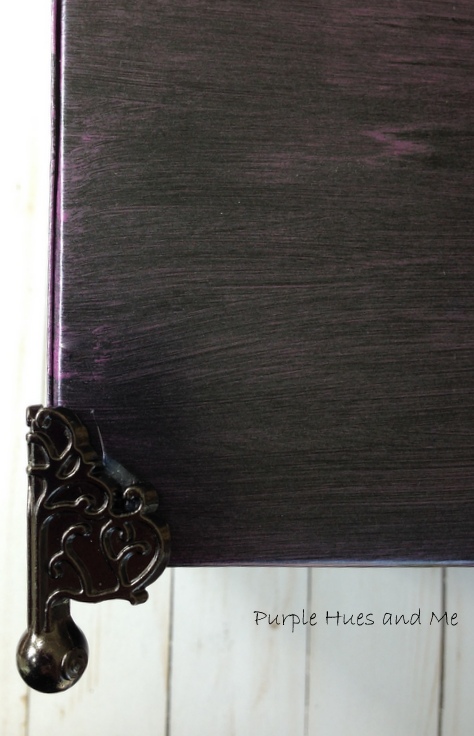
To age the look of the box, since the majority of the box was black, it was easier to paint the entire box black and then rub excess off with a soft cloth. In hindsight, I think this was the beginning of my mistake. Perhaps I should have used a lighter color for this.

 Anyway, it started to look messy and then, I applied a silver rub and metallic plum acrylic paint over that. Again, trying to get an aged look with plum accents. Continuing on, despite how this was looking .  .  .

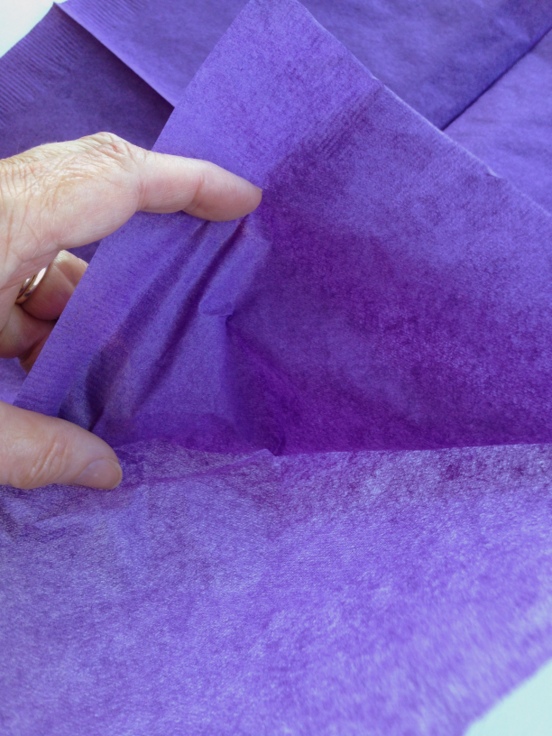
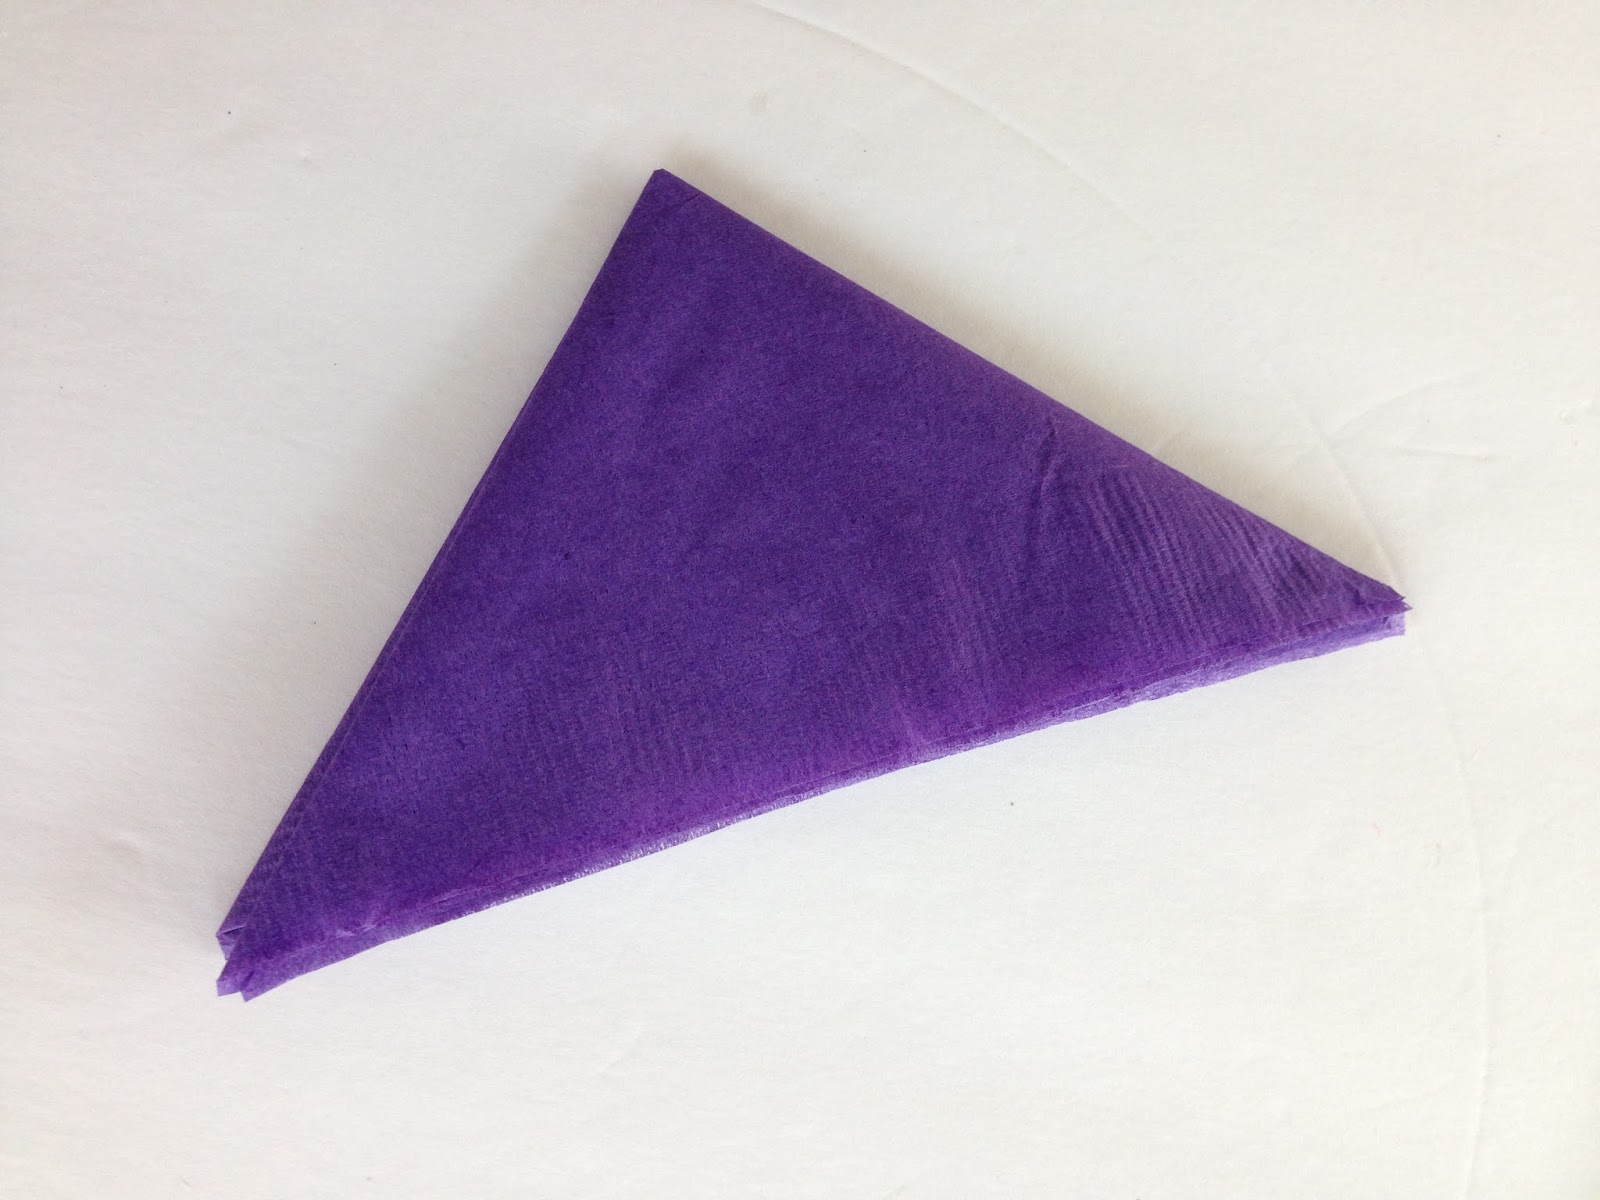
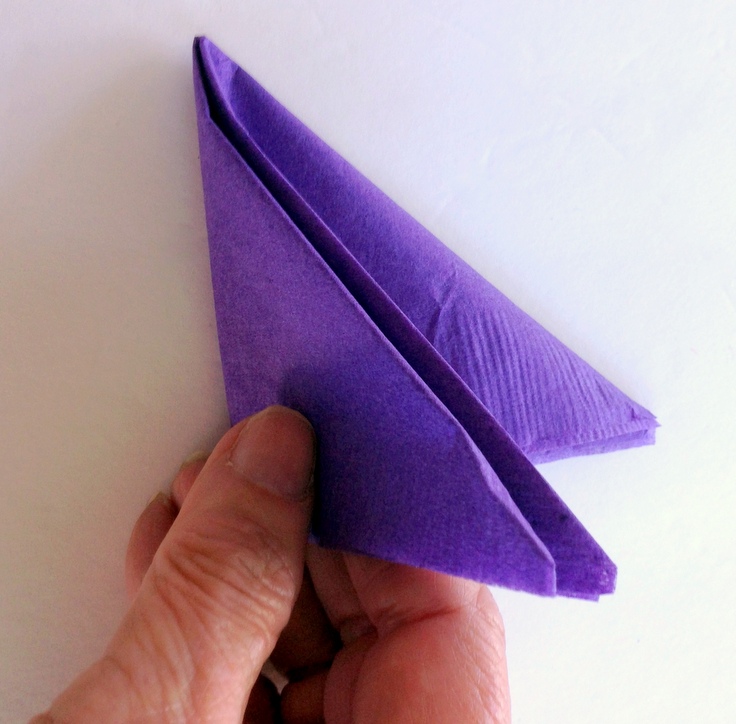
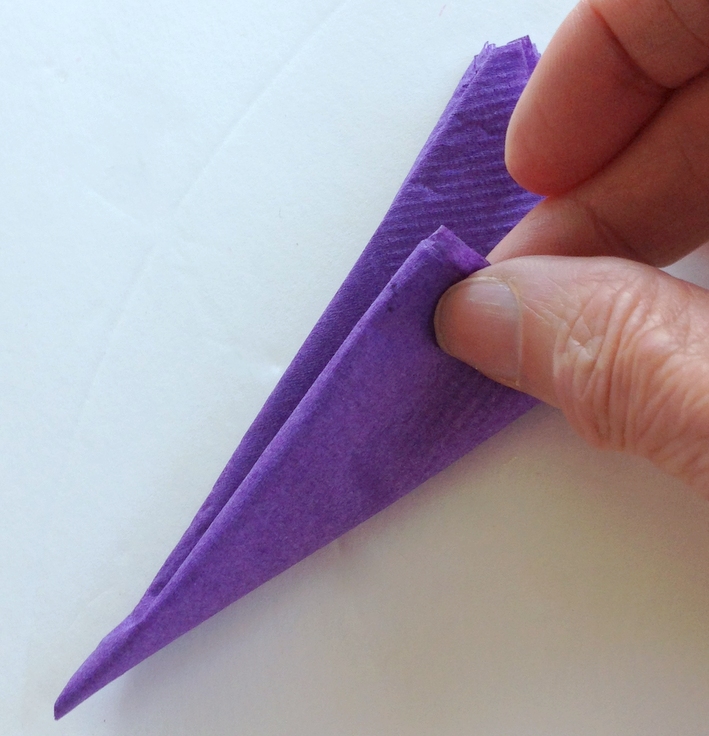
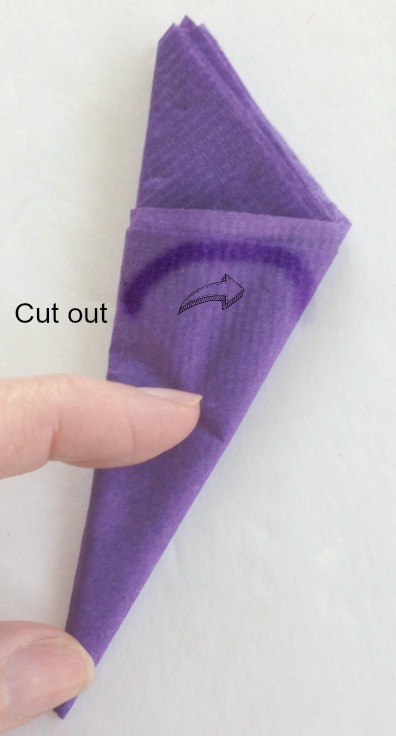
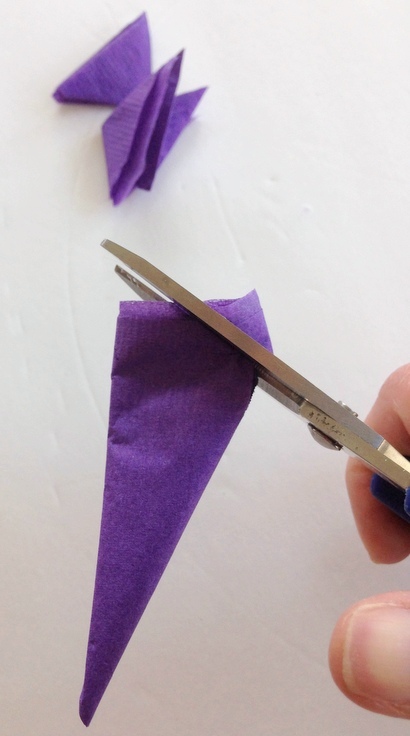
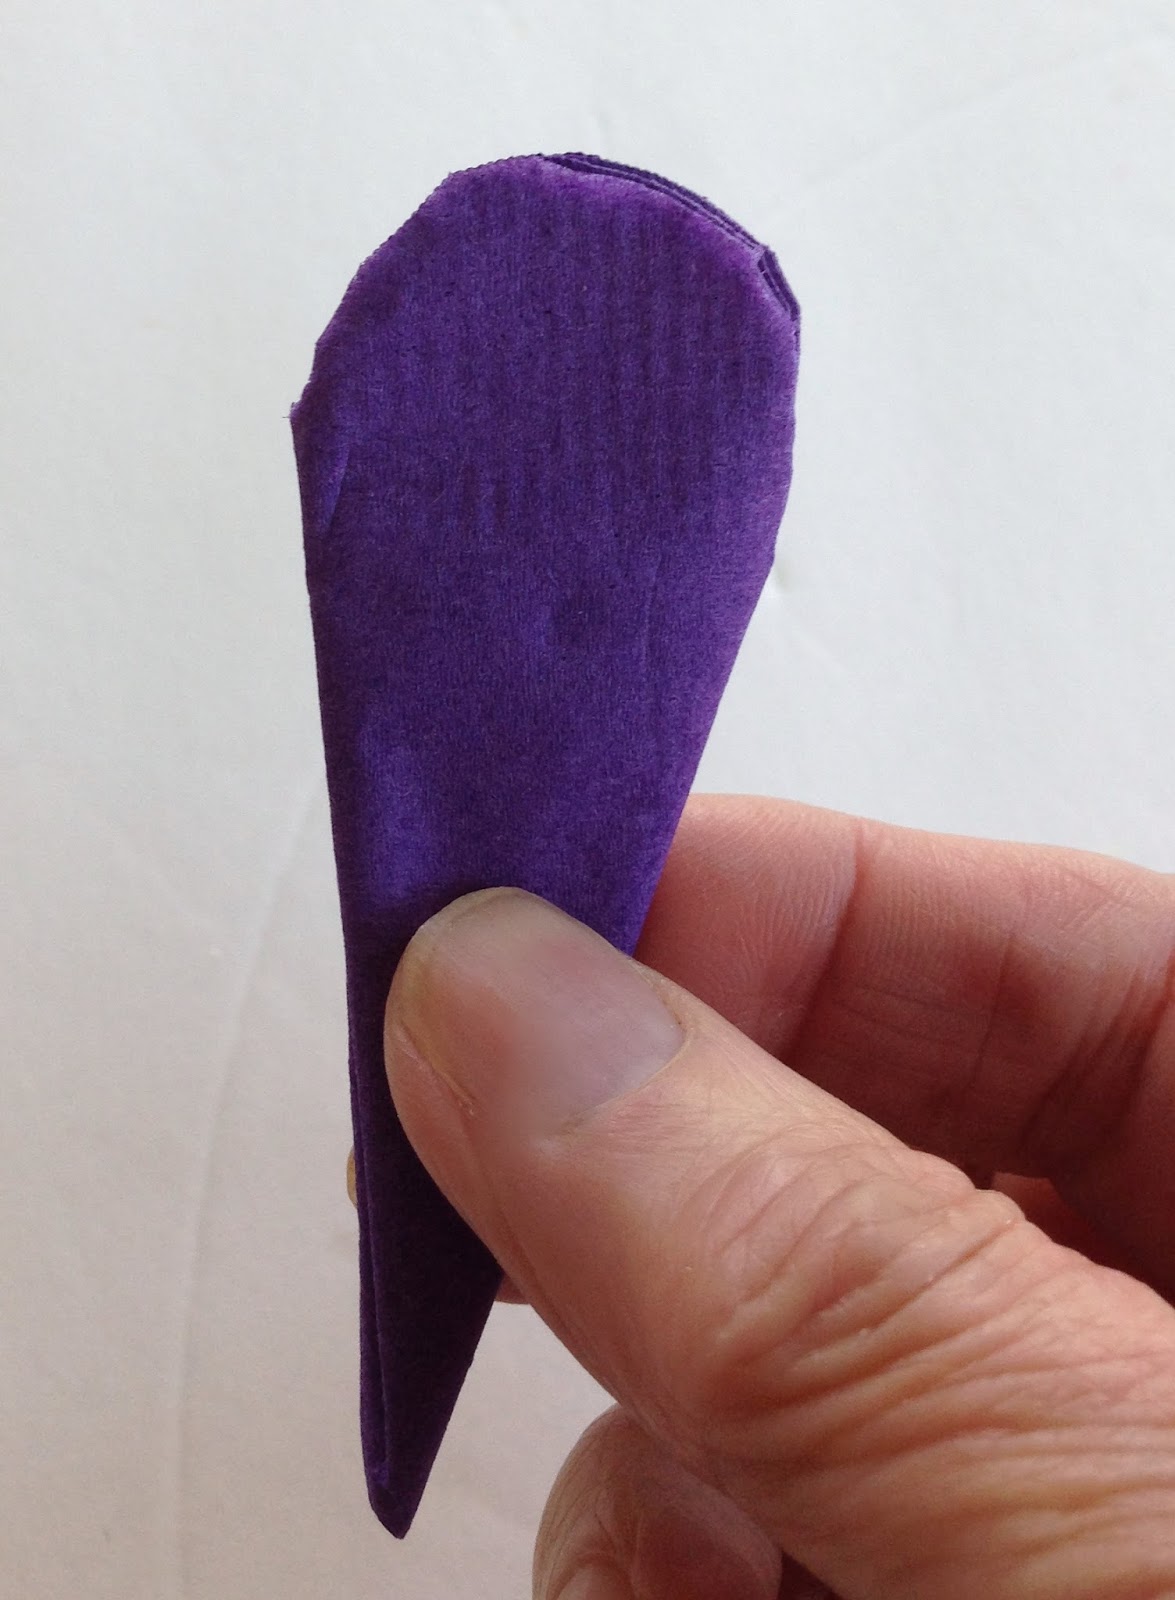
I cut out flowers from paper napkins and then separated the plain ply layers from the flowers .  .  .
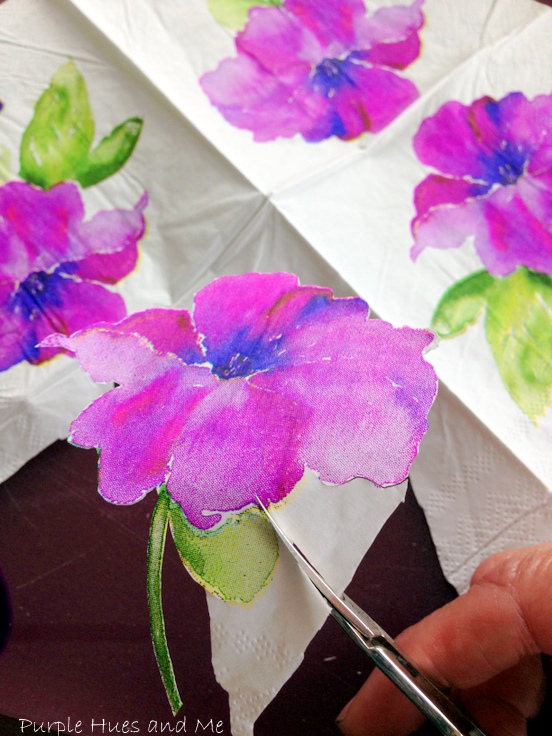
before adding them to the top using Mod Podge.
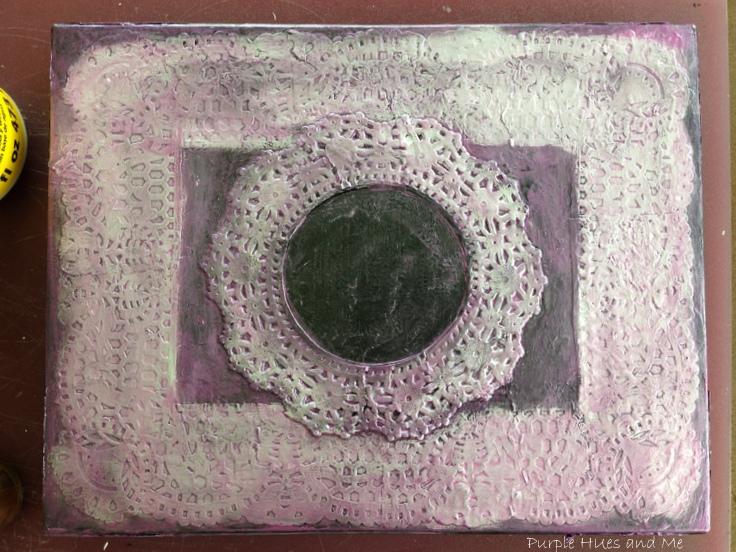
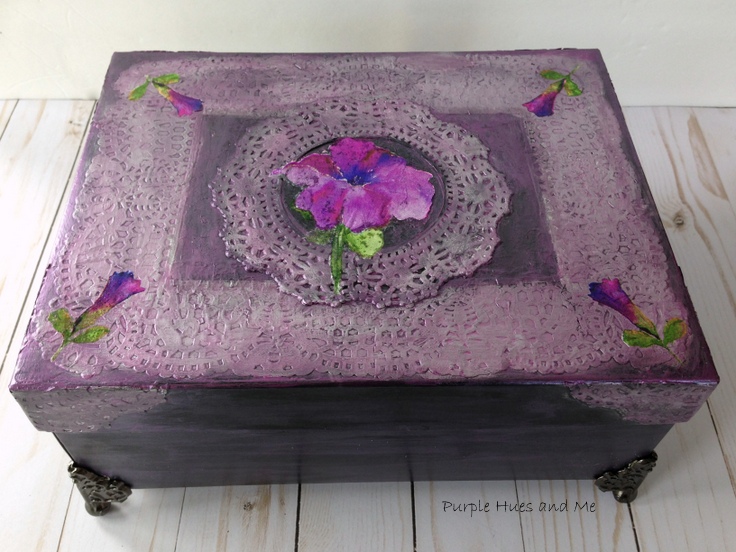
Next, I added a bit more metallic plum acrylic paint to the top and sides .  .  .

and glued on metal feet for a lovely antique look!


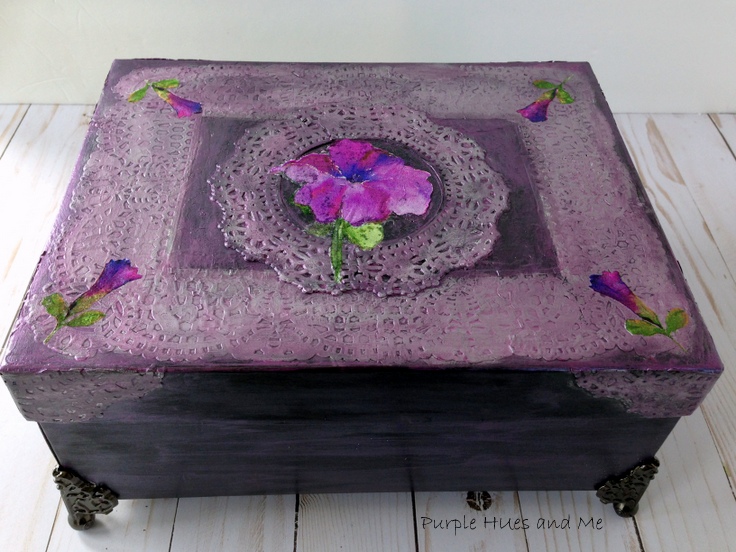
  I think this looks a whole lot better!


 And lovely enough to hold my most cherished Mother's Day cards!


What do you think? 


Thanks for stopping by
and take a little time to enjoy -
Happy Crafting!


  •  Facebook
  •  Twitter
  •  Google+
  •  Stumble
  •  Pinterest

Saturday, April 22, 2017

Twisted Paper Napkin Flowers


Paper napkins just aren't for wiping your mouth and hands while eating  .  .  .  they make beautiful flowers, too!  While it might be a bit costly to decorate your home with fresh flowers, or give each guest a real flower at their place setting, flowers made from paper napkins can look just as nice, and at a fraction of the cost - especially if you get the napkins from the dollar store.  And the best part, you can make them to match your décor or party theme.


The possibilities are practically endless using a few folding techniques, scissors, floral wire, tape, tacky glue and an assortment of colorful or printed paper napkins!
To begin, starting at the corner of the paper napkin, carefully pull apart each ply, and then refold into original squares, following the folded lines.

Next, fold into a triangle .  .  .


then another triangle .  .  .


and finally, one more triangle.

Next, take the folded side and fold over, three quarters of the way.


Using scissors, cut a round ice cream cone shape just below the edge.


Next, open cut shape .  .  .


and holding the round area with one hand, twist one side of the top like you're screwing on something, tightly.  Then holding the opposite side, twist again, as tight as you can .  .  .

as pictured.
Then, gently open the folded piece .  .  .


carefully keeping .  .  .

the twisted edges together.  You can gently twist any edges that might have been separated when opening back together following the twist patterns. 


Repeat with more napkins, making as many layers for flower fullness and size.


For the stem, group three floral stems together and cover with floral tape, starting at one end and coiling tape around stems until reaching end and securing tape.

Then, make a hole in center of paper napkin and insert stem, stopping about 1.5 inches from top.

Add tacky glue to stem edge .  .  .

and grasp bottom of napkin around stem, forming flower layer.

Repeat for each layer of flower, adding tacky glue to base of previous layer.


Continue adding layers for flower fullness . .  .

until satisfied with fullness and look.
Have fun making these adorable paper napkin flowers!
They have the look of carnations with their twisted edges!


Thanks for stopping by
and take a little time to enjoy -
Happy Crafting!


  •  Facebook
  •  Twitter
  •  Google+
  •  Stumble
  •  Pinterest

Tuesday, April 18, 2017

Recycle Cardboard Into An Adorable Regrigerator Magnet Using Ribbon


Earth Day  is April 22 and to celebrate, I'm over on Bowdabrablog  showing you how easy it is to recycle cardboard into an adorable refrigerator magnet using ribbon. 

So, take a look here, and give it a try .  .  .  you'll find the tutorial amazingly easy with beautiful results.  And the best part, it's a great way to recycle cardboard - that's basically trash, into something cute and adorable on the fridge or just perfect for gift giving!


Thanks for stopping by


and take a little time to enjoy -

Happy Crafting!

  •  Facebook
  •  Twitter
  •  Google+
  •  Stumble
  •  Pinterest

Monday, April 17, 2017

Celebrating Spring Link Party Features


Our link party has come to an end and I truly enjoyed co-hosting this wonderful event!  A big "Thank You" goes out to everyone who joined us in this celebration by sharing your favorite Spring, Easter,  April Fool's Day, Crafts, DIY's, Seasonal Decor, and Recipes posts!

We loved all of your wonderful inspirations and I'm sharing with you a few of my favorites: 

Carol @the Red Painted Cottage showed us how to decorate  recycled antlers for spring. How cute is this!

And of course I was attracted to my favorite color purple with Zografia decorating plastic pots for spring! 
I love anything upcycle that brings a little prettiness into the home! Julie @Sum of Their Stories show us how to do this:
And Sharon @The Blue Willow House shows us how to make a colorful, Easy Easter Cloche:


Thanks for stopping by and please visit the other co-hosts to enjoy their features:

Across the Boulevard
The Boondocks Blog
Purple Hues and Me
My Husband Has Too Many Hobbies
Sew Crafty Crochet
Stone Cottage Adventures
Two Chicks and a Mom
Dazzle While Frazzled


Take a little time to enjoy -

and Happy Crafting!

  •  Facebook
  •  Twitter
  •  Google+
  •  Stumble
  •  Pinterest